If you're talking about classic southern food you can't forget the sweets! This old-fashioned layer cake recipe is a favorite for any occasion!
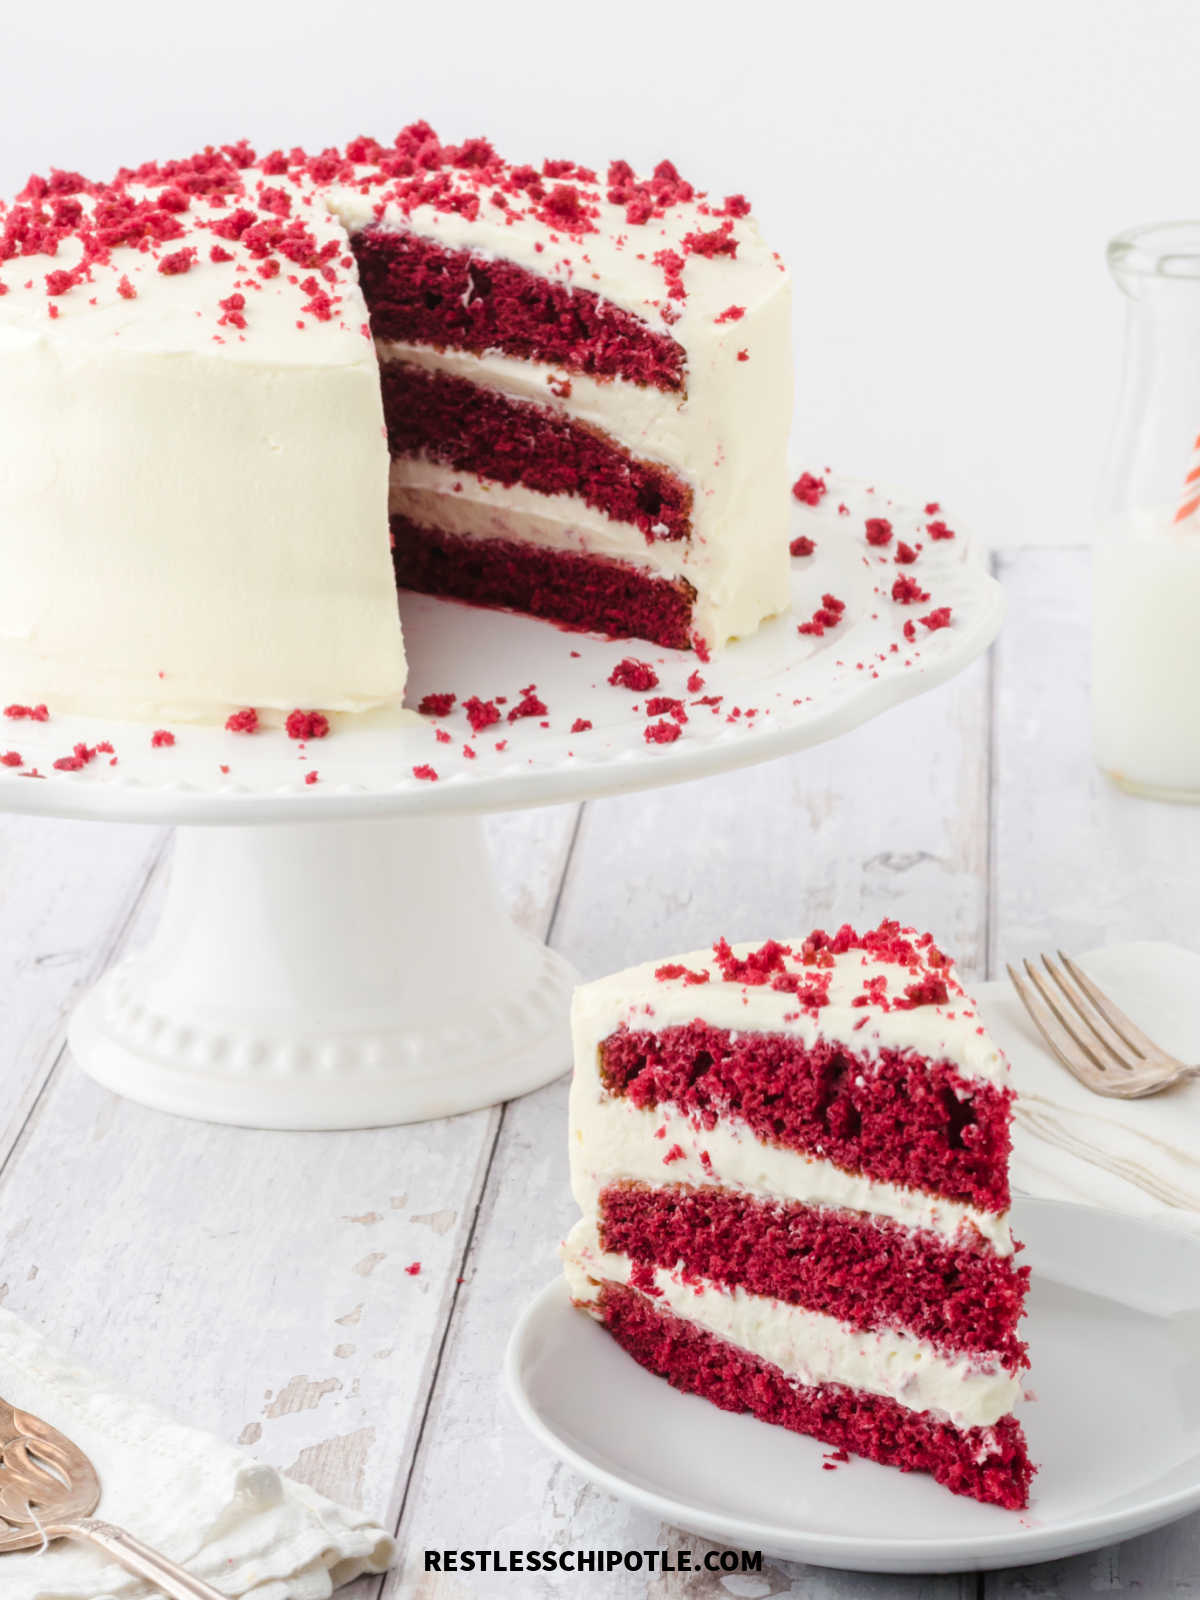
Table of Contents
🗝️ Key takeaways
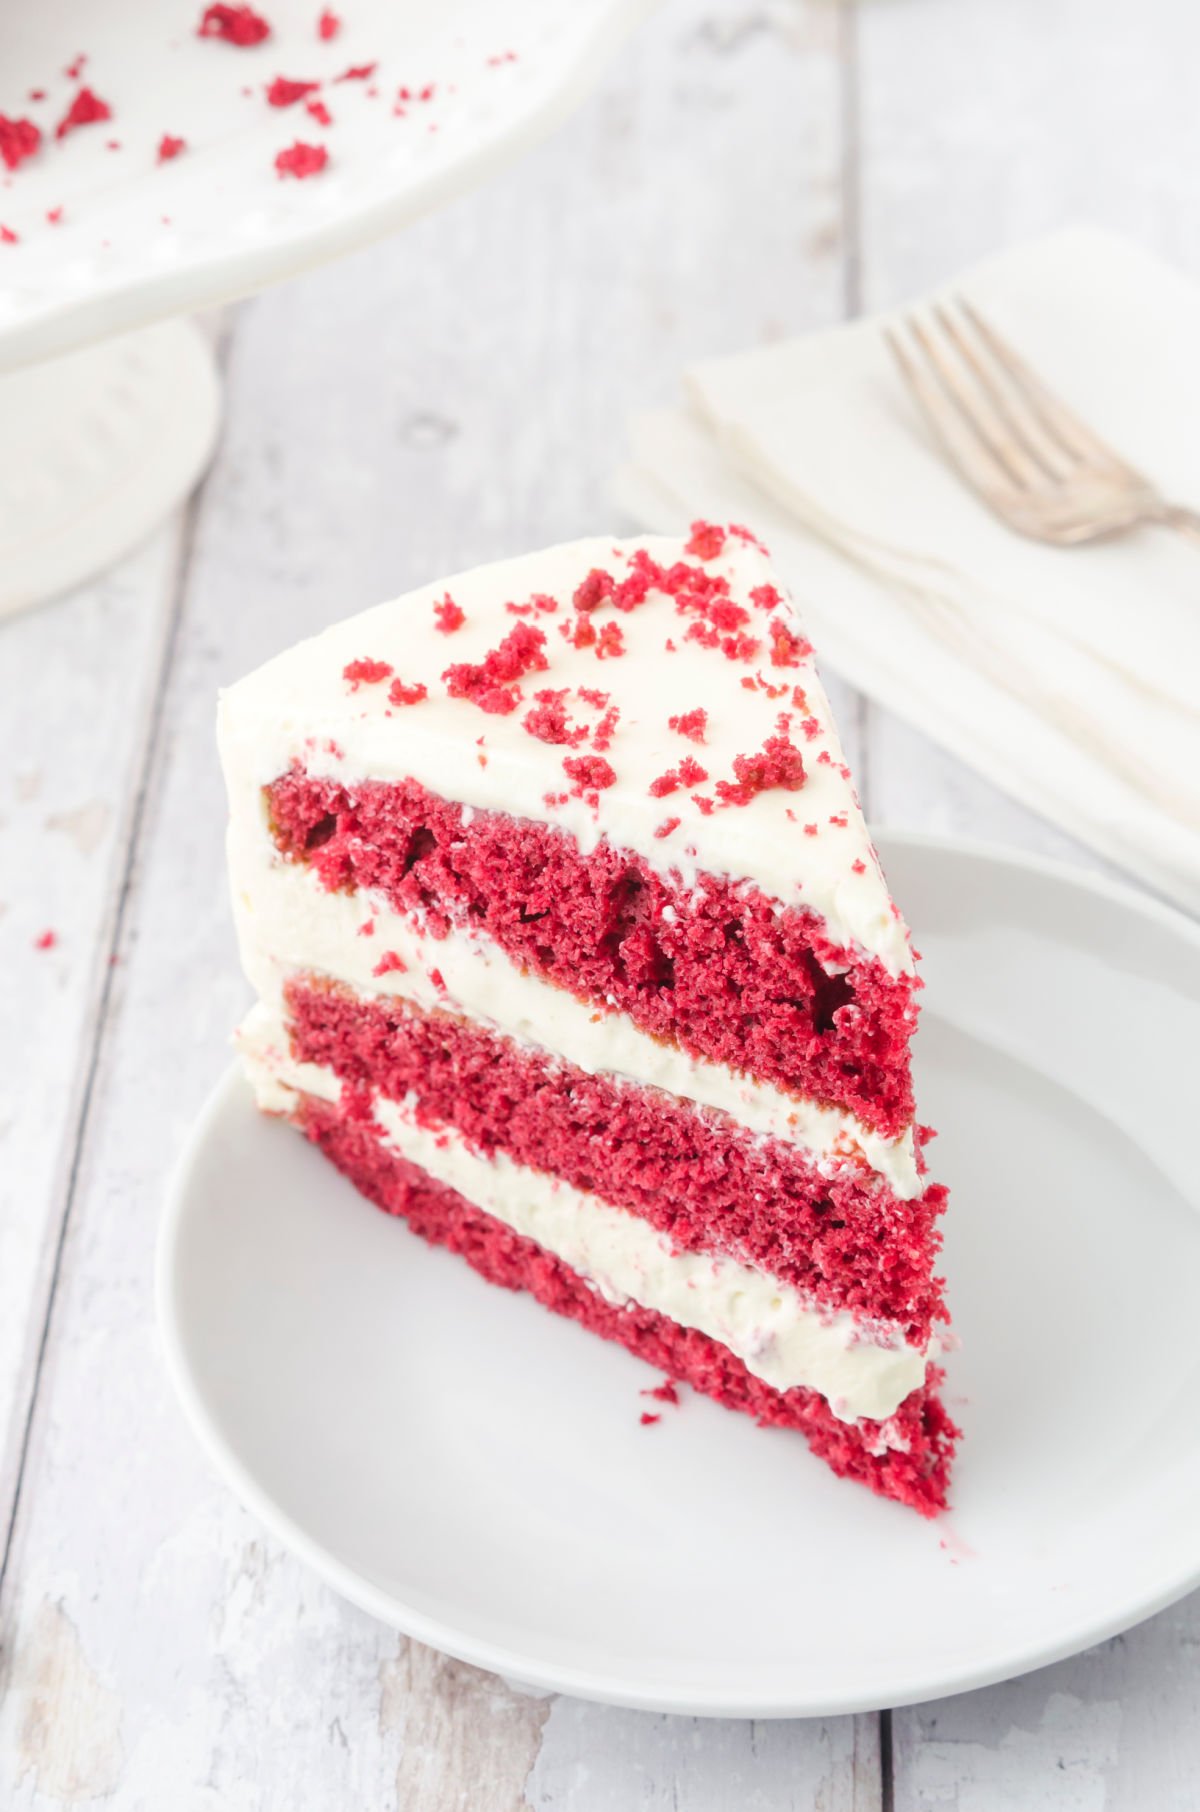
- Bold, vibrant red color cake - it's not one of those "almost brown" red velvet cakes! Moist velvety crumb with just a small amount of cocoa for a hint of chocolate flavor.
- Classic dessert for the holidays as well as Valentines Day but it's also the perfect celebration cake anytime.
- Read the tips section to find out the best way to get a bold red color in your cake!
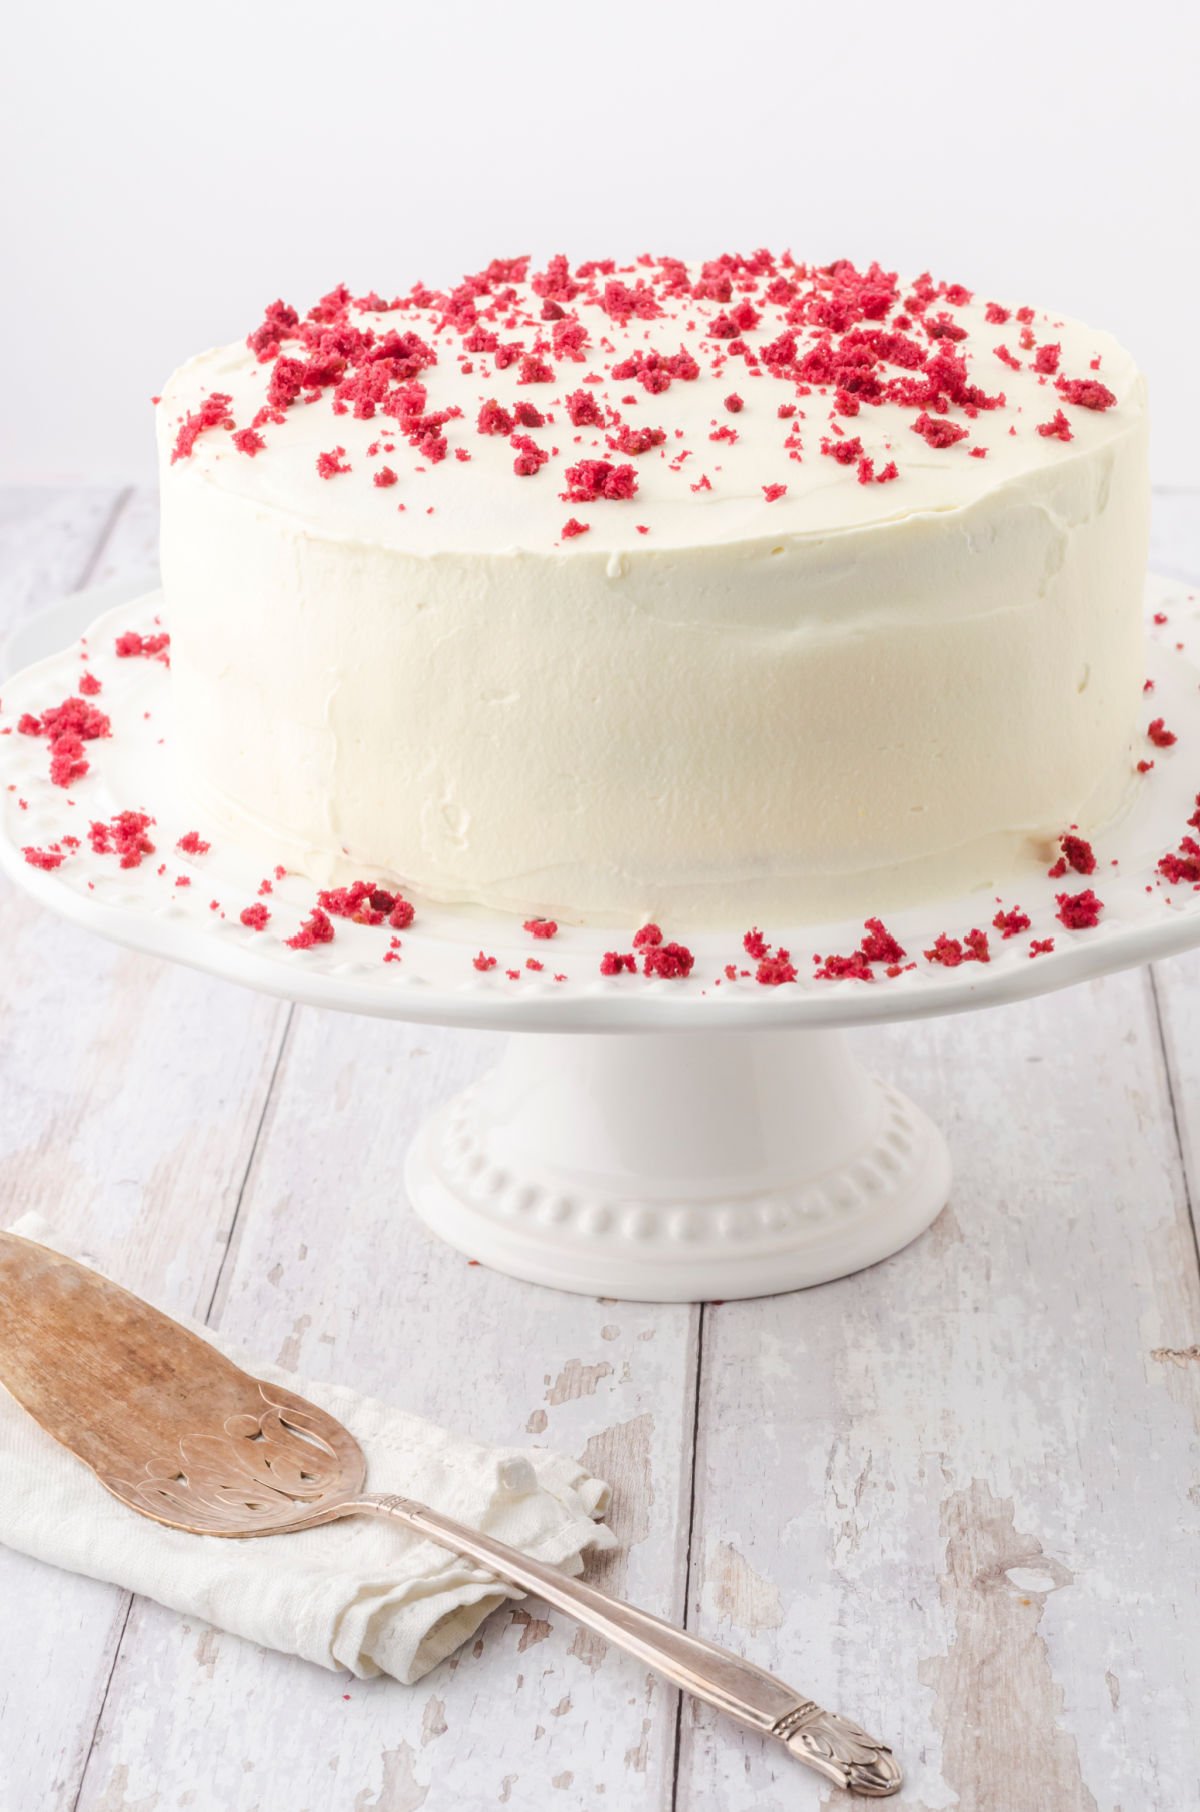
I love this old-fashioned, Southern red velvet cake! It has 3 beautiful cake layers with an ultra-creamy whipped cream cheese frosting in between.
This was my choice for a wedding cake when my husband and I got married!
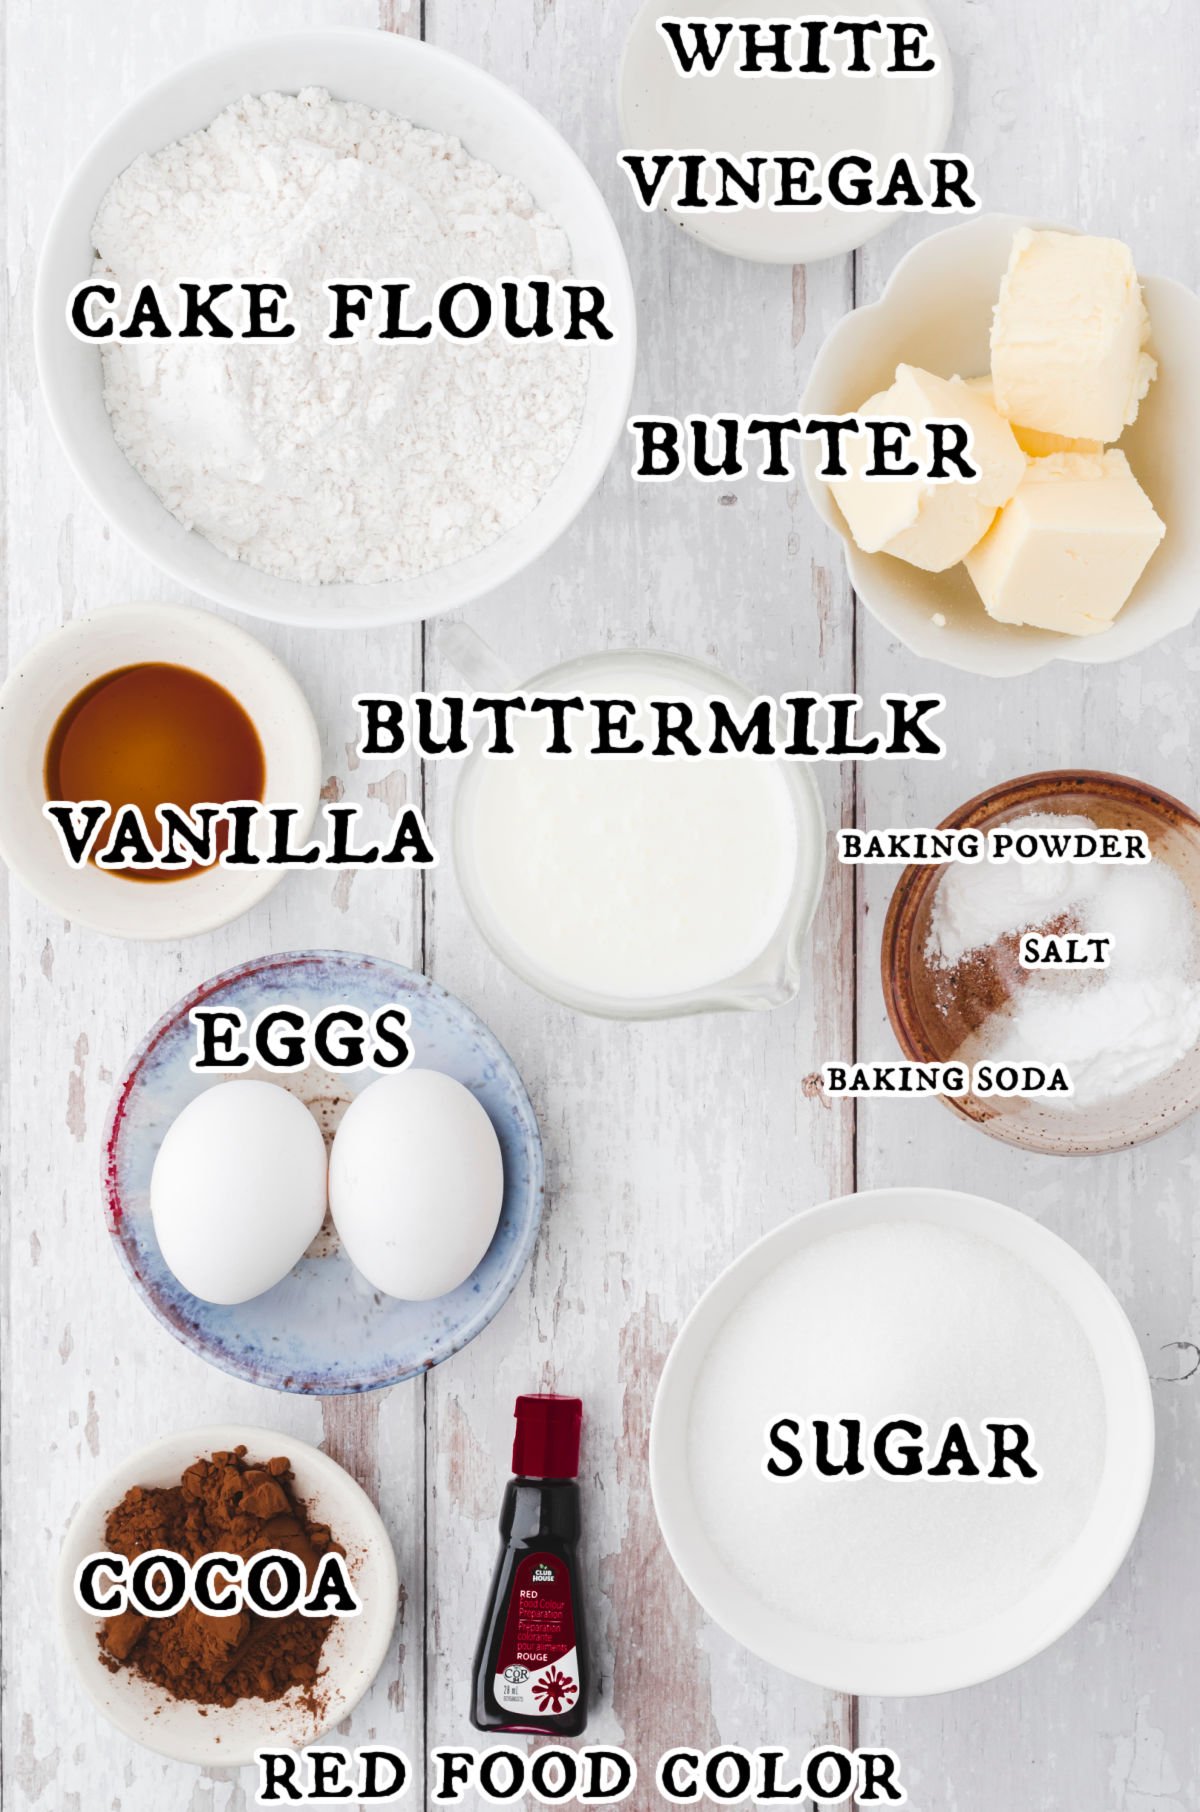
🧾 Ingredients
📖 Variations
- You can use this batter to make red velvet cupcakes. Spoon into cupcake tins that have cupcake liners in them. Bake at 350F for 15 to 20 minutes, or until a toothpick inserted in the center comes out clean.
- The cake batter can also be baked in a 13x9-inch sheet pan for about 30 minutes. Be sure to start check for doneness at 20 minutes.
- This is delicious with the decadent cream cheese frosting but I love the Irish Cream frosting to give this classic red velvet cake a little Irish kick.
Love red velvet? More red velvet recipes.
🔪 Instructions
This is an overview of the instructions. The full instructions for this red velvet cake recipe are in the green recipe card at the bottom of this page.
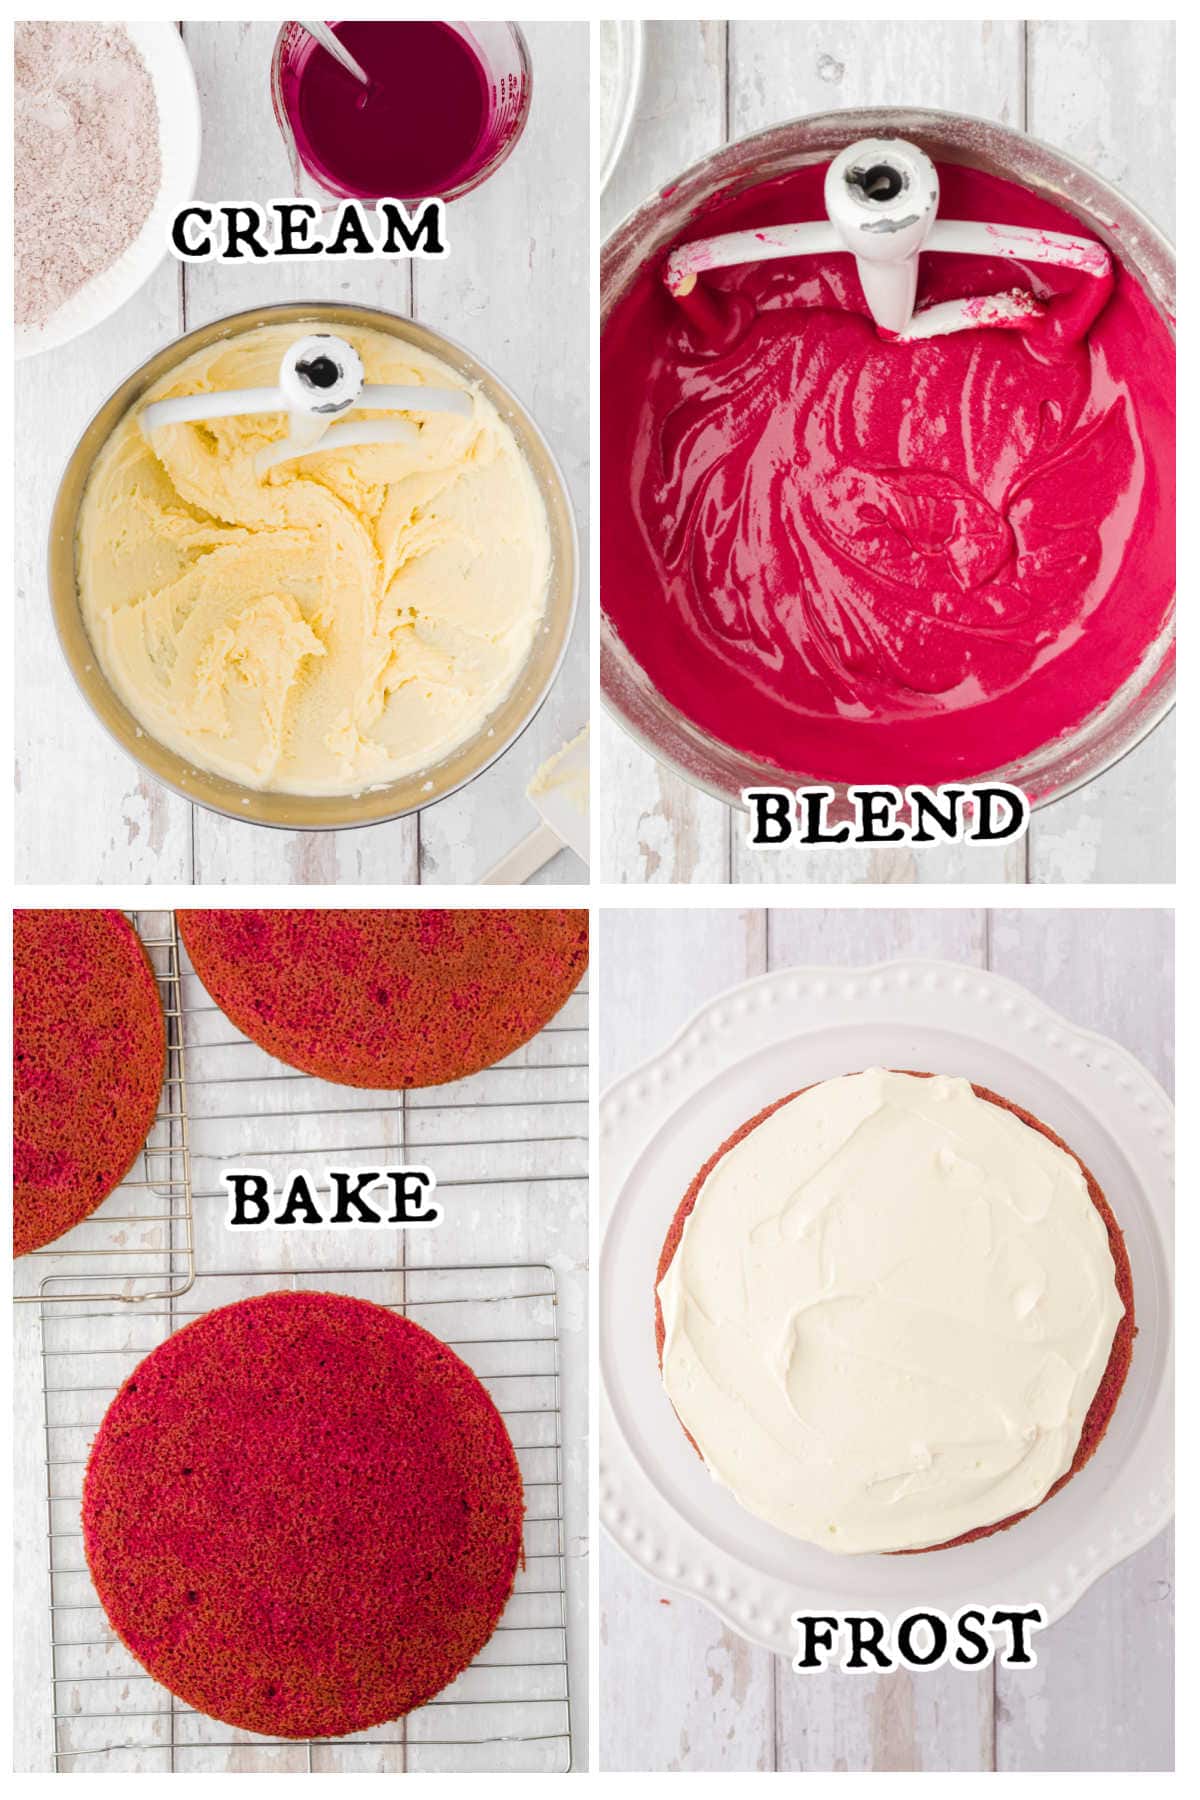
- Sift dry ingredients together. In the bowl of a stand mixer cream butter and sugar; add eggs one at a time.
- In a separate bowl mix buttermilk, food coloring, vinegar, and vanilla. Add it to the creamed mixture alternately with the flour mixture.
- Spoon in 3 cake pans and bake.
- Frost with desired frosting.
This red velvet poke cake has all the flavor but takes almost no time at all! It's an easy southern red velvet cake that's perfect for potlucks and parties.
🍴 Equipment
You'll need the following items to make this recipe successfully.
- stand mixer or hand mixer
- mixing bowls
- cake plate
- measuring cups and spoons
🥫 How to store leftover red velvet cake
Because of the whipped cream cheese frosting it's safest to store your red velvet cake in the refrigerator - it will be fine at least 4 days ( if your family doesn't find it and gobble it up).
- Carefully smooth waxed paper around sides of cake.
- Place in a cake keeper or cover with plastic wrap.
- Refrigerate.
Freeze
You can also freeze it, frosted or unfrosted. Use the same method to cover it and then freeze for up to 3 months.
I like to cut leftover cake into individual slices then flash freeze on a cookie sheet. I put the frozen slices into freezer bags and then place them carefully in a freezer container so they don't get mashed.
If you have a deep freeze you can freeze the cake right in a plastic cake carrier with parchment paper between the slices.
💭 Tips
Expert Tip: Let cake layers cool completely on a wire rack before filling and frosting.
- Make sure all your ingredients are at room temperature before starting.
- Measure your flour carefully. Sift it and then scoop it lightly into the cup measure - don't pack it down. Level the top with a butter knife.
- Cream the butter until it is fluffy and very light in color. This could take up to 5 minutes - scrape the sides of the bowl often.
- Don't over-mix the batter - your cake will be tough and coarse.
- Sift the dry ingredients together a couple of times. This is an important step.
- If you use extra dark cocoa it will dull the red color of the cake. Use regular cocoa powder.
- Unfortunately, the natural food colors don't hold up in this recipe. Use the plain store variety of red food coloring for the best result.
- For the most vibrant color use 3 tablespoons of red gel food coloring instead of the liquid.
- No buttermilk? To make red velvet cake without buttermilk you can try one of these buttermilk substitutions there are numerous ones so be sure to read to the bottom of the page.
- Once I had the layers filled and stacked I ran a couple of drinking straws through the cake around the center to hold everything in place while I finished the cake. If you are going to be transporting it just cut the straw even with the top and frost over it. Take it out when you cut into the cake. It will keep it stable.
👩🍳 FAQs
This is an easy red velvet cake recipe but here are the questions asked most often...
No, it has just a touch of chocolate in it.
Ingredients usually include cocoa powder, buttermilk, white vinegar, and red food coloring.
You likely added a tad too much baking soda.
Originally the red color was from the chemical reaction of the acid in buttermilk and the alkalinity of the cocoa powder. Since cocoa powder no longer creates that intense chemical change most people use red food coloring to ensure a deep red color.
Yes, it helps the cake rise and gives it a tender crumb.
Cake flour is best but you can make an acceptable substitute. Measure 1 cup of all-purpose flour carefully into a measuring cup. Remove 2 tablespoons of the flour and then add 2 tablespoons of cornstarch in place of them. Sift this mixture together several times. Do this for each cup of cake flour called for.
📚 Related recipes
- Red velvet hot fudge recipe is so good over ice cream.
- Red velvet and white chocolate chip brownies are Valentine's Day perfection.
- Red velvet cheesecake is creamy and uniquely different from the others you might have seen.
- Try these red velvet sugar cookies.
- If you are looking for an easy, moist red velvet cake recipe try this simple bundt cake.
Here are some more of my favorite old-fashioned cake recipes. Don't wait for a special occasion to try them!
📞 The last word
This is a classic, southern red velvet cake recipe similar to the one on Steel Magnolias.
In fact, I'm pretty sure that the movie is what caused the massive interest in red velvet everything!
It's a great addition to any celebration - but if you're having a bridal shower or baby shower you might like my pink velvet cake recipe - a more delicate version of this vibrant dessert.
If this isn't what you're looking for check out these amazing cheesecake recipes!
If you click on the number of servings in the recipe card you can adjust the measurements up or down for the exact number of servings you need.
If you love this recipe please give it 5 stars! ⭐️⭐️⭐️⭐️⭐️
📖 Recipe
Red Velvet Cake
Print Pin Recipe Save RecipeIngredients
Cake
- 2 ¼ cups cake flour, sifted then measured
- 2 tablespoons unsweetened cocoa powder
- 1 ¼ teaspoon baking powder
- 1 teaspoon baking soda
- ½ teaspoon kosher salt
- 1 cup buttermilk, room temperature
- 2 tbs red food coloring one bottle
- 1 teaspoon distilled white vinegar
- 1 teaspoon vanilla extract
- 1 ½ cups sugar
- ½ cup unsalted butter, room temperature
- 2 large eggs room, room temperature
Cream Cheese Frosting
- 8 ounces cream cheese
- 1 pint heavy whipping cream
- 1 ¼ cups powdered sugar
- 1 tablespoon instant pudding mix, white chocolate or vanilla
- 1 teaspoon vanilla
Instructions
Cake
- Preheat oven to 350°F.
- Butter and flour three 8-inch-diameter cake pans
- Sift sifted flour, cocoa powder, baking powder, baking soda, and salt into a bowl.
- Blend the buttermilk, food coloring, vinegar, and vanilla in another bowl .
- Beat the sugar and butter in large bowl until light and fluffy.
- Add eggs 1 at a time, beating well blended after each addition.
- Beat in dry ingredients in 3 additions alternately with buttermilk mixture in 2 additions.
- Divide batter between the three pans.
- Bake for about 20 minutes or until a toothpick comes out clean.
- Cool in pans about 5 minutes and turn out to cool completely.
Cream Cheese Frosting
- Beat the cream cheese, and Confectioner's sugar until fluffy.
- Add the cream, pudding mix, and vanilla extract.
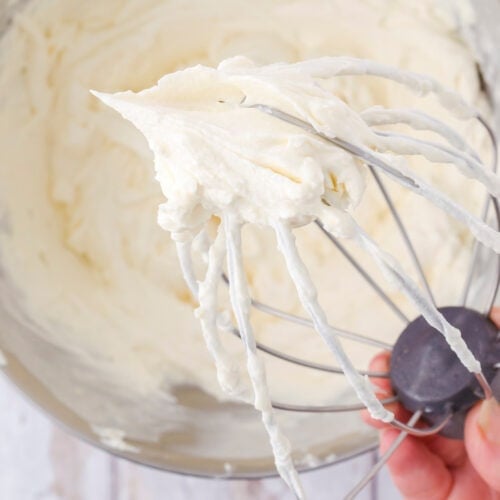
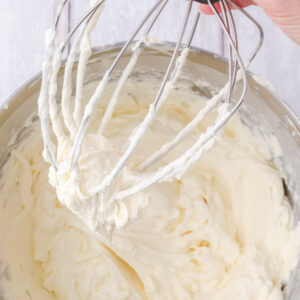
- Beat until it thickens and stiff peaks form.
- Frost the tops and sides of the Red Velvet Cake.
- Refrigerate if keeping longer than a few hours or if it is a warm day.
Notes
- Measure your flour carefully. Sift it and then scoop it lightly into the cup measure - don't pack it down. Level the top with a butter knife.
- Cream the butter until it is fluffy and very light in color. This could take up to 5 minutes - scrape the sides of bowl often.
- Don't over mix the batter - your cake will be tough and coarse.
- Sift the dry ingredients together a couple of times. This is an important step.
- If you use an extra dark cocoa it will dull the red color of the cake. Use regular cocoa powder.
- Unfortunately the natural food colors don't hold up in this recipe. Use the plain store variety of red food coloring for the best result.
- For the most vibrant color use a 3 tablespoons red gel food coloring instead of the liquid.
- No buttermilk? To make this without buttermilk you can try one of these buttermilk substitutions there are numerous ones so be sure to read to the bottom of the page.
- Once I had the layers filled and stacked I ran a couple of drinking straws through the cake around the center to hold everything in place while I finished. If you are going to be transporting it just cut the straw even with the top and frost over it. Take it out when you cut into the cake. It will keep it stable.
Nutrition Facts
Nutrition information is estimated as a courtesy. If using for medical purposes, please verify information using your own nutritional calculator. Percent Daily Values are based on a 2000 calorie diet.
First published April 24, 2010. Last updated December 6, 2023 for readability and editorial improvements.



Comments
No Comments