
Imagine making your own sourdough bread, pancakes, and biscuits with a starter that's simple to create and maintain. With this easy sourdough starter recipe, you'll have a tangy, bubbly starter ready in just a week.
Perfect for busy women who want homemade sourdough without the hassle, this recipe uses minimal ingredients and provides consistent results.
Ready to get started?
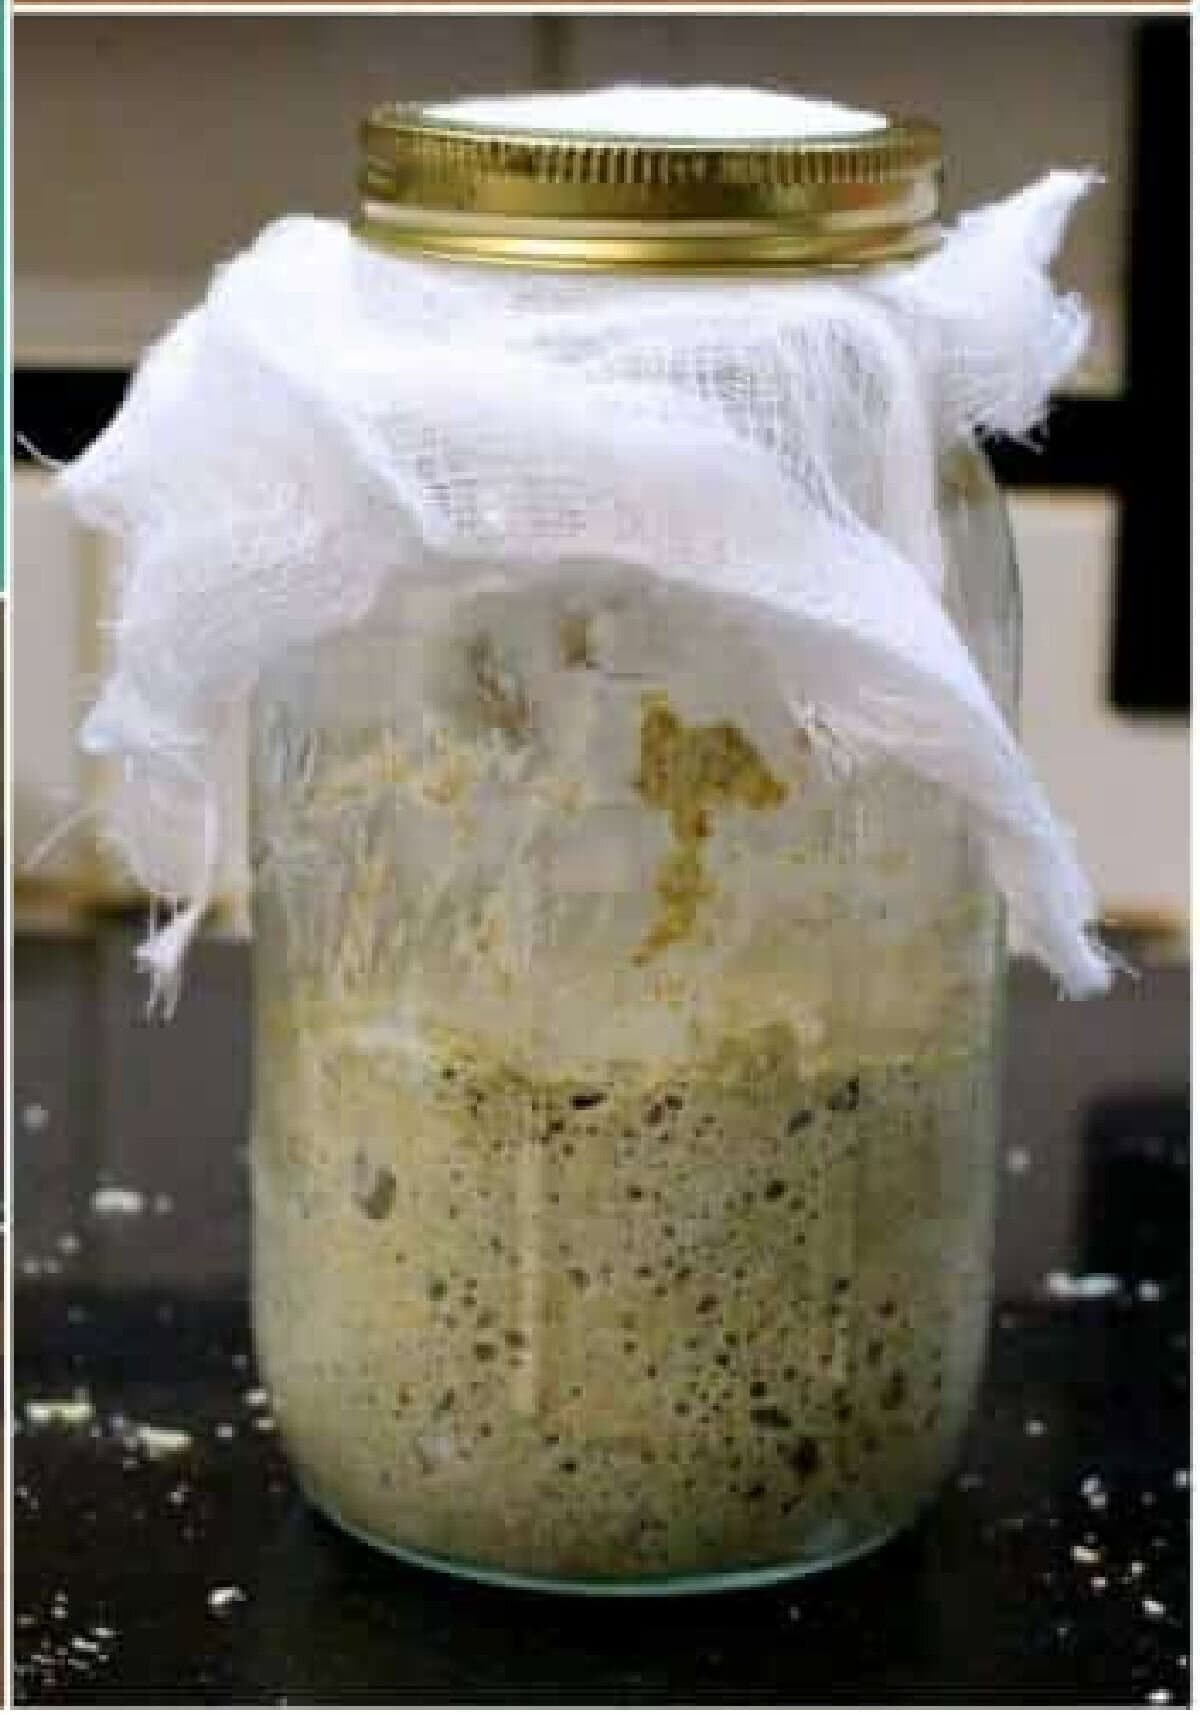
Table of Contents
Save this recipe by clicking on the ❤️ heart on the right-hand side of the screen or in the recipe card.
🗝️ Key takeaways
- Welcome to your new hobby: This sourdough starter is your gateway to delicious homemade sourdough bread, pancakes, biscuits, and more. It's simple, requires minimal ingredients, and delivers that perfect tangy flavor that makes sourdough so irresistible.
- So many uses: Use your sourdough starter to make fresh bread for breakfast, brunch, or dinner. It's perfect for weekend baking projects or when you want to impress guests with homemade goodies.
- Be an expert: You'll discover how to cultivate a healthy sourdough starter from scratch, learn about the importance of wild yeast, and understand how to maintain and feed your starter for consistent results.
🧾 Ingredients
This is an overview of the ingredients. You'll find the full measurements and instructions in the green recipe card (printable) at the bottom of the page.
🔪 Instructions
Sourdough starter recipes are a dime a dozen. I have tried so many versions over the years that I have lost track. Some were good, some were OK and some were just blah.
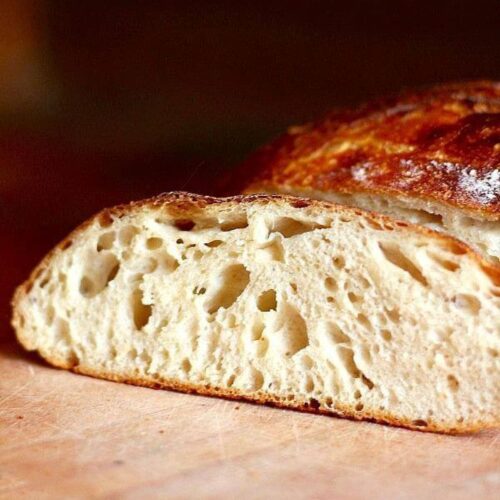
To me, sourdough needs to have a particular tang to it. A good starter has a tart, sour tang to it that's hard to explain - but once you taste it, you'll never forget it.
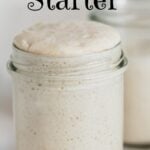
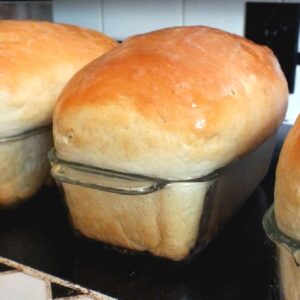
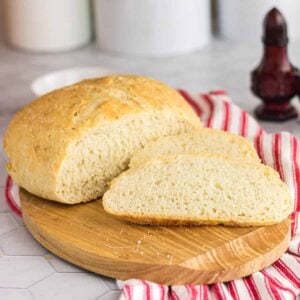
This is my very favorite sourdough starter. You can use it for biscuits, bread, pancakes, or anything else you use sourdough in.
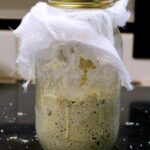
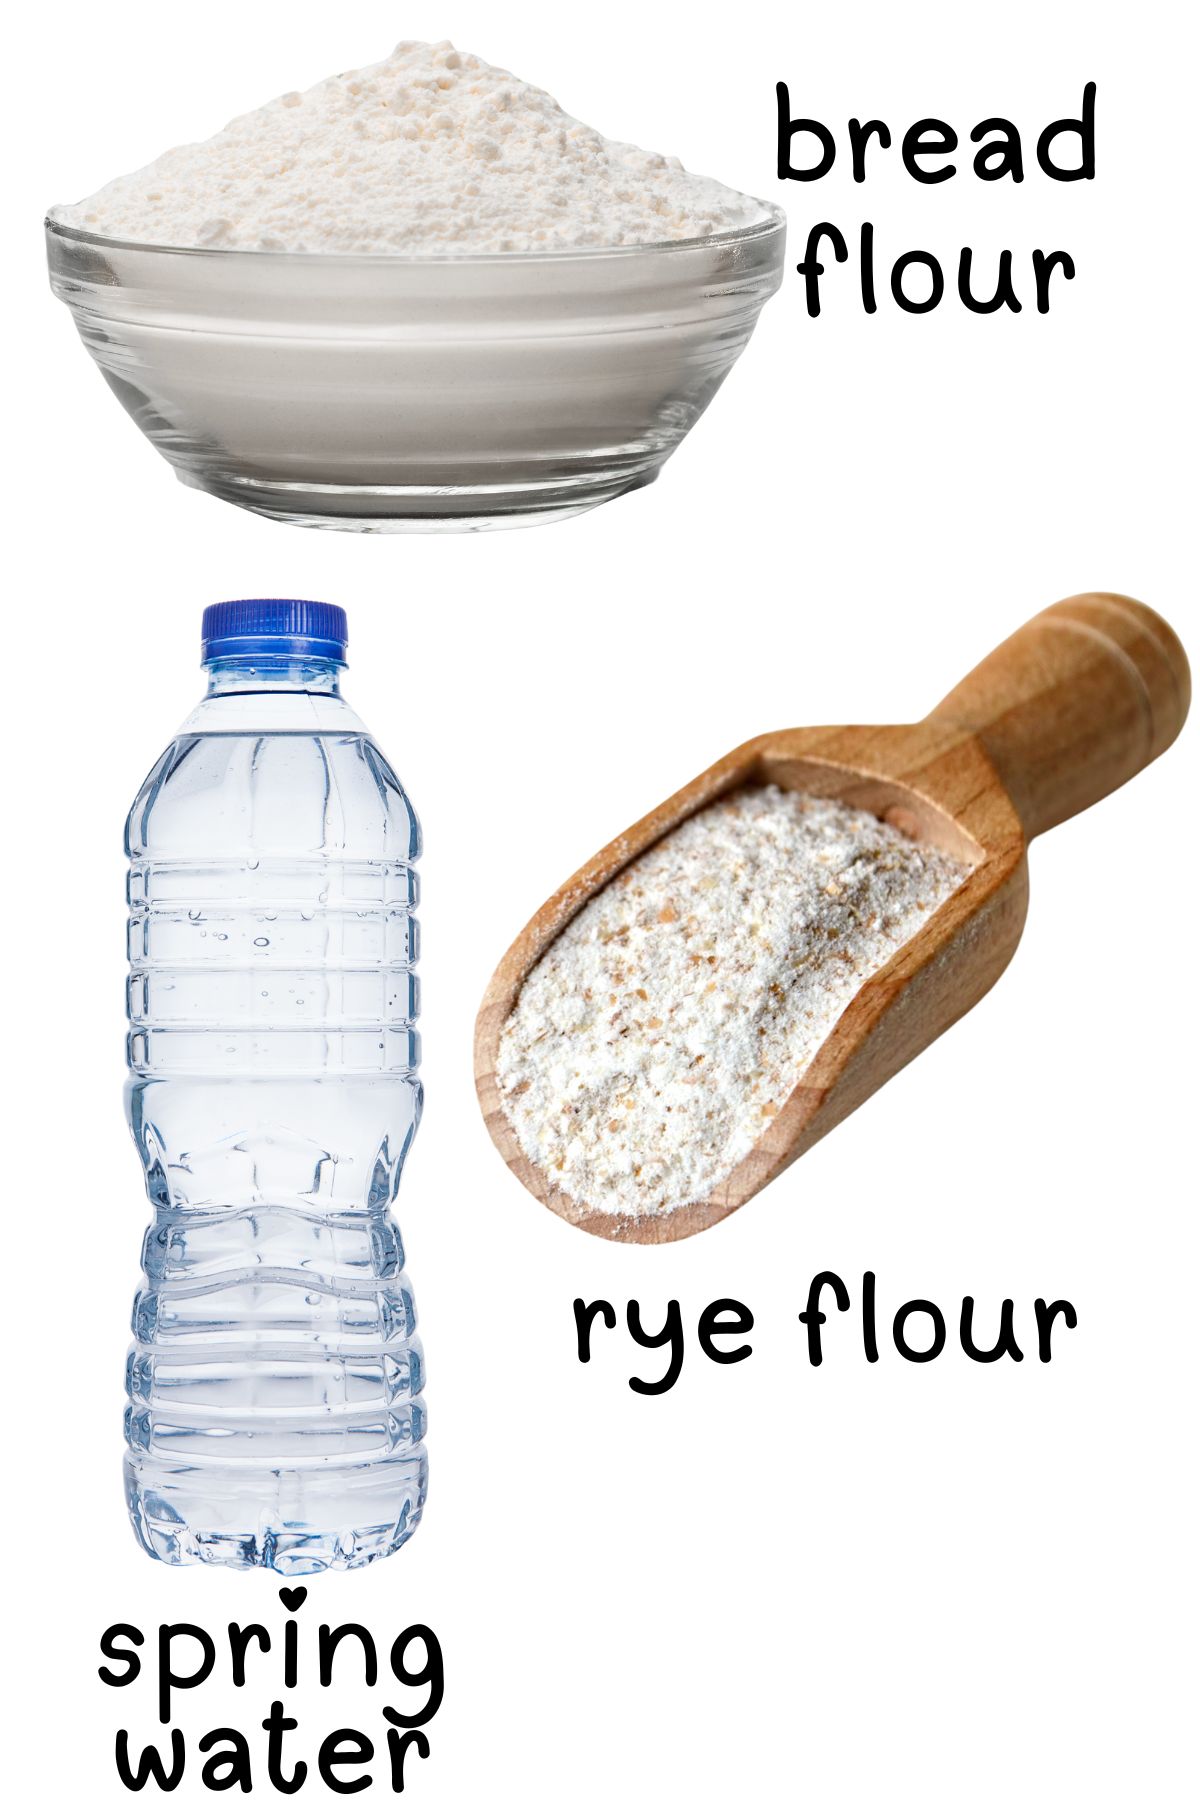
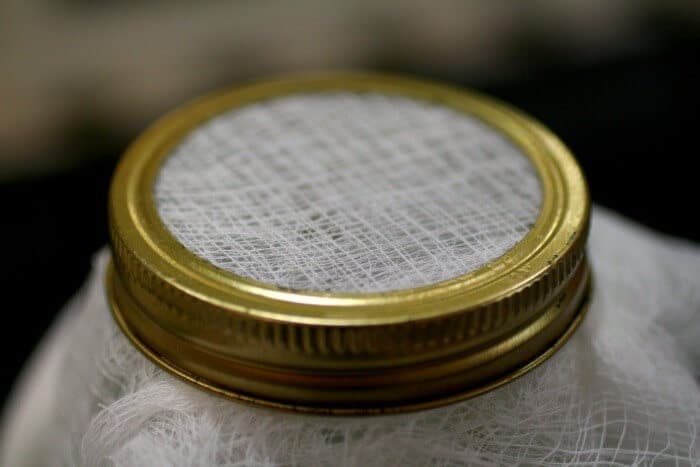
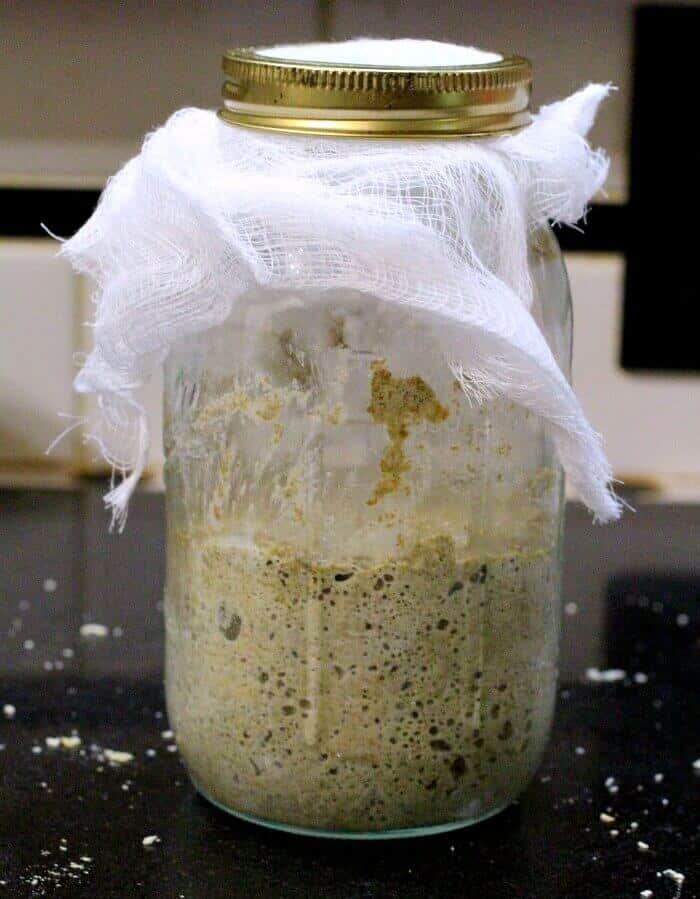
The cheesecloth allows the tiny wild yeast spores to fall into the slurry you are going to make with the water and the rye.
The rye gives the wild yeast something to eat. If you use white flour at this point, the wild yeast will not have enough to eat.
The spring water ensures that there is no chlorine to kill the good bacteria and yeast.
You are going to commit to this starter for a week. You can't start your sourdough starter and then go out of town, OK?
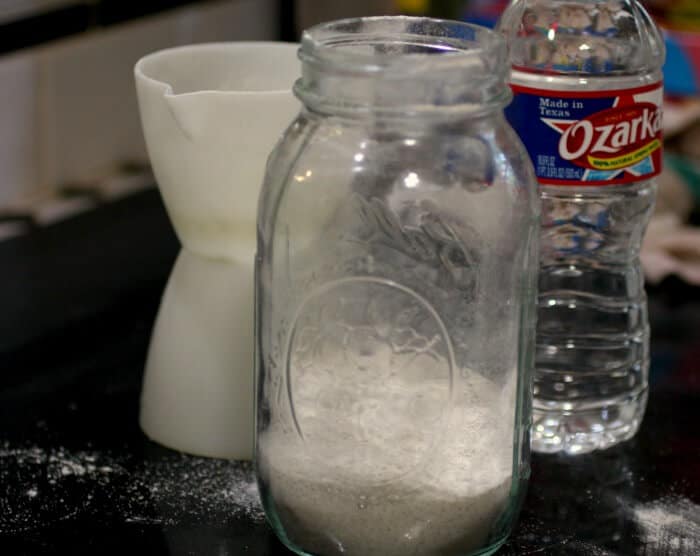
You'll need a quart jar and a screw-on ring but not a top.
Remember, you're going to use the cheesecloth so the starter gets plenty of air.
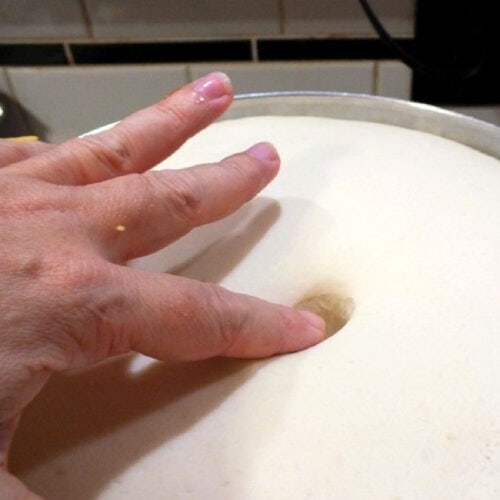
You might want to keep a small dish under the jar of starter. Mine almost always bubbles over and makes a mess.
Many sourdough starters tell you to add yeast in the beginning. If you follow the instructions carefully you won't need to add yeast to the starter, it will become active - light and bubbly - on it's own.
This is a great homeschool project - I've pulled science, history, cooking, and math out of this stuff!

🤫 Cook's secrets -
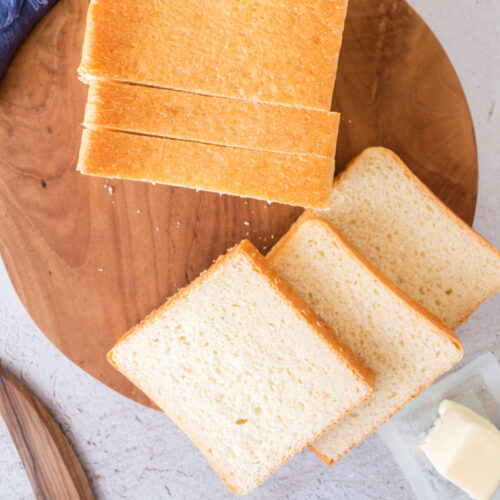
Don't waste the starter you throw out - the discard. Use it in pancakes, waffles, biscuits, quick breads, and all sorts of baked goods!
🍴 Equipment
- 1 quart size canning jar or container
- canning jar ring
- cheesecloth
- measuring spoons and cups
🥫 How to store leftovers
Once your starter is established, store it in the refrigerator. Feed it once a week to keep it active.
If you plan to use it regularly, keep it at room temperature and feed it daily.
Marye's Tip
There are three things that you must not change -
- Always start with rye flour.
- Always use non-chlorinated bottled spring water.
- Always keep it in a warm spot with cheesecloth over the top.
💭 Things to know
- Your starter will take about a week to become active and bubbly.
- Be patient and consistent with feeding your starter for the best results.
- If your starter develops a dark liquid on top, don't worry. Just stir it back in and continue feeding unless it begins to smell foul.
👩🍳 FAQs
Have other questions? Ask me in the comments!
No, it's essential to start with rye flour as it provides the nutrients needed for the wild yeast.
A sour smell is normal, but if it smells off or moldy, discard it and start over.
📚 Related recipes
📞 The last word
Beware! Once you start working with sourdough starter it can quickly become addictive!
If you click on the number of servings in the recipe card you can adjust the measurements up or down for the exact number of servings you need.
If you love this recipe please comment below and give it 5 stars! ⭐️⭐️⭐️⭐️⭐️
📖 Recipe
Sourdough Starter
Print Pin Recipe Rate RecipeIngredients
Day One
- 1 cup rye flour
- ½ cup springwater
Days Two through Seven
- 1 cup bread flour
- ½ cup spring water
Instructions
Day One
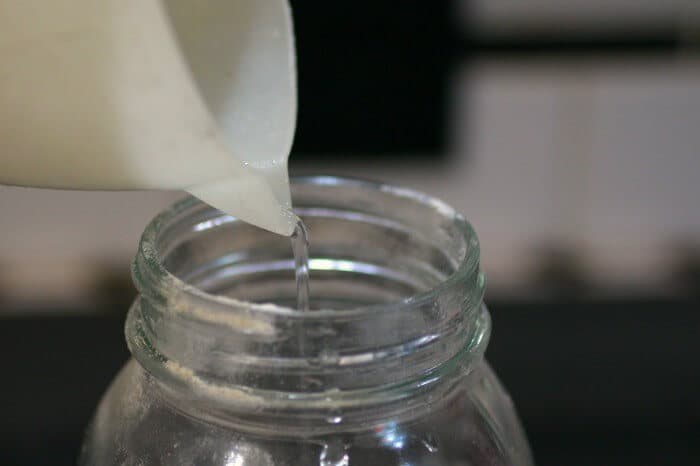
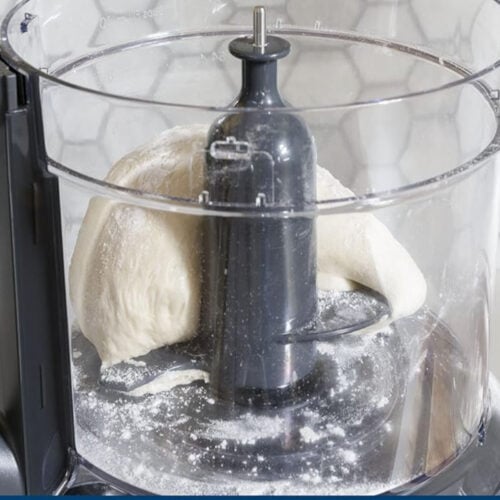
- Put the rye flour into a clean, sterile quart jar.
- Add the water and mix until all of the flour is incorporated.
- Place a cheesecloth square over the top and screw on the ring to hold it in place.
- Place in a warm spot.
Days Two through Four
- Remove ½ cup of the starter and throw he rest of it out.
- Pour it back into the jar.
- Add 1 cup of bread flour and ½ cup spring water and mix thoroughly.
- Replace the cheesecloth and ring and put in a warm place.
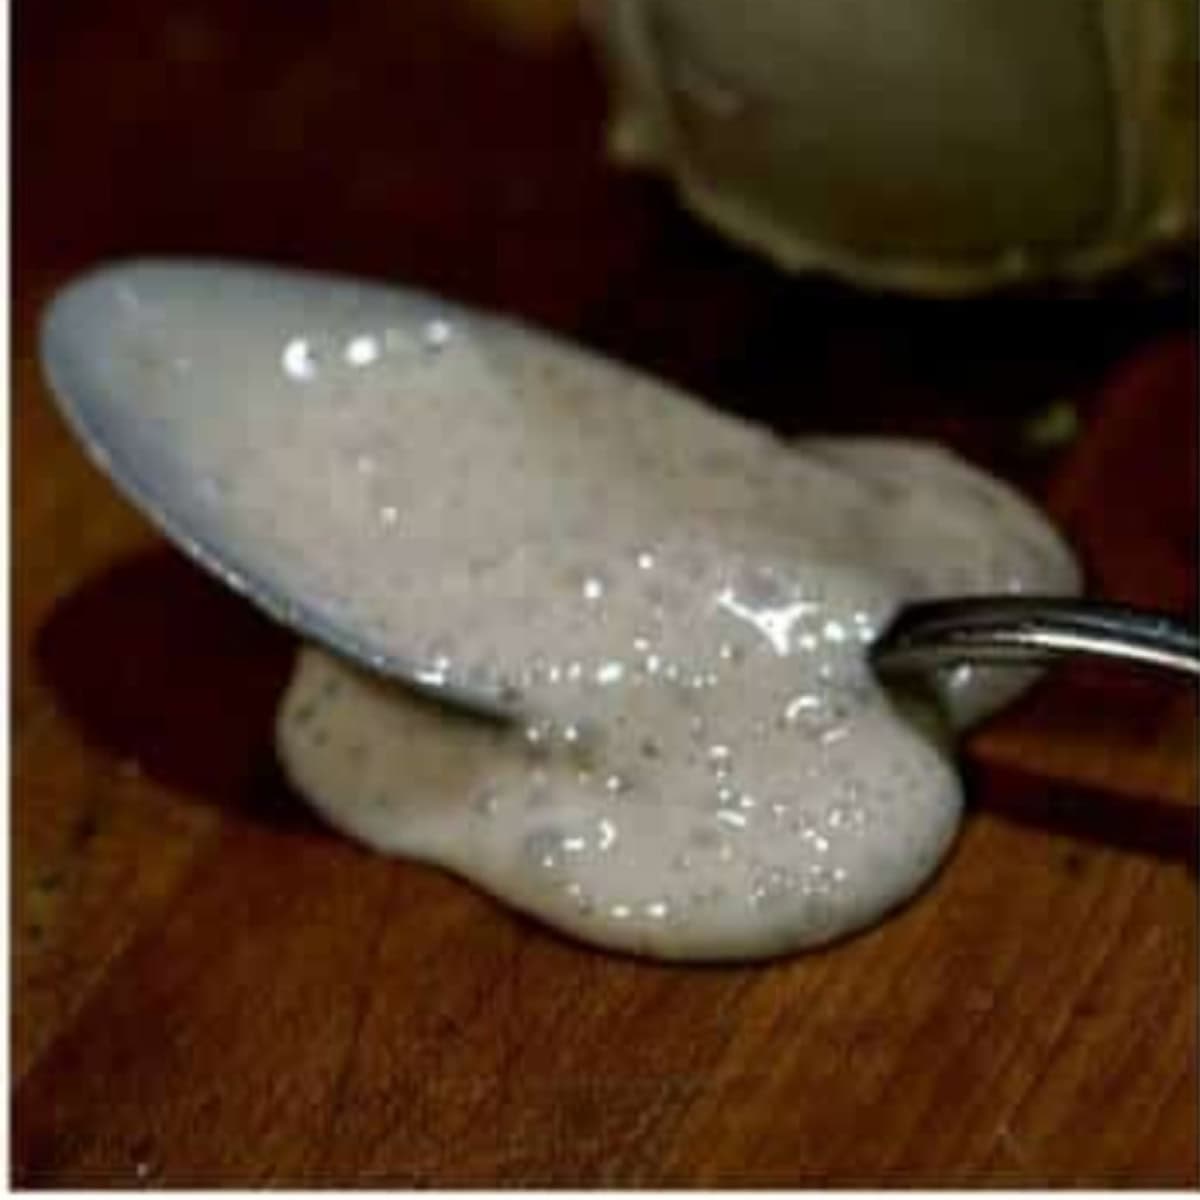
- By day three you should start to see some bubbles and activity.
Days Four through Seven
- Remove ½ cup of the starter and throw the rest of it out.
- Pour it back into the jar.
- Add 1 cup bread flour and ½ cup spring water. Do this TWICE a day, as close to 12 hours apart as possible.
- By day 7 your starter should have a pleasant, sour tang and double in size within 12 hours.
Maintain Your Starter
- Always keep ½ cup starter and make your bread with the rest. You can either keep it in the refrigerator or feed it (1 cup flour and ½ cup spring water) at lease once a day. It tends to keep better if you keep it out and feed it. You don't have to throw all of that starter away - if you happen to know other bread bakers feel free to share.
Notes
Nutrition information is estimated as a courtesy. If using for medical purposes, please verify information using your own nutritional calculator. Percent Daily Values are based on a 2000 calorie diet.
This recipe has been tested several times. If you choose to use other ingredients, or change the technique in some way, the results may not be the same.
Love this recipe?
Subscribe to the free membership group and never miss another recipe!
First published April 28, 2014. last updated June 15, 2024 for editorial improvements.
Shirley Forsberg says
Can Sourdough starter be substituted for yeast taking into account the elongated rising times?
Marye says
yes but I don't recommend it. If you substitute sour dough for yeast in a regular bread recipe you'll need to also figure in the extra liquid and flour that's in the starter and this can through your ratios way off. Best to stick with yeast for yeast breads and sour dough for sour dough recipes.
Teresa Slominski says
Hello, do I use the rye flour only in the beginning? Throughout the rest of your instructions I see you mentioned bread flour. If I started with unbleached white flour, can I feed my starter with rye flour? Is it the rye that gives it that strong wonderful tang?
Marye says
Yes that is correct. Just in the very beginning.
Linda G Hensley says
Hi Marye. It's me again. I don't happen to have any cheesecloth right now. Can I use the metal lid with holes punched in it? What do ya think??
Marye says
No it needs the cheesecloth so the wild yeast can settle in.