Getting bread to rise can be tricky in cold weather. Sometimes you just want to hurry the process. Either way, use these tips to make bread dough rise faster and get your rolls and loaves done more quickly!
How to make bread rise fast
Here's a quick list of ways to make bread rise faster. Read below for more information, explanations, and cool facts.
- Let it rise in a warm place: the oven, microwave, heating pad, instant pot, top of the water heater, proofing oven
- Add a bit more yeast and/or use rapid rise yeast
- Warm the dry ingredients as well as the wet ingredients
- Increase gluten by adding vital wheat gluten or using bread flour
- Use a dough enhancer
- Make bread on dry days
Table of Contents
- How to make bread rise fast
- What does bread need to rise properly?
- Oven
- Microwave
- Slow cooker
- Instant pot
- Heating pad
- Top of the water heater
- Special proofing oven
- Add more yeast
- Use rapid rise yeast
- Warm the dry ingredients
- Use bread flour
- Add gluten flour
- Use a dough enhancer
- 👩🍳 FAQs
- 📚 Related recipes
- Atmospheric pressure affects rising!
- 💬 Comments
What does bread need to rise properly?
Let's break down the bread basics for a minute. To rise properly, bread needs a leavening agent, moisture, and a warm environment.
72 to 77 degrees F works best.
When you stir up a batch of bread dough, the yeast gets to work eating the sugar in the flour. As a result, it produces carbon dioxide gas.
Those gas bubbles get trapped in the sticky gluten mixture and make the dough rise. It creates those tender little pockets of texture that bread is known for.
Warmer temperatures cause yeast to break down the gluten faster.
So, since heat is the key, there are a few different methods you can use to control the temperature and make bread rise faster.
Oven
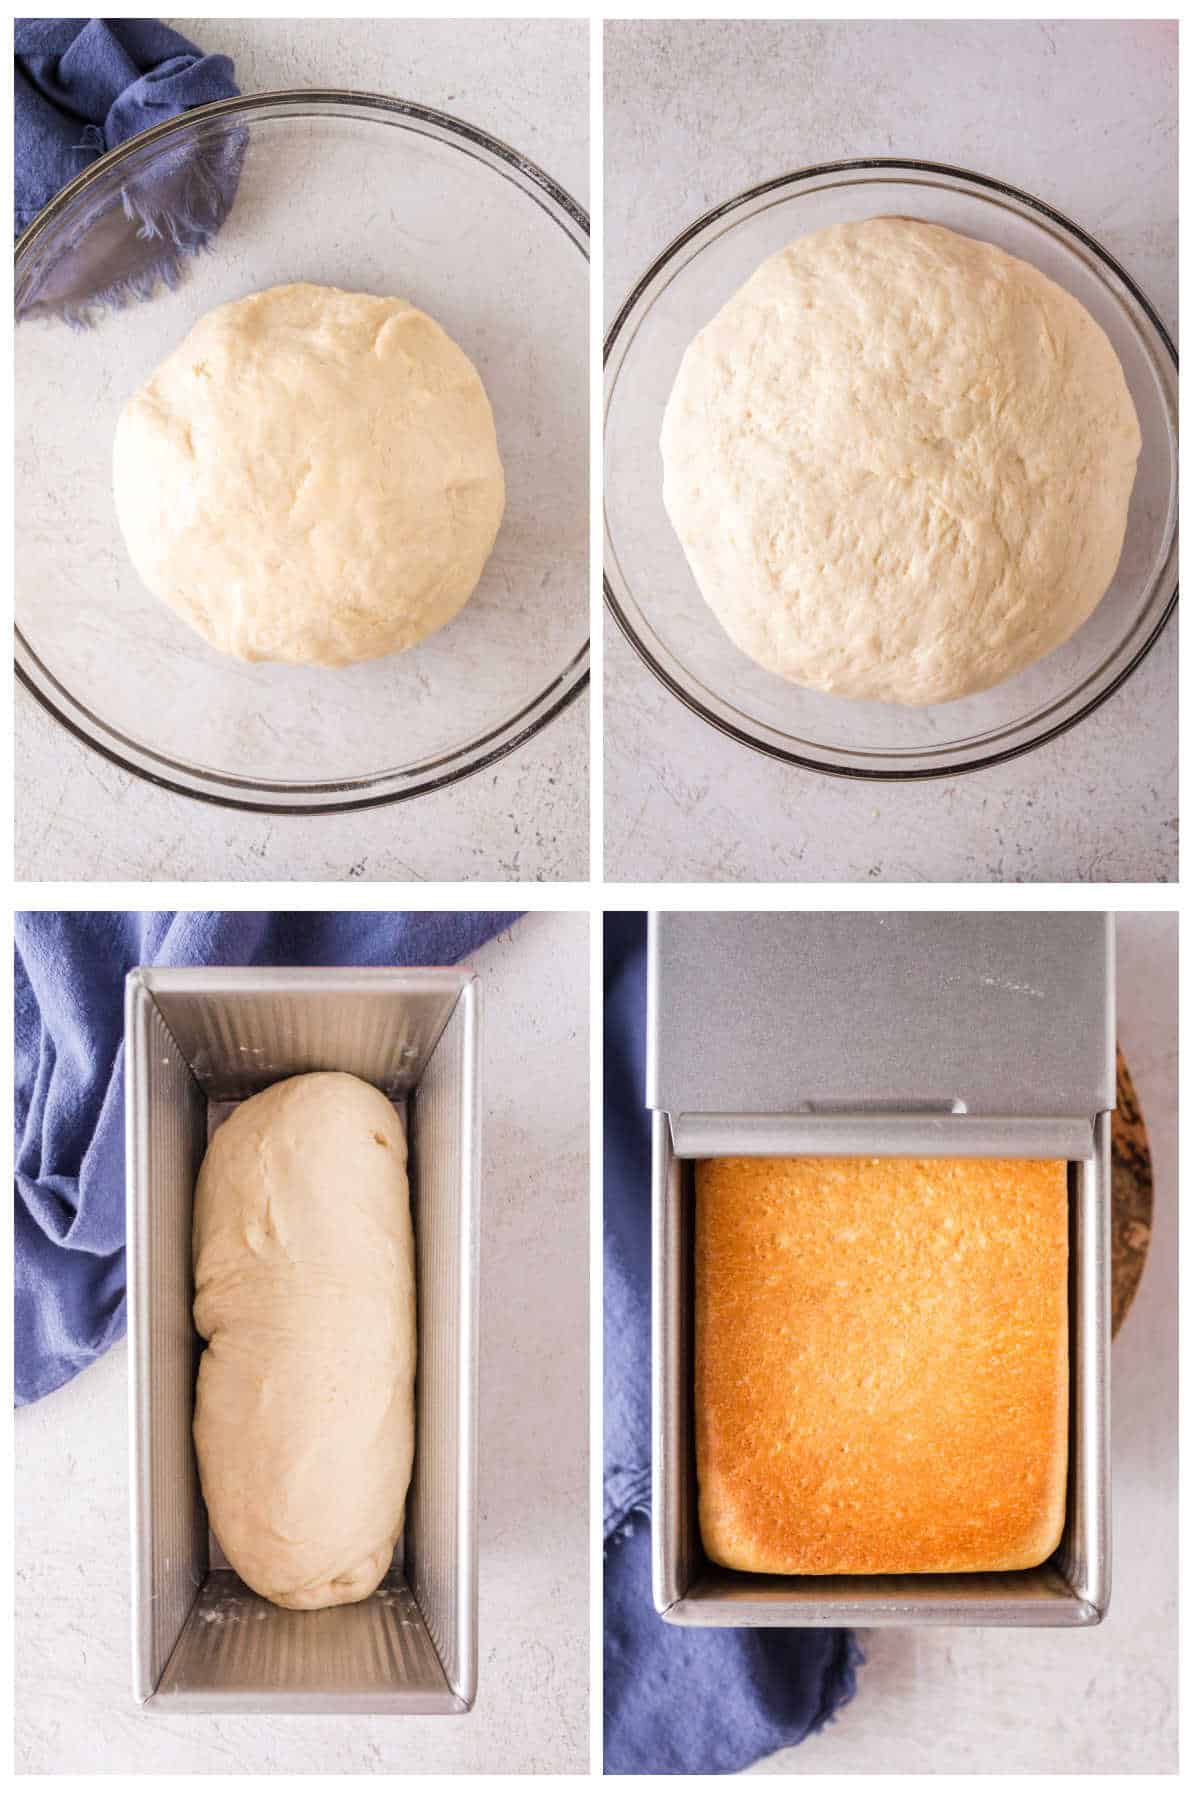
A great way to get your dough rising faster is to set it in a warm oven. The key word here is warm—not hot. If your oven is too hot, it will bake the dough.
Newer ovens come with a bread-proof setting. If yours doesn't, just turn on the oven light, place the greased bowl of dough on the middle rack, and close the oven door. Easy, peasy.
Alternatively, you can leave the light off and place a bowl of boiling water on the rack below your dough. Keep the oven door closed so it stays nice and humid.
Microwave
Put one cup of water into a glass measuring cup and heat it up in the microwave until it boils. Once finished, place your bowl of dough next to the cup of boiling water and close the microwave door again.
This steamy environment provides just enough heat to make your bread rise faster. Whatever you do, don't actually turn on the microwave while your dough is inside.
Slow cooker
Fill the
The warm water will radiate heat upwards and help your dough rise faster. Just make sure that your dough is placed in a greased glass bowl that’s covered tightly with plastic wrap.
Instant pot
Have an instant pot? Try this (almost) instant rise!
Line the pot with greased parchment paper and place the dough ball inside it. Set the temperature to low and cover with a clear lid—monitor it so it doesn't get too hot.
Then, check the dough after 30 minutes. If it’s done rising, take it out and move ahead with your recipe.
If not, check it every 10 minutes more until the dough has doubled in size.
Heating pad
Heating pads aren't just for injuries! Place a folded towel over a heating pad and set the temperature to low.
Then, carefully position the covered glass bowl of dough on top of the towel. The heating pad will gently warm your dough and help it rise faster.
Top of the water heater
Yes, you can even proof your dough with a water heater! Now, we're getting creative!
Put your water heater on the lowest temperature setting and place the covered bowl of dough on top of it. Monitor it until the size matches your recipe instructions—generally, doubled in size.
Keep in mind that if you choose this proofing method, you must use a glass bowl. A metal bowl will get too hot, and a plastic bowl could melt all over your water heater—what a mess!
Special proofing oven
As an Amazon Associate I earn from qualifying purchases.
A dough-proofing oven is also called a dough proofer, proofing cabinet, proofing drawer, or proof box. Basically, it’s a sealed compartment with a removable lid that acts as a heat source to make bread rise fast!
More than that, a bread-proof box controls the temperature, humidity, and airflow around your bread dough. This helps create the ideal environment for your dough to rise and ensures good results every single time!
If you have cold winters, you might want to invest in a bread proofing box such as this inexpensive one.
On the other hand, this sturdier proofing oven is perfect if you make bread regularly.
Add more yeast
If warmth and moisture aren’t activating your yeast, add a little more power!
Dissolve half a teaspoon of fresh yeast with a couple of tablespoons of warm water. After the mixture has become foamy-looking, knead it into your dough and let it rise again.
Tread carefully using this method, though. Adding too much yeast to your bread will overproof the dough and make it deflate into hard, flat bread— and not the good kind of flatbread!
Use rapid rise yeast
As the name suggests, rapid-rise yeast (also called instant yeast) will make your bread rise more rapidly. It really speeds up the process!
Unlike active dry yeast, rapid-rise yeast doesn’t need to be proofed (activated) before you add it to your bread dough. Just mix instant yeast in with your dry ingredients and add the warm water afterward.
You can replace active dry yeast with the same quantity of rapid-rise yeast in your bread recipes. With instant yeast, you can skip the first rise of your dough and shape your loaf of bread right away.
Warm the dry ingredients
Another neat breadmaking hack is to warm up the dry ingredients before mixing in the wet ingredients.
You can do this safely using a double boiler. However, if you don’t have a double broiler, just put a glass bowl on top of a saucepan filled with water.
Then, bring it to a simmer. Place the dry ingredients in the upper bowl for a few minutes until warm. This works great if you store your flour in a cool pantry or even in the fridge.
Use bread flour
Bread flour has a higher gluten content than all-purpose flour. What does that mean? Well, more gluten traps more gas bubbles in the dough during the fermentation process—this means more rising power!
Those extra gas bubbles make the dough rise faster and create airy, fluffy bread. Use an easy 1:1 ratio when substituting bread flour for all-purpose flour in a bread recipe.
Add gluten flour
Gluten flour is often labeled as vital wheat gluten flour. It’s a flour-like powder made mostly of pure gluten with a little bit of starch.
Substitute 1 tablespoon gluten for 1 tablespoon flour in each cup of flour for whole wheat bread and about half that for white bread. It will improve the texture of your bread and make it rise higher.
Use a dough enhancer
Dough enhancers are also called bread improvers. They are natural ingredients that improve the rise, texture, taste, and crust of your bread. Most dough enhancers are acidic because acid increases yeast activity.
Some great dough enhancers I use in bread are:
- Powdered ginger
- Potato water
- Wheat gluten
- Dry milk powder
- Vitamin C powder (ascorbic acid)
- Lecithin
- Pectin
- Combination dough enhancer
Read more about ingredients that help bread rise here.
👩🍳 FAQs
Use a bread-proofing box, warm oven, microwave with a cup of boiling water, or a heating pad. You could get creative and even use the top of your water heater or a hot water bed to make your bread rise! If your dry ingredients are cold, bring them up to room temperature with a double broiler or a glass bowl over a saucepan.
Either you used hot water that killed your yeast or your yeast has expired. If the water temperature is higher than 115F, it will kill the yeast and your bread won’t rise.
Active dry yeast needs to be proofed in warm water with a pinch of sugar before you can add it to your dough. The water and sugar activate the yeast to start the fermentation process. Rapid-rise yeast has finer granules and dissolves faster, so it doesn’t need to be proofed.
A second rise makes your dough more elastic and traps more air. Although this adds extra time to the breadmaking process, it results in the best bread taste and texture. Your patience will pay off!
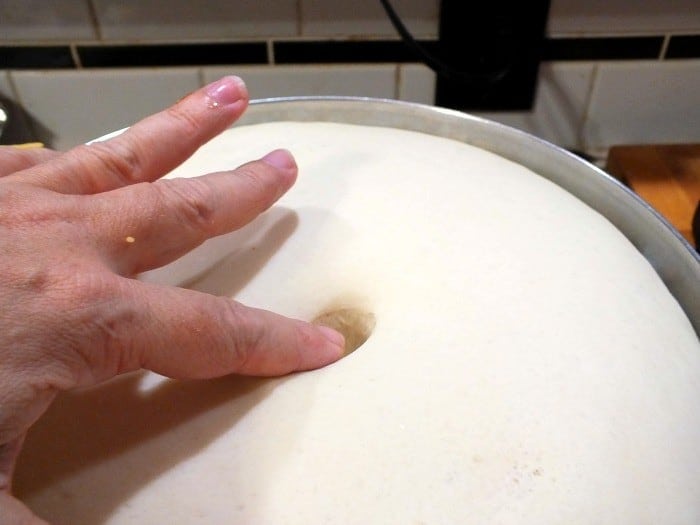
Do the poke test! After the second rise, flour your finger and lightly poke your dough. If the indent stays, it’s ready to bake! If the indent springs back quickly, your dough needs more rise time.
📚 Related recipes
- This Farmhouse Bread is a soft, homemade white bread that’s perfect for beginner bread bakers.
- Simplify Sourdough Bread with my fool-proof recipe and an easy homemade Sourdough Starter.
- Great for sandwiches, No-Fail Amish White Bread is super easy and makes smooth, sweet bread kids love!
- Soft Multigrain Sandwich Bread combines the soft and fluffy texture of white bread with the heartiness and nutrition of whole wheat bread.
- Quick and easy, my Homemade Baguette Recipe is a chewy, crusty quick bread that’s ready in 30 minutes!
- Beer Pizza Dough is an easy recipe for homemade pizza crust that delivers more flavor than traditional pizza dough.
- This drool-worthy English Muffin Bread Recipe is a no-knead yeast bread with all the craters and toasty bits of English muffins.
Atmospheric pressure affects rising!
Do you live in a rainy climate?
Oddly enough, atmospheric pressure can affect the rise. On rainy days, no matter what the temperature is, your bread is likely to rise more slowly.
Baking the perfect loaf of bread takes practice. Even if you've been baking bread for decades (like me!) changes in ingredients can make a difference in how the dough behaves.
The main thing is to enjoy the process!






Comments
No Comments