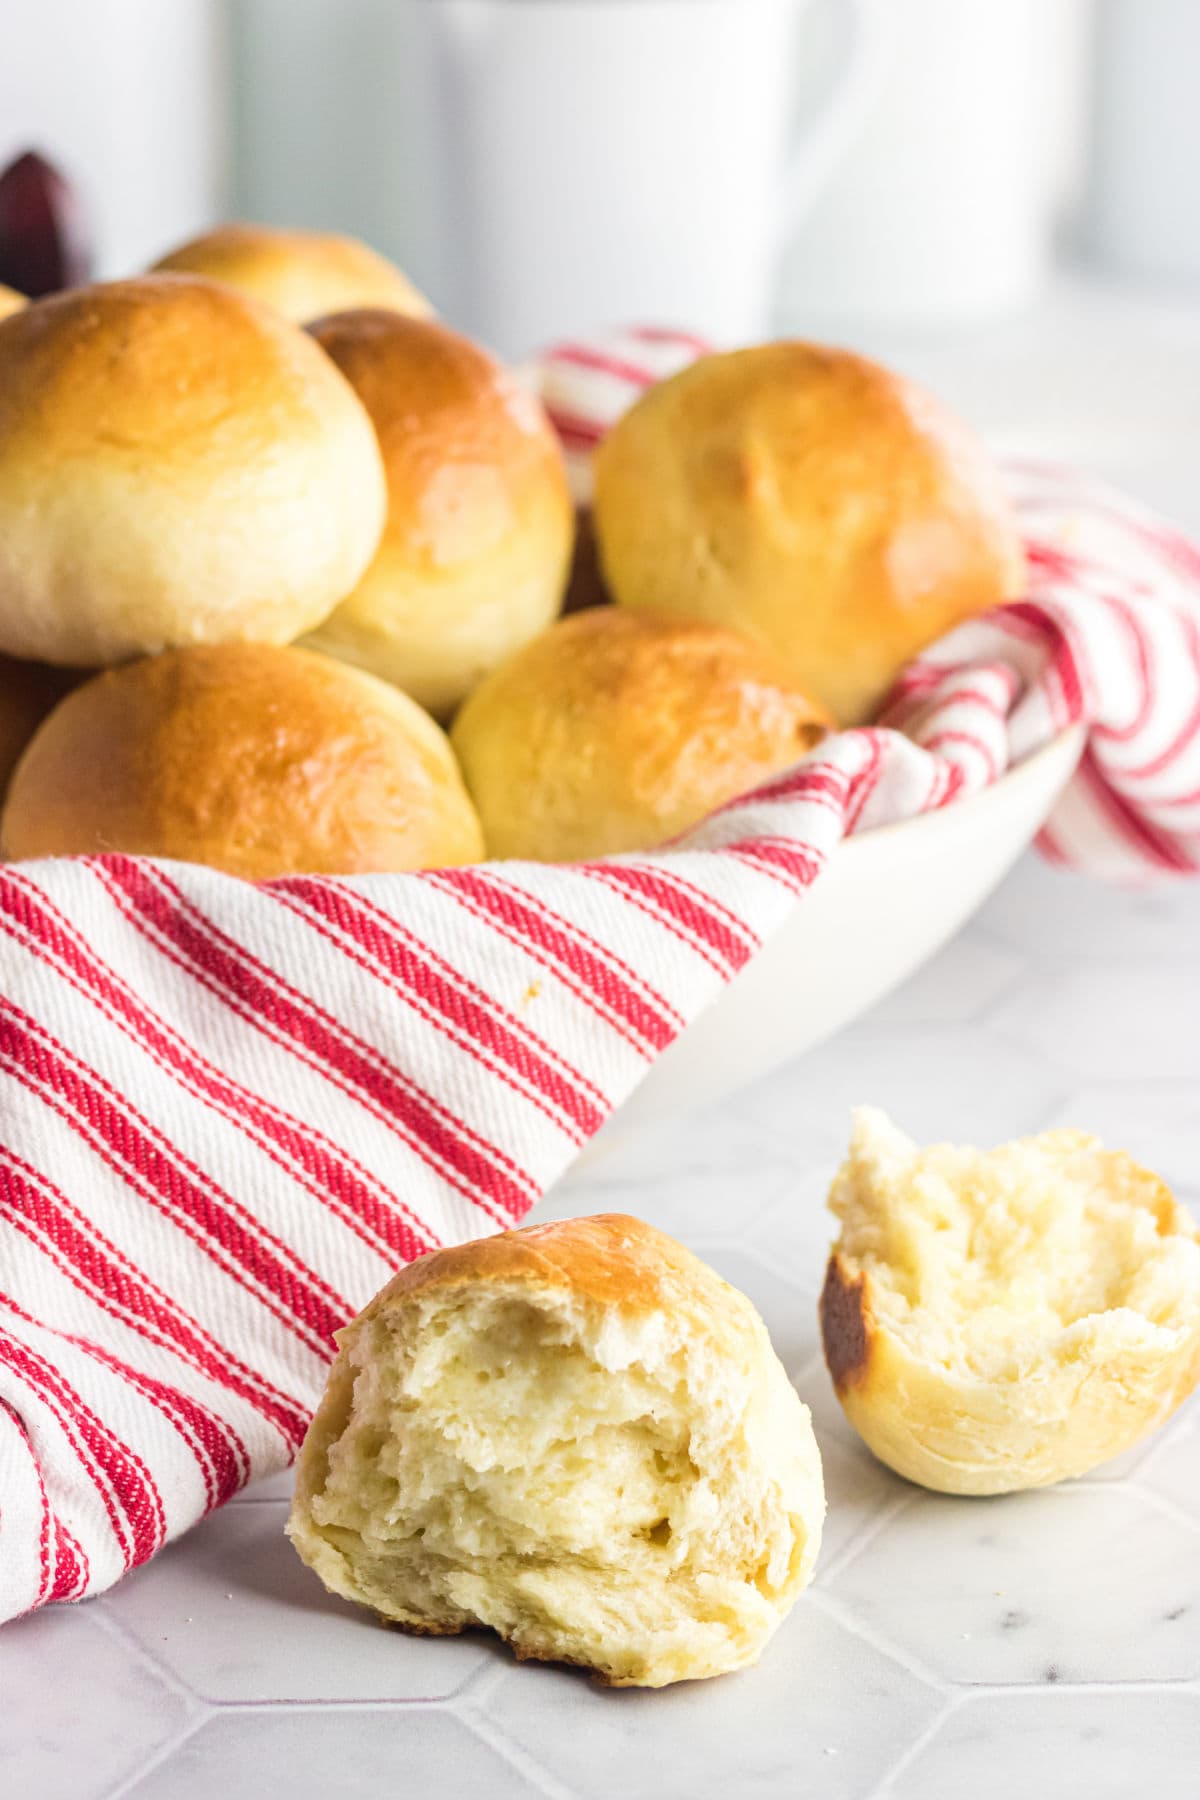
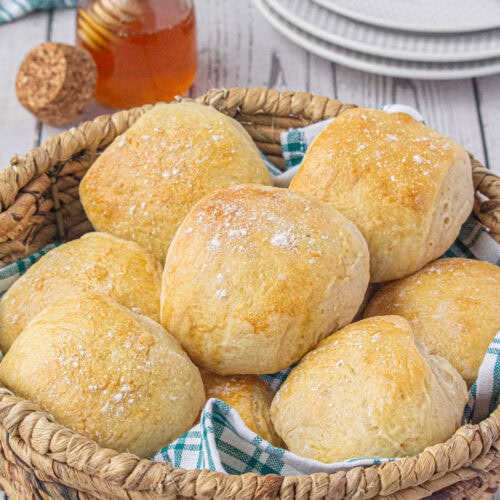
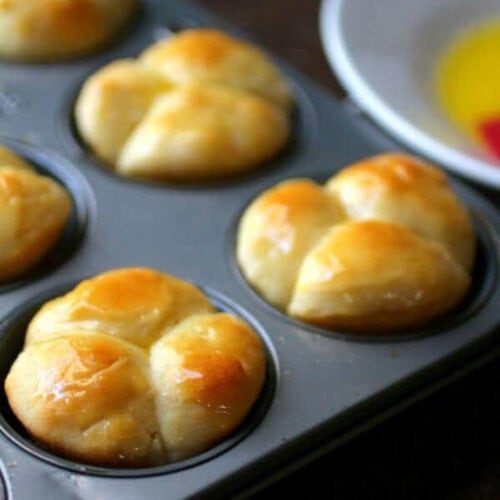
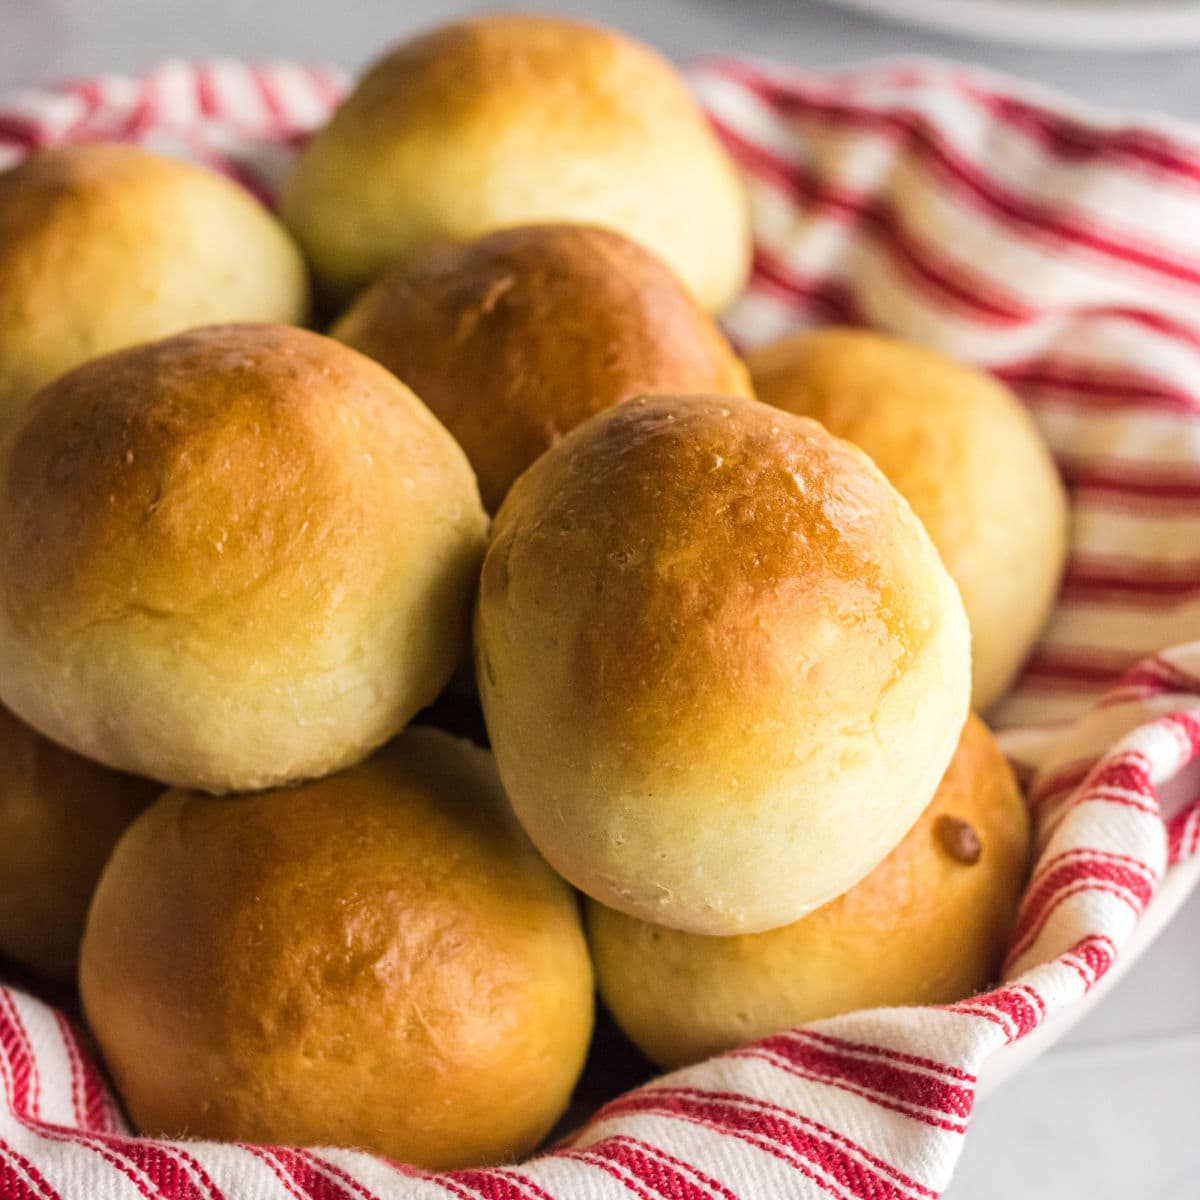
When you're short on time but still want to serve up a batch of warm, fluffy dinner rolls, this quick dinner rolls recipe is your go-to solution! With just a handful of ingredients and minimal prep time, you’ll have golden, buttery rolls on the table in 30 minutes—perfect for busy weeknights. Keep reading to learn how to make these irresistibly soft rolls!
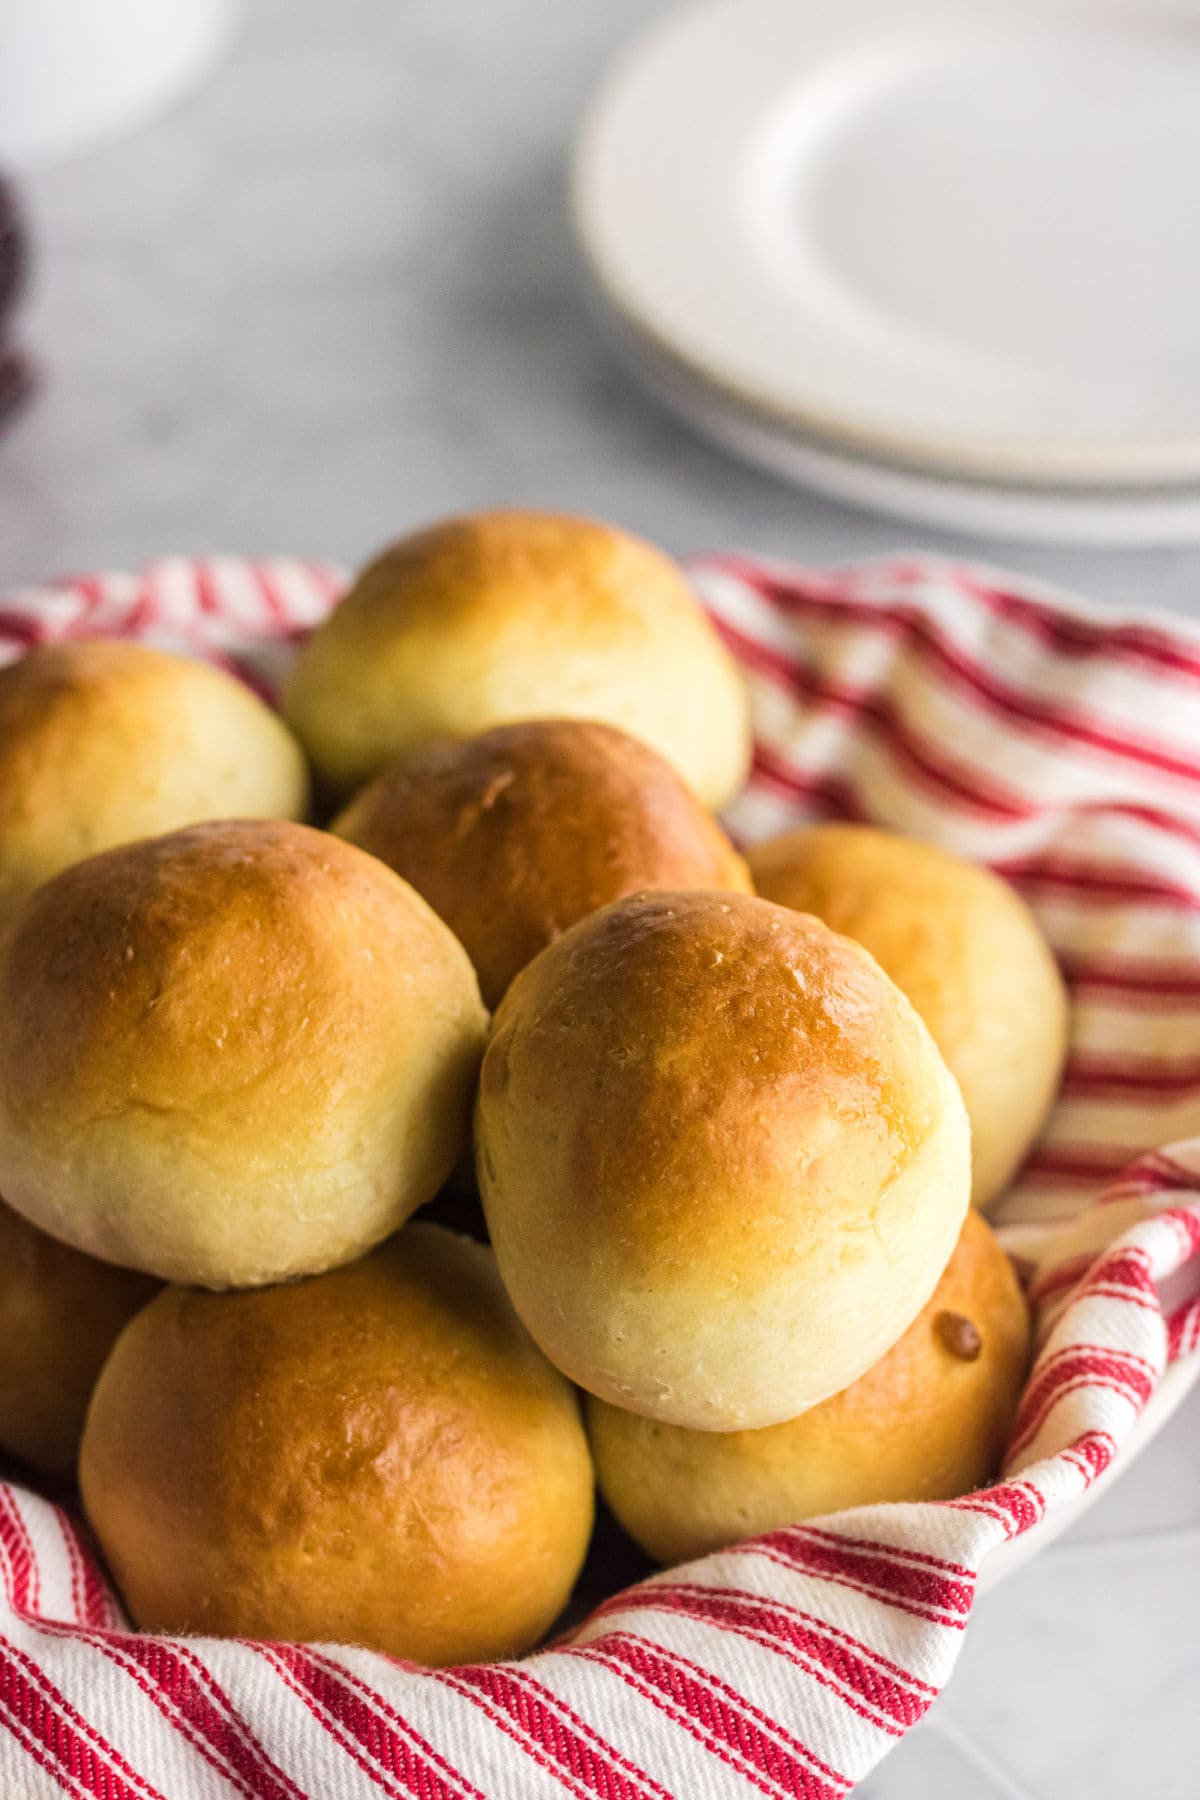
Table of Contents
- 🗝️ Key takeaways: why this recipe is your new favorite
- 🧾 Gather your ingredients: what you'll need
- 📖 Make it your own: yummy variations
- 🔪 Step-by-step guide: instructions for success
- 🍴Must have tools: essential equipment
- 🎥 Watch and cook: step-by-step video tutorial
- 🥫 Leftover love: how to store and reheat
- Marye's Tip o' the day
- 💭 Insider tips: things to know
- 👩🍳 Let's answer those questions: FAQs
- 📚 More Southern comfort: related recipes you'll love
- 🍽️ No waste: creative ways to repurpose dinner rolls
- 📞 Wrapping it up: the last word
- 📖 Recipe
- Quick Dinner Rolls
- 💬 Comments
Save this recipe by clicking on the ❤️ heart on the right-hand side of the screen or in the recipe card.
🗝️ Key takeaways: why this recipe is your new favorite
- Soft, fluffy, and piping hot dinner rolls are done, start to finish, in 30 minutes.
- These foolproof homemade rolls are so quick and easy that you can have them anytime - even busy weeknights.
- You can make these ahead and freeze to keep life running smoothly.
There is just something so special about homemade rolls, warm and fragrant out of the oven, with a soft pat of melted butter glistening over the top.
It adds a little bit of extra love to your meal—without adding a lot of time or effort. This easy recipe is made for women juggling work and home life! It delivers all the comfort and deliciousness of homemade bread without the fuss.
🧾 Gather your ingredients: what you'll need
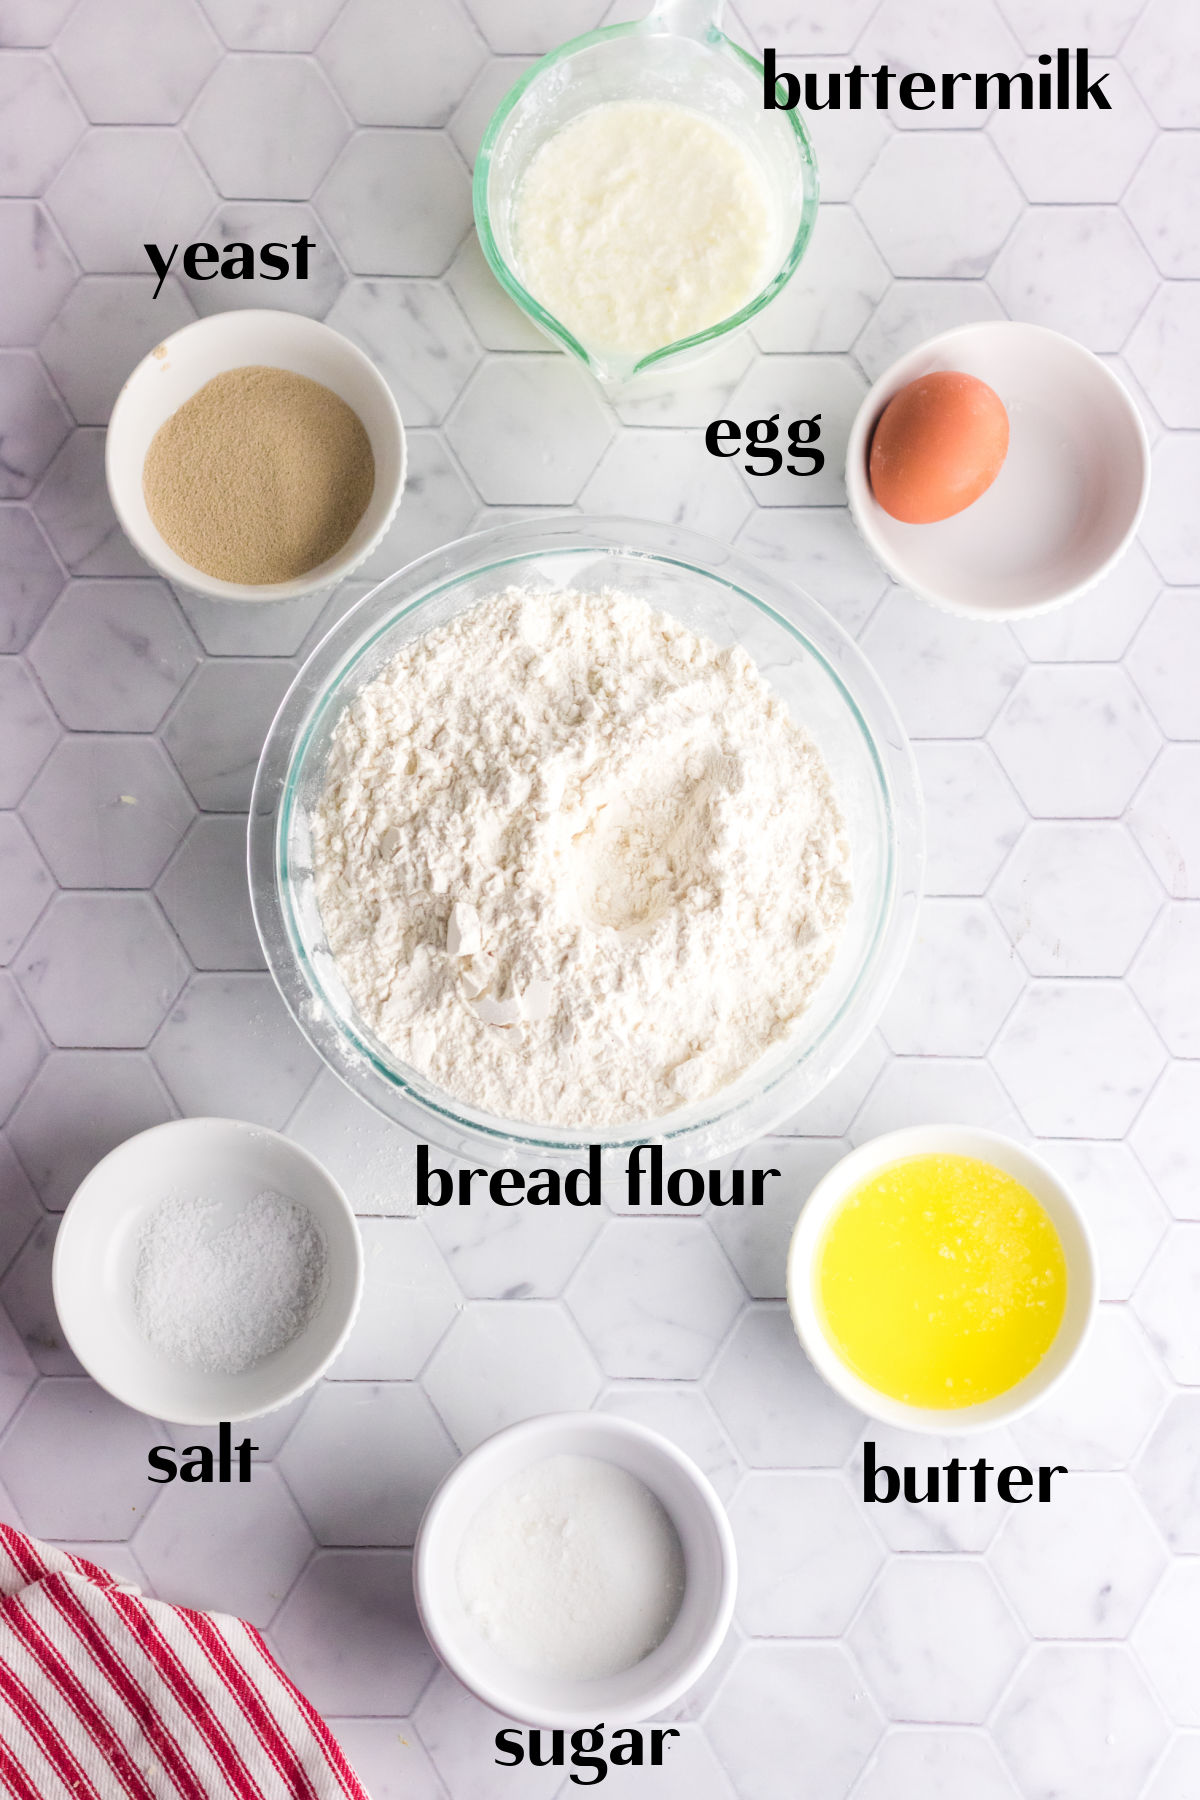
This is an overview of the ingredients. You'll find the full measurements and instructions in the green recipe card (printable) at the bottom of the page.
📖 Make it your own: yummy variations
- Any vegetable oil swap will work. Try canola oil, olive oil, or even avocado oil. Sometimes I use part oil and part melted butter.Brush them with honey butter.
- Brush with an herb-infused butter, or garnish with fresh herbs.
🔪 Step-by-step guide: instructions for success
This is an overview of the instructions. Full instructions are in the green recipe card at the bottom of the page. Click on the image to see it full size.
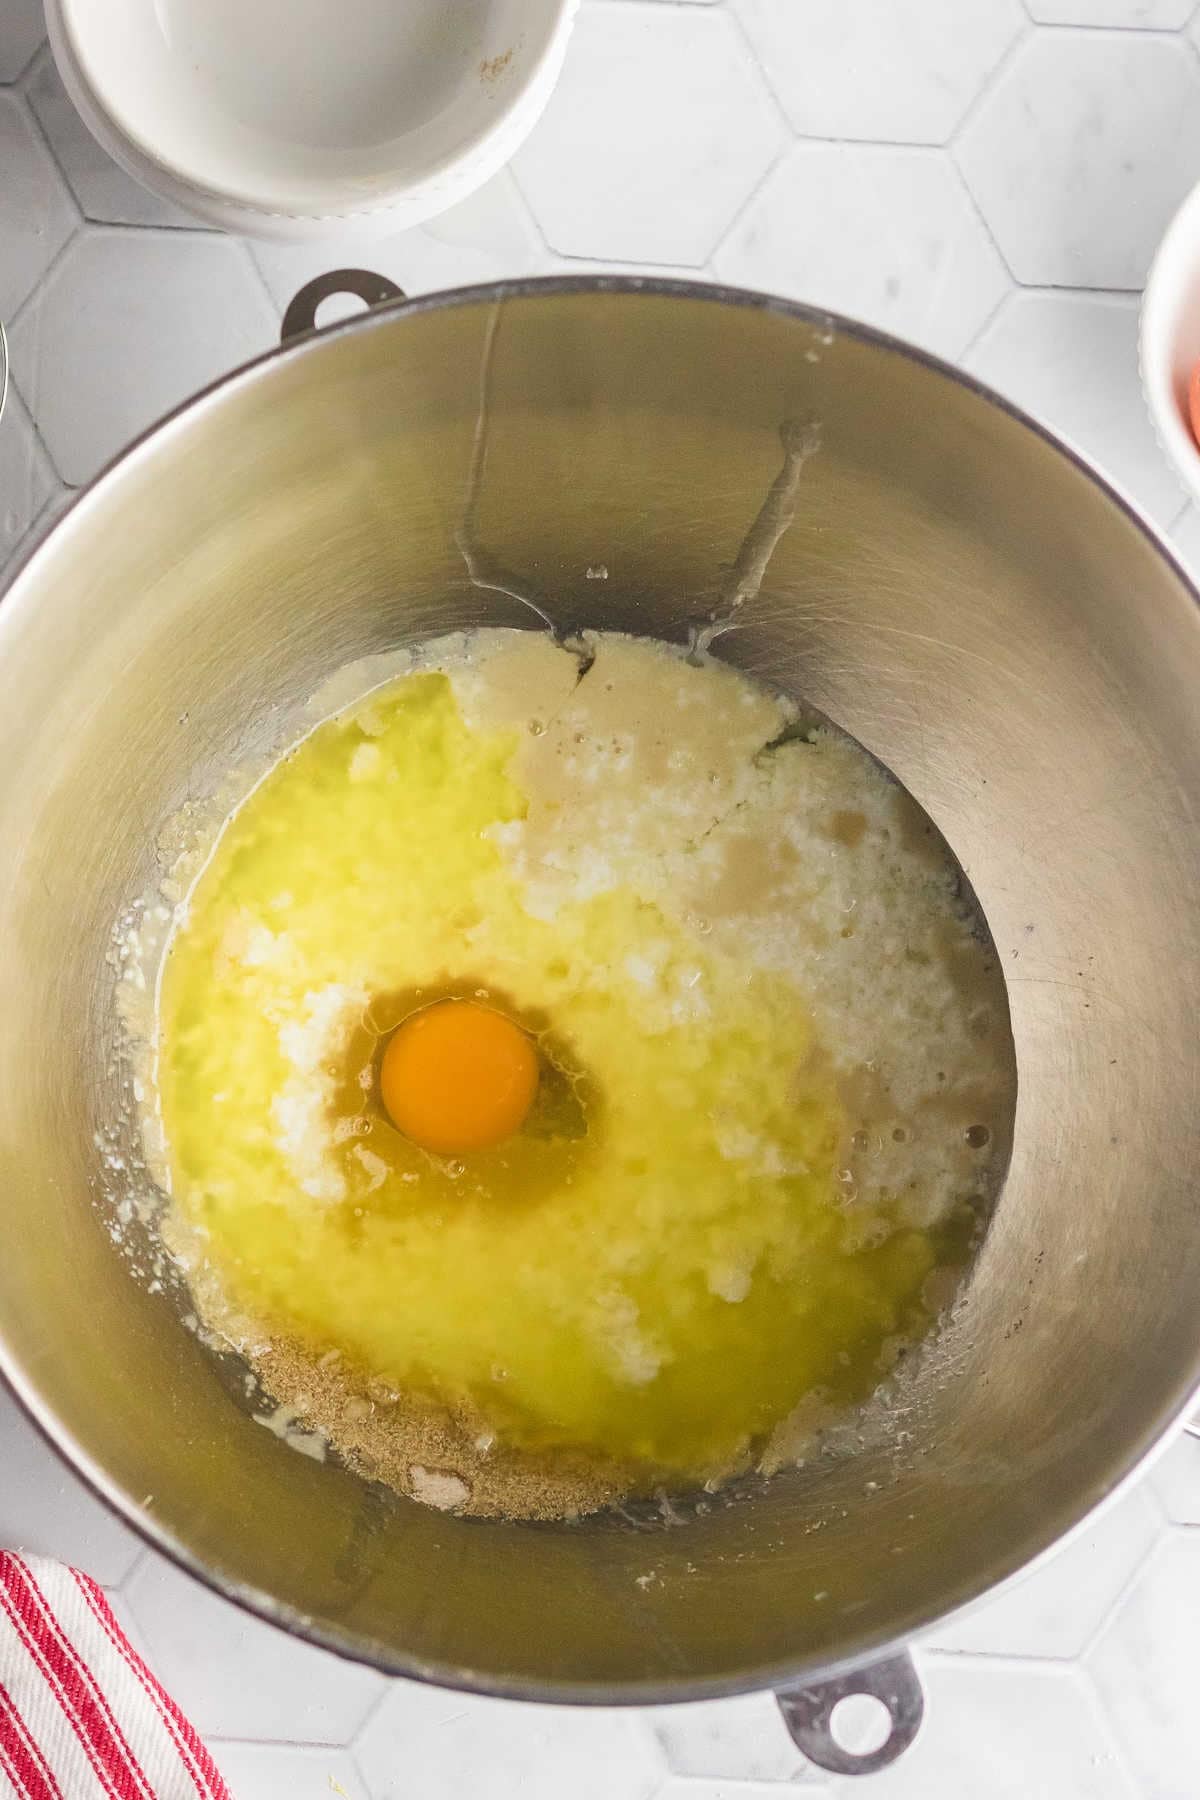
In a large bowl or bowl of a stand mixer, add the sugar, yeast, buttermilk, and egg. Mix.
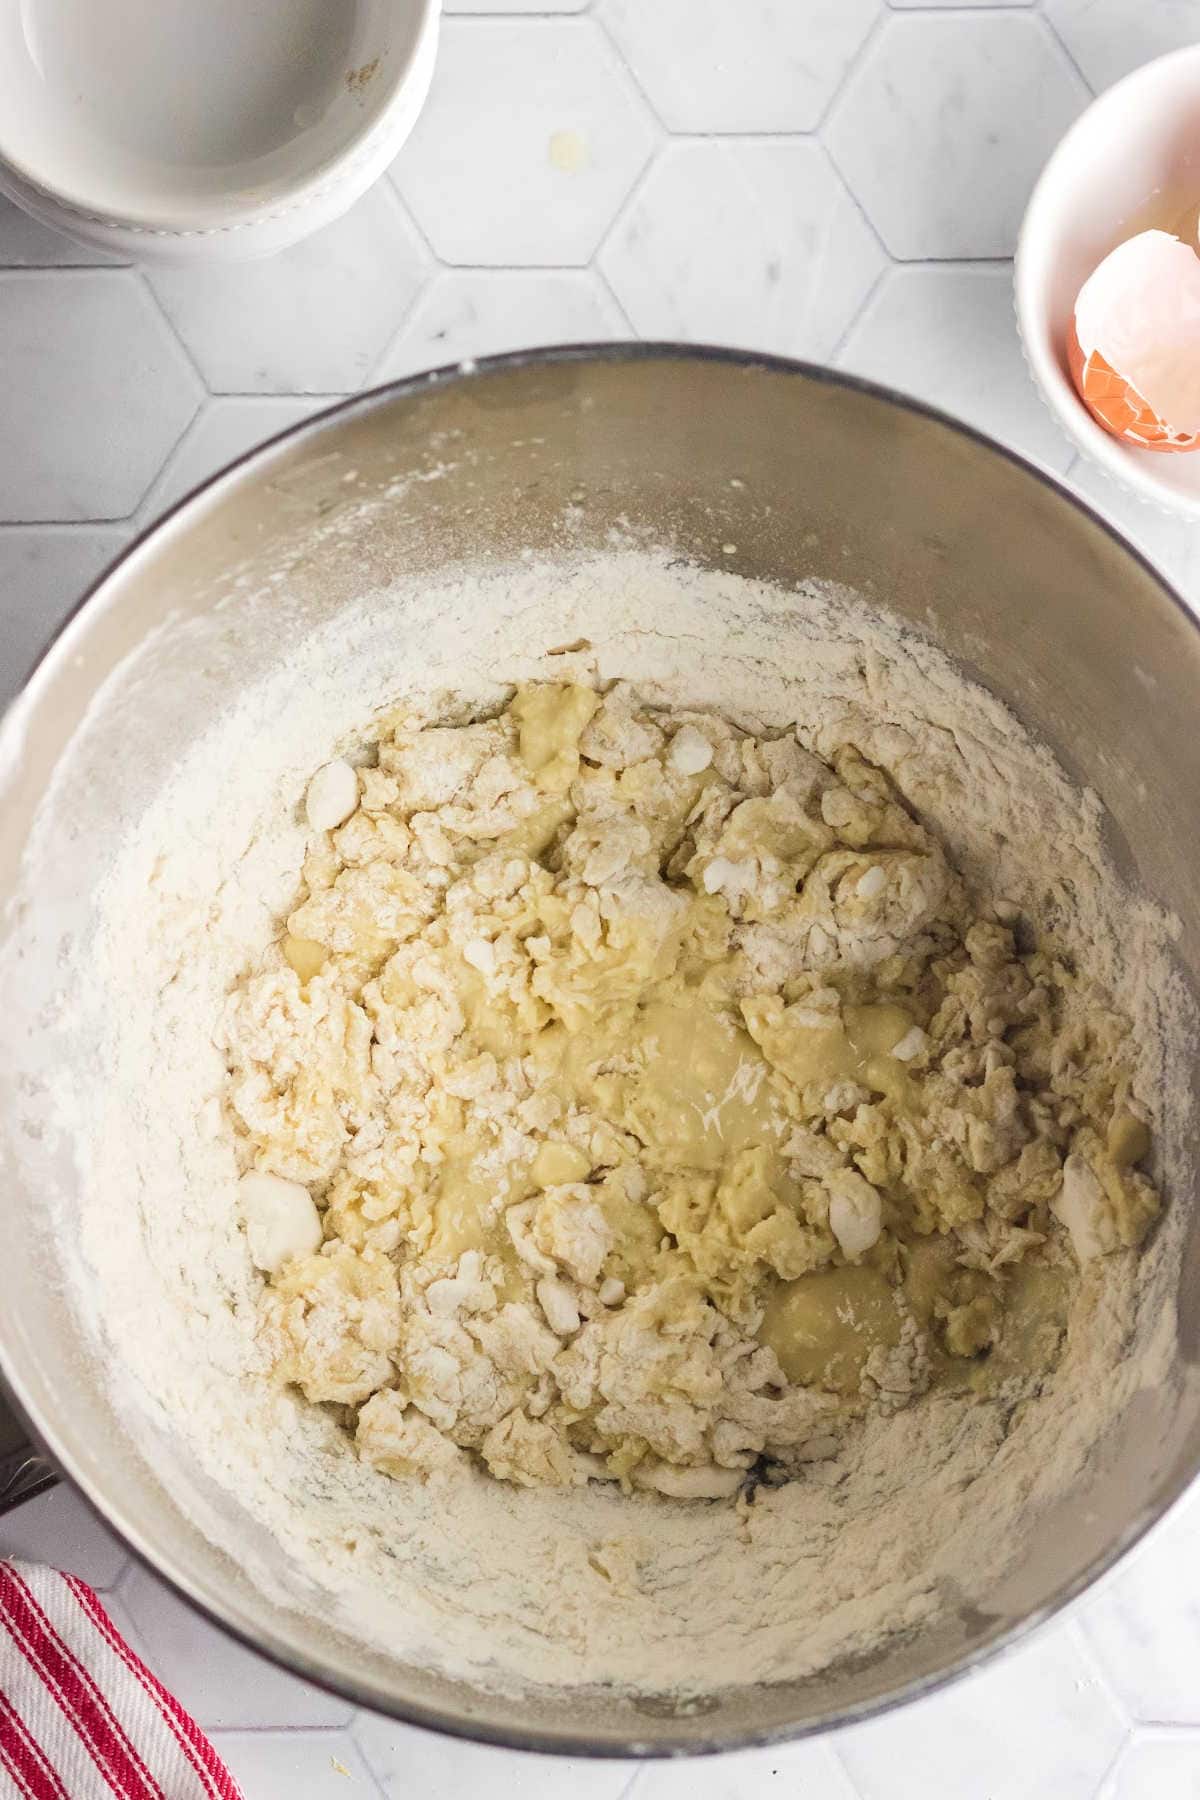
Blend in 1 cup of flour.
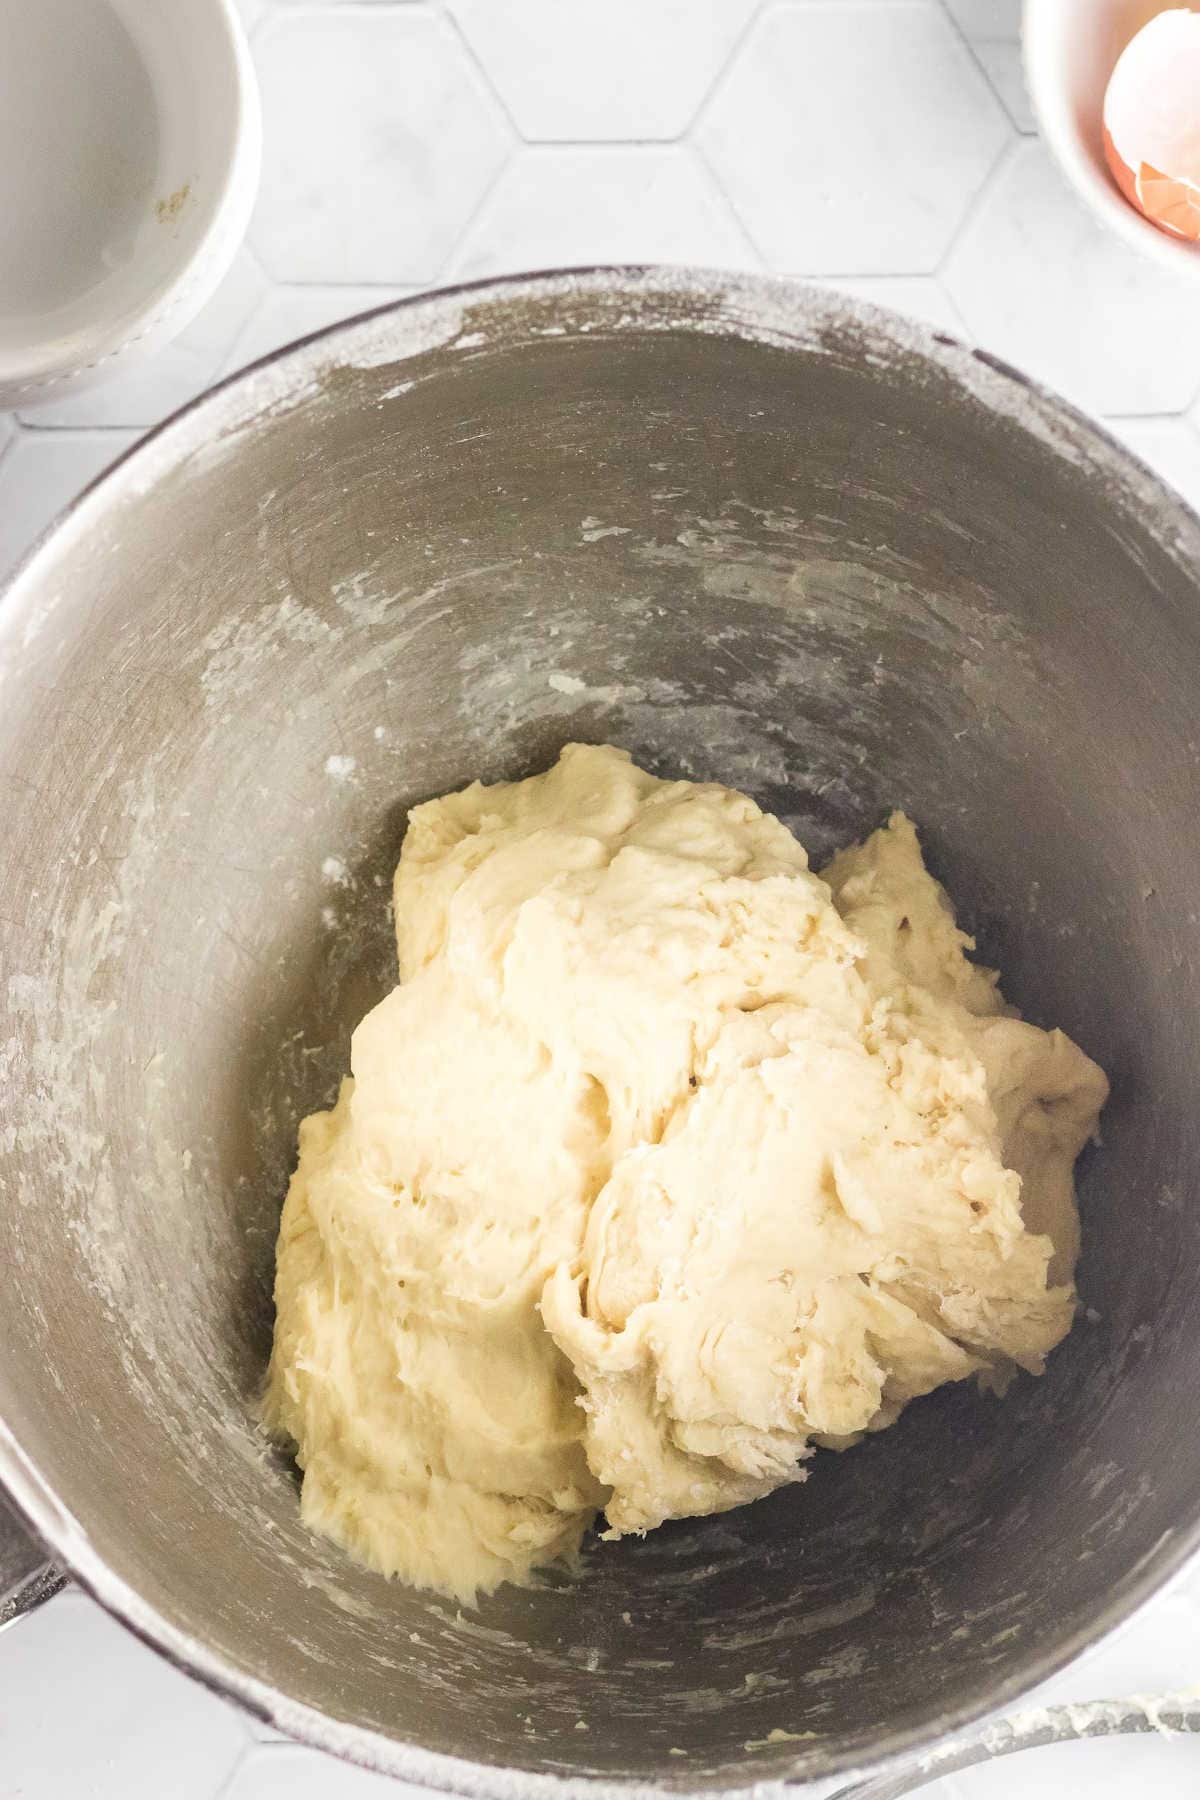
Add remaining flour until the dough pulls away from the bowl.
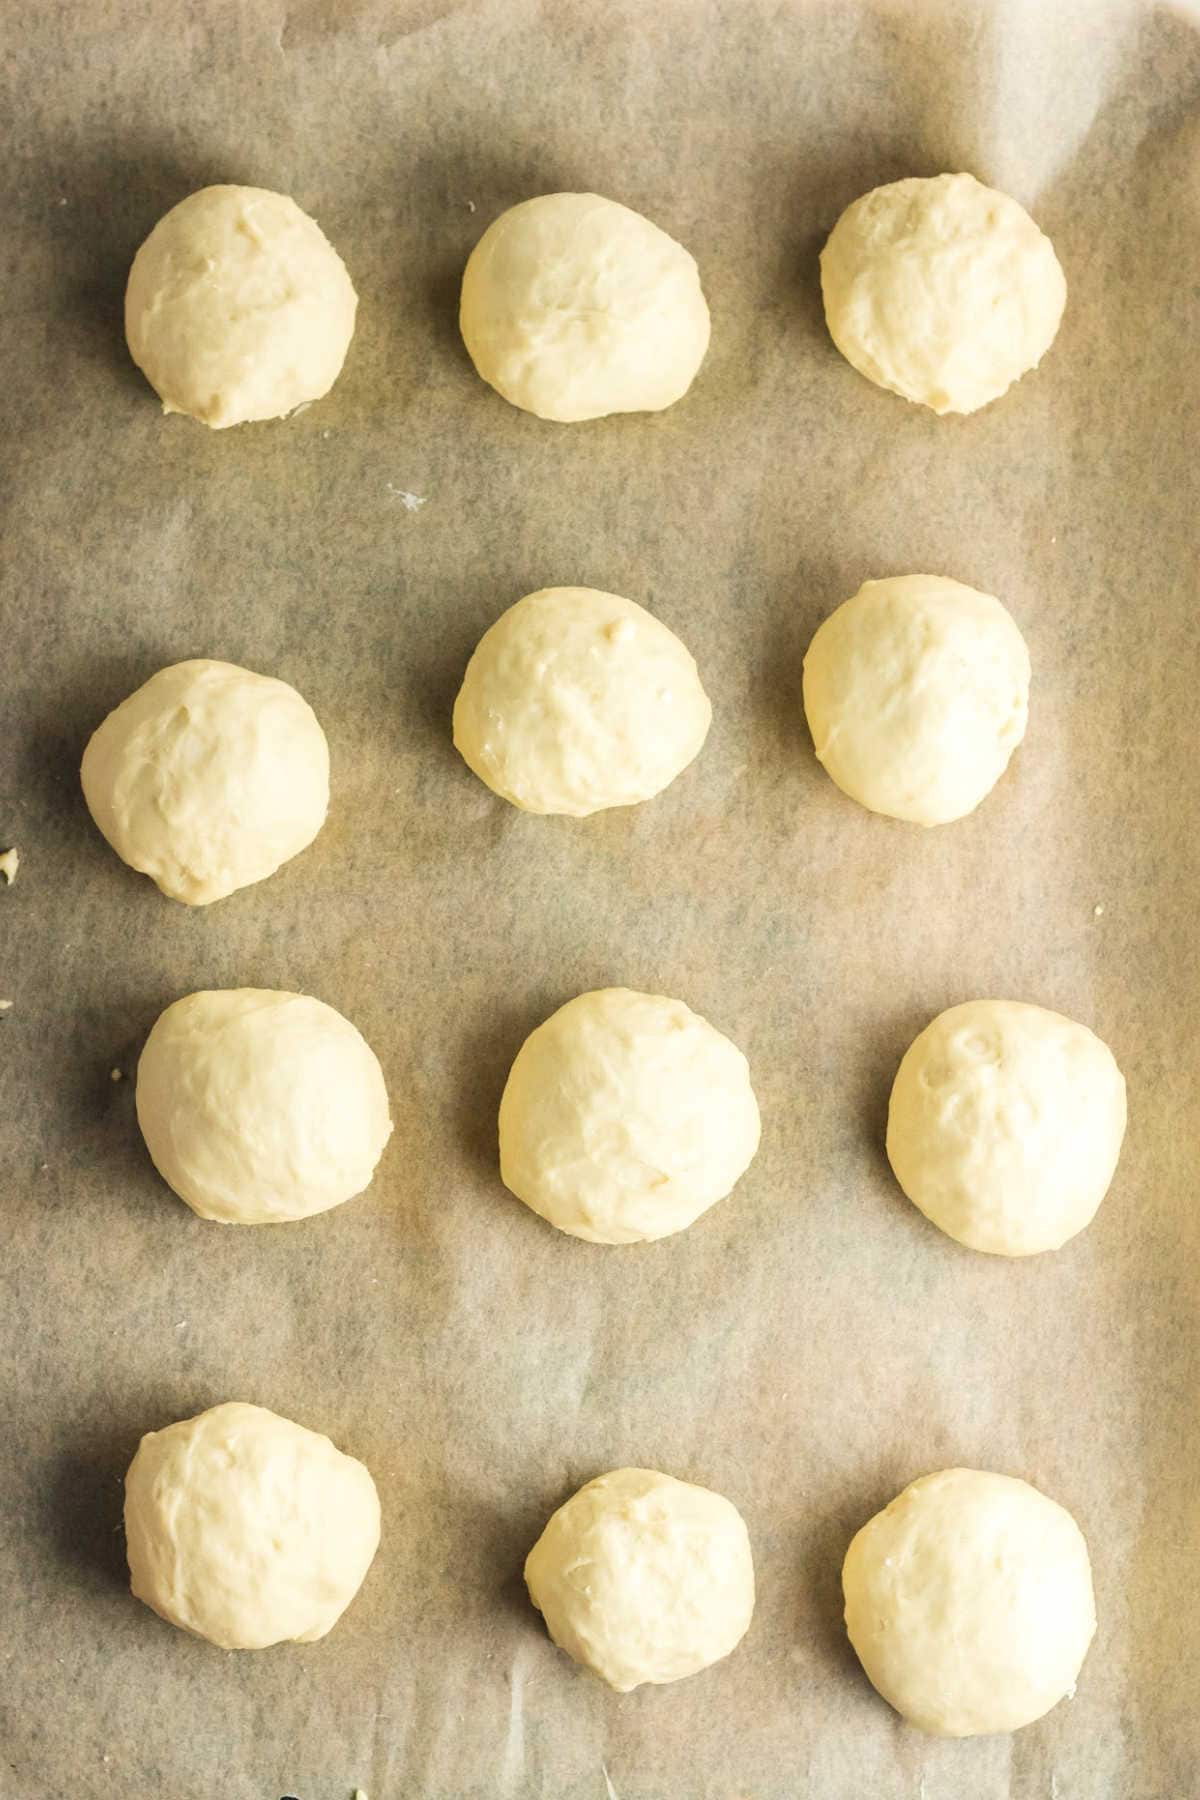
Form in round rolls and cover with a tea towel. Let rest while you are preheating the oven to 400F. Bake.
🤫 Marye's secret for zhuzhing it up -
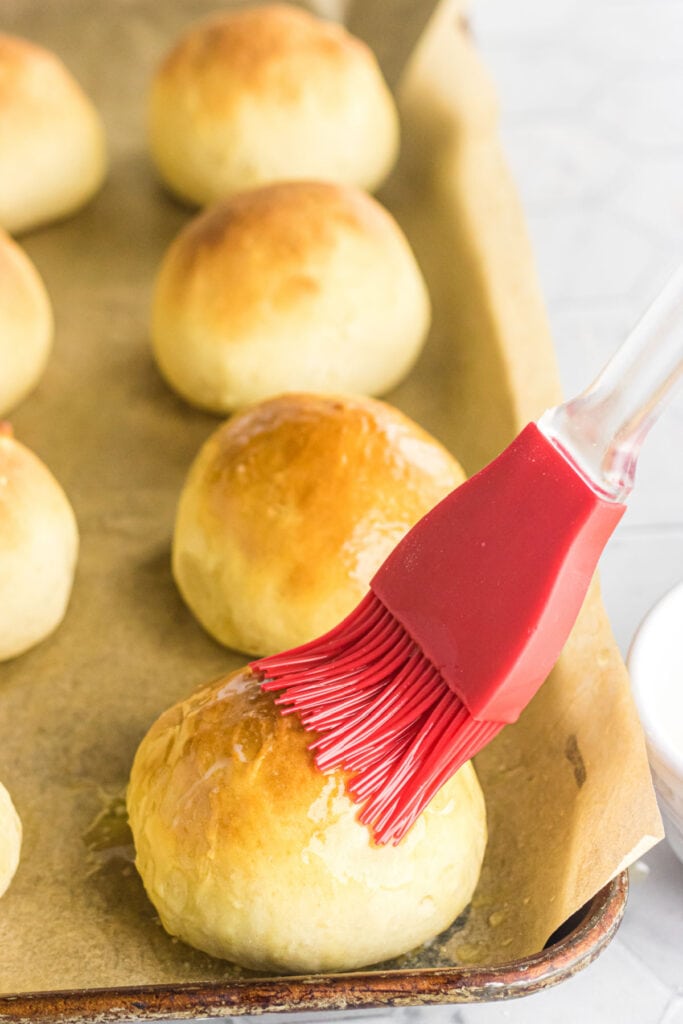
Make an egg wash with 1 egg beaten with 1 tablespoon water and brush it over the rolls just before they go in the oven. Sprinkle with sesame seeds if desired. This will help make the rolls slightly shiny and have a beautiful golden color.
zhuzh: verb. To make something more interesting or attractive
🍴Must have tools: essential equipment
As an Amazon Associate, I earn commission from qualifying purchases.
🎥 Watch and cook: step-by-step video tutorial
🥫 Leftover love: how to store and reheat
This quick dinner roll recipe usually doesn't leave any leftovers—at my kitchen table, they almost become the star of the meal!
However, you can store any leftover rolls that you might have in an airtight container. Leave them at room temperature and they'll last for about 2 days.
How to freeze
Rolls can be frozen baked or unbaked for about 3 months.
Bake and cool the rolls. Cover the rolls tightly in plastic wrap then aluminum foil to protect them from any funky freezer flavors.
To freeze unbaked rolls you'll follow instructions to the shaping. Shape rolls but don't let them rise. Flash freeze on a cookie sheet then place the frozen rolls in a zip-top freezer bag or vacuum seal.
When ready to bake let thaw overnight in the fridge and bake as instructed in the recipe card below.
Marye's Tip o' the day
Salt can keep the yeast from growing. While some recipes urge you to mix salt into the water/sugar/yeast mixture, it's best to add it at the end with the flour.
💭 Insider tips: things to know
- For best results, be sure your yeast and flour are not close to expiration.
- Check the temperature of your liquids with an instant read thermometer.
- Often, hand mixers will come with dough hooks. However, the motors usually aren't strong enough to handle a dense bread dough, so I don't recommend using one for these quick dinner rolls.
- Don't use too much flour! It's okay if your dough is a little sticky. You want to be able to handle it, but too much flour can turn fluffy rolls into dry lumps.
- Let the dough rise in a warm place. If your oven is preheating, you can set the dough next to the oven, as long as it's not too hot.
- 75-80 degrees F is perfect for porch sittin' and letting the dough rise, so if it's a warm afternoon where you live, set the dough out on your patio!
- You can increase the rise time up to a half hour if you aren't in as much of a hurry. It won't hold you to the 30-minute dinner roll timeline, but I don't think anyone will hold it against you!
👩🍳 Let's answer those questions: FAQs
Have other questions? Ask me in the comments!
Yep! All-purpose is just fine for, well, all purposes—and that includes these easy rolls! However, you might not need to knead the dough quite as long.
Bread flour is best in yeast rolls, but you can use other types like whole wheat flour. Read these flour tips before substituting.
⏲️ Marye's time saving hacks -
This recipe can be frozen before baking so I like to triple the recipe. Cover tightly with plastic wrap and then foil. Freeze. Allow to thaw overnight in the refrigerator and rise, then bake as directed.
📚 More Southern comfort: related recipes you'll love
- Another one of my favorite easy bread recipes, Honey Oatmeal Sandwich Bread is full of good 'ol country flavor. Plus, you can also use the dough for rolls!
- Crusty Cornmeal Sandwich Rolls are a family favorite for sandwiches, burgers, BBQs, and more! They hold up great against your favorite messy toppings, too!
- Have you ever made rolls in the air fryer? It's easy!
🍽️ No waste: creative ways to repurpose dinner rolls
- Mini Sandwiches – Slice rolls in half and use them to make sliders with leftover meats like ham, turkey, or pulled pork. Add your favorite condiments for a quick lunch or snack.
- Bread Pudding – Cube the rolls and turn them into a sweet bread pudding by soaking them in a custard mixture with eggs, milk, sugar, and spices. Bake until golden and serve as dessert!
- Croutons – Cut the rolls into small cubes, toss them in olive oil, herbs, and garlic, then bake until crispy. Perfect for topping salads or soups.
- French Toast Bites – Dip the rolls in a mixture of eggs, milk, cinnamon, and vanilla, then fry them up for bite-sized French toast—ideal for breakfast or brunch.
- Garlic Bread – Split the rolls, spread them with butter, garlic, and herbs, then toast them in the oven for a quick and delicious garlic bread to serve alongside pasta or soup.
📞 Wrapping it up: the last word
Almost instant gratification! These buttery yeast breads are delicious and so quick and easy you can make them often.
Getting homemade dinner rolls on the table any night is nothing short of miraculous but when they are this quick and easy? No reason why you shouldn't! Let everyone think you've been hiding some magic pixie dust in your pocket...
If you click on the number of servings in the recipe card you can adjust the measurements up or down for the exact number of servings you need.
If you love this recipe please comment below and give it 5 stars! ⭐️⭐️⭐️⭐️⭐️
📖 Recipe
Quick Dinner Rolls
Print Pin Recipe Save Recipe Rate RecipeIngredients
- 2 tablespoons instant yeast
- ¼ cup sugar
- ¼ cup butter , divided use
- 1 cup buttermilk, 110℉
- 1 egg , room temperature
- ½ teaspoon salt
- 3 cups bread flour , you may need a bit more
Instructions
- Place parchment on a 13x9-inch rimmed baking sheet.
- Melt butter and set aside to let cool.
- Heat buttermilk to 110F.
- Add sugar and yeast to to the bowl of your mixer.
- Add 2 tablespoons of the butter, buttermilk, and egg to the yeast mixture.
- Add the paddle and mix on low speed until combined.
- Slowly add 1 cup of the flour.
- With mixer on medium speed add the salt and remaining flour a little at a time, until the dough pulls away from the sides of the bowl.
- Dough will be sticky but won't cling to your fingers.
- Shape into 12 round rolls and place on the parchment.
- Set the oven on preheat and preheat to 400F.
- Cover with a tea towel and let rest for 10 minutes while the oven preheats.
- Bake for 8 to 10 minutes or until rolls are golden brown and interior temperature is 190F when you check with an instant read thermometer.
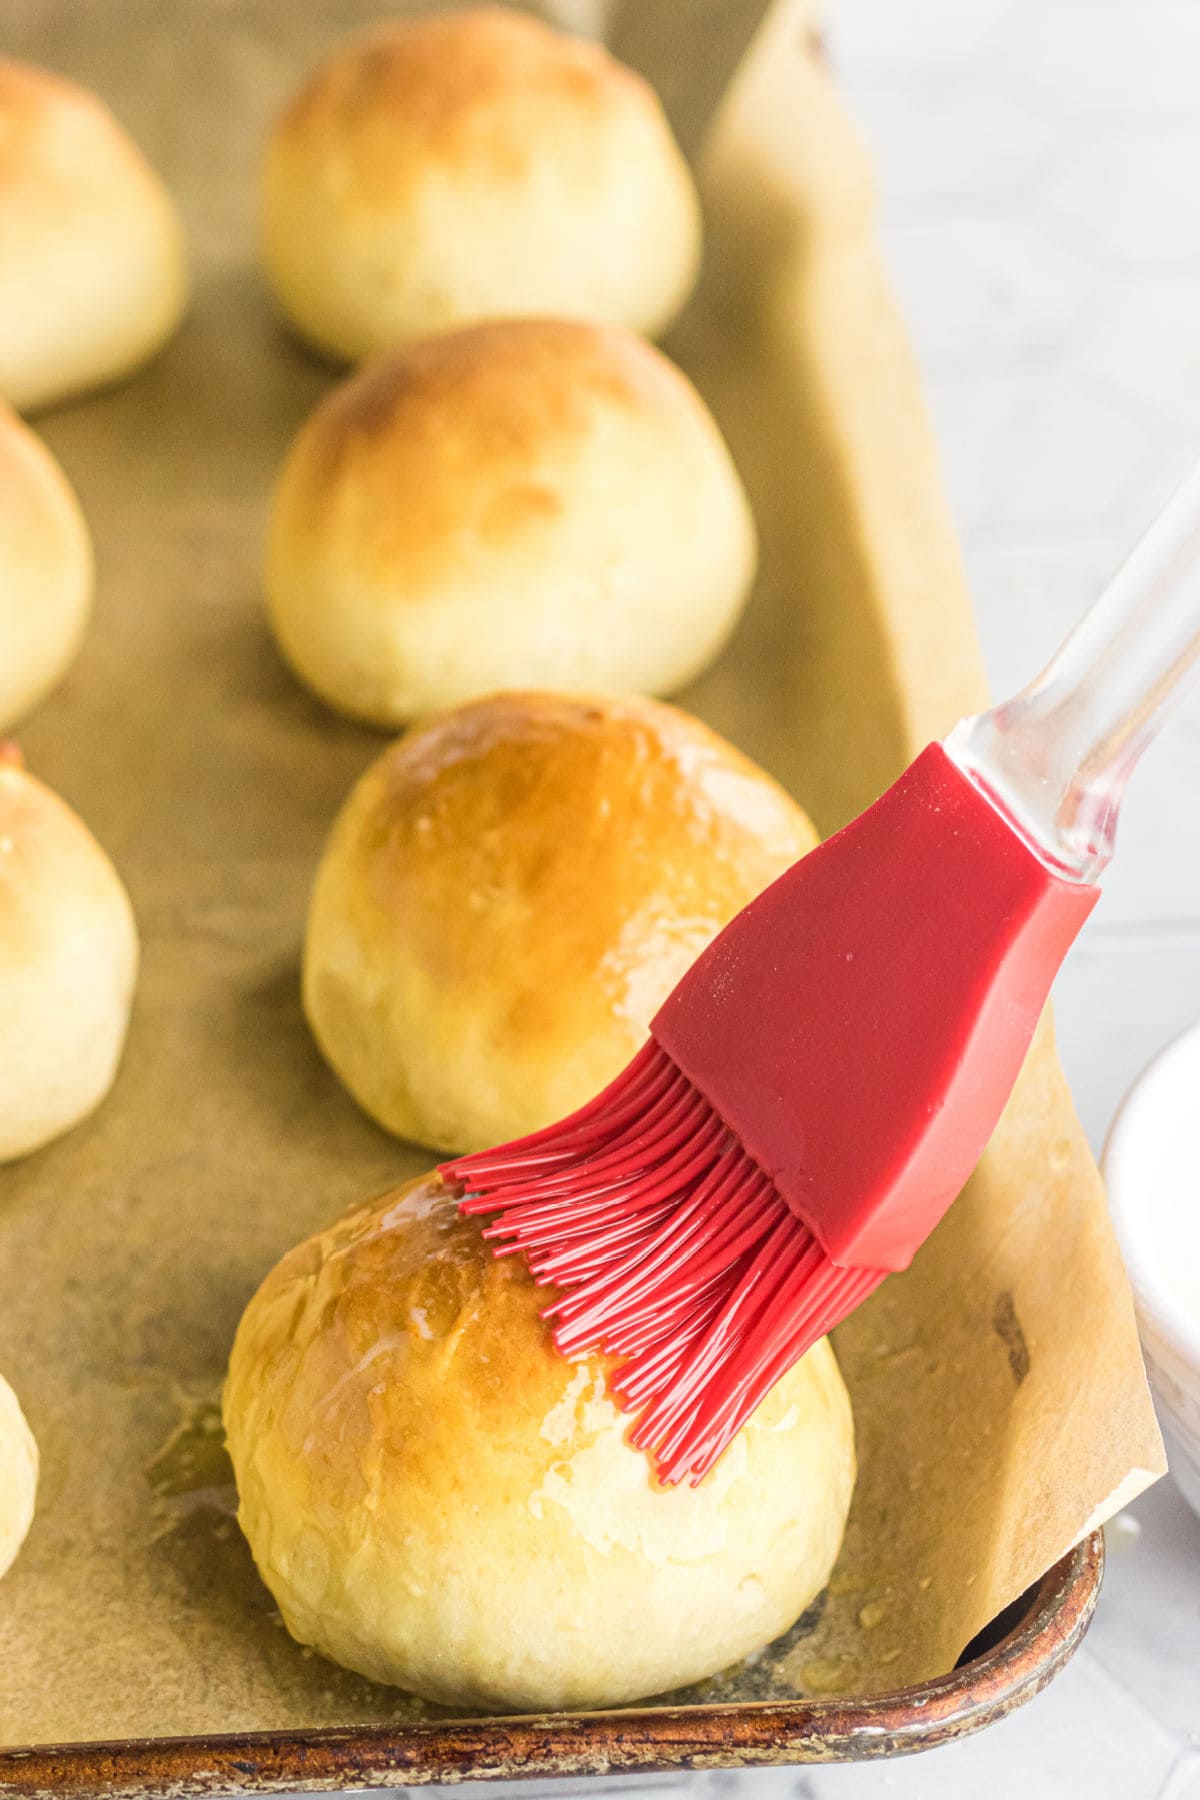
- Remove from the oven and brush with reserved butter.
Notes
- Salt can harm the yeast. While some recipes urge you to mix salt into the water/sugar/yeast mixture, it's best to do so at the end with the flour.
- For best results, be sure your yeast and flour are not close to expiration.
- Don't use too much flour! It's okay if your dough is a little sticky. You want to be able to handle it, but too much flour can turn fluffy rolls into dry lumps.
- Let the dough rise in a warm place. 70f to 80f is great.
- You can increase the rise time up to a half hour if you aren't in as much of a hurry. It won't hold you to the 30-minute dinner roll time line, but I don't think anyone will hold it against you!
Nutrition Facts
Nutrition information is estimated as a courtesy. If using for medical purposes, please verify information using your own nutritional calculator. Percent Daily Values are based on a 2000 calorie diet.
This recipe has been tested several times. If you choose to use other ingredients, or change the technique in some way, the results may not be the same.
First published November 24, 2014. Last updated October 15, 2024, for editorial updates and readability.
Don't lose this recipe!
Quick Dinner Rolls
Pin to your favorite Pinterest board to keep it handy.


Tracy says
Can i do this recipe with regular yeast instead of instant yeast?
Marye says
yes you can.
Rose says
can this be done in bread machine?
Cheryl Trostrud-White says
Can I use almond flour?
Marye says
No - they need gluten to rise.