


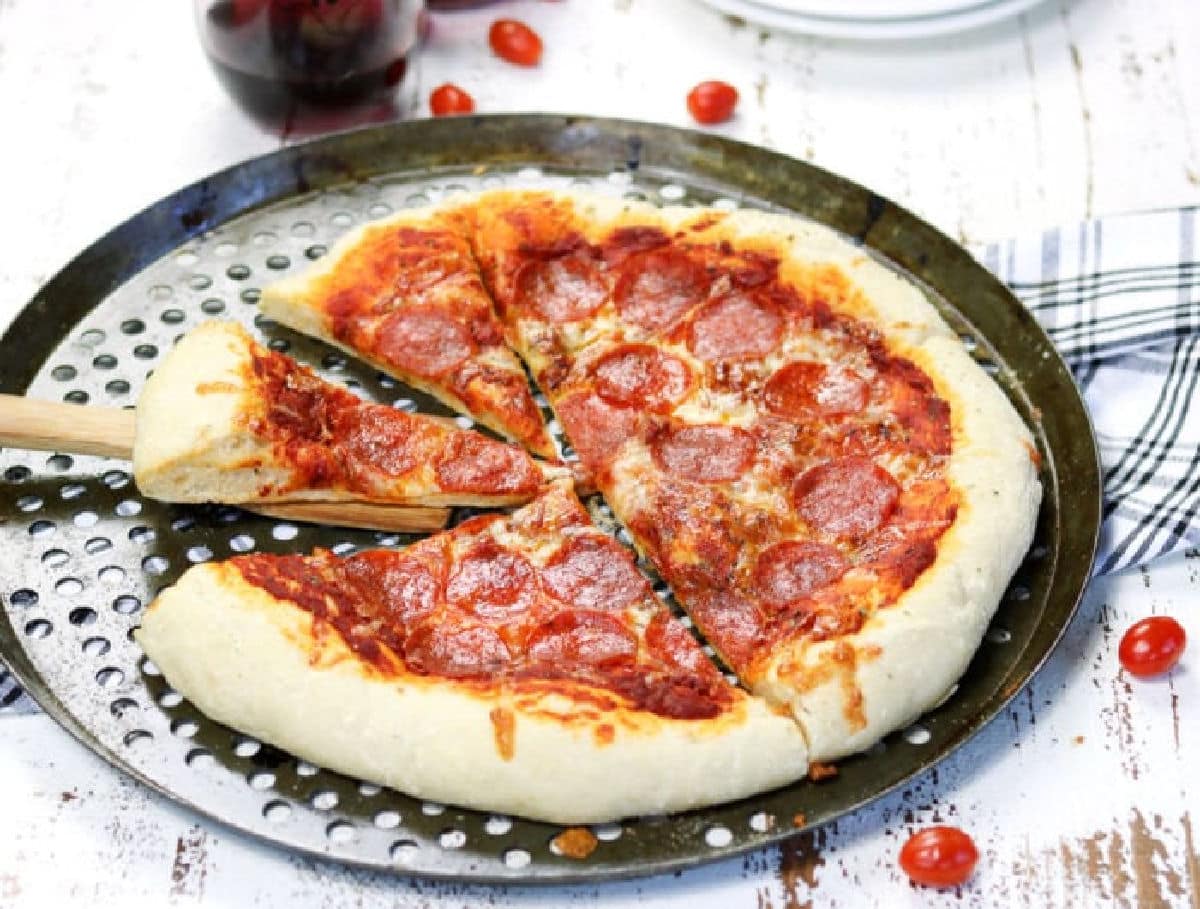
Friday night pizza is about to get a whole lot better with this easy, make-ahead recipe!
Don't want to scroll through the page to get to the recipe? Use the table of contents to click on the section you want.
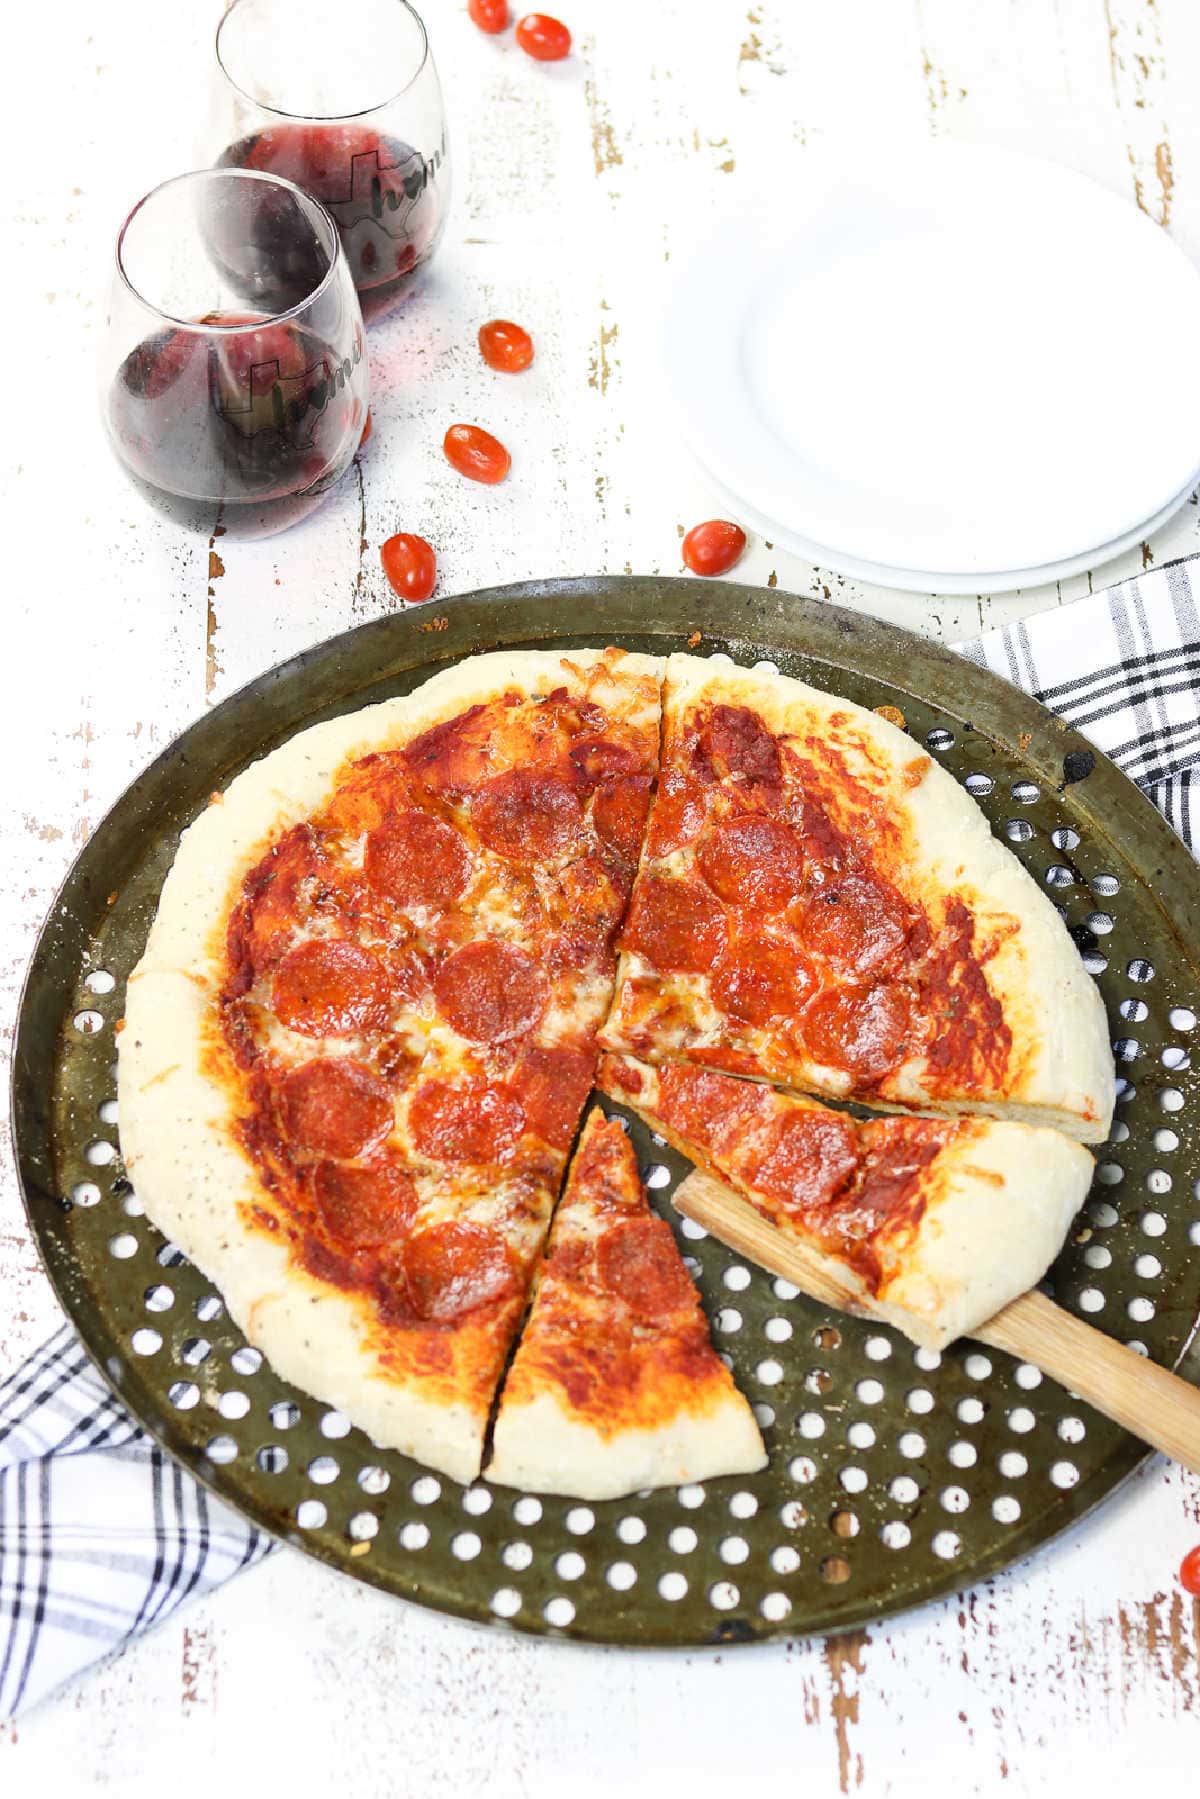
Table of Contents
🗝️ Key takeaways
- Lets everyone make their own personal pizzas with as much topping as they like.
- This is a very forgiving dough that will last for a week in the fridge. It's perfect for weeknights, Friday night sleepovers, and Saturday movie nights.
- Learn how to make your own frozen pizzas with these easy instructions.
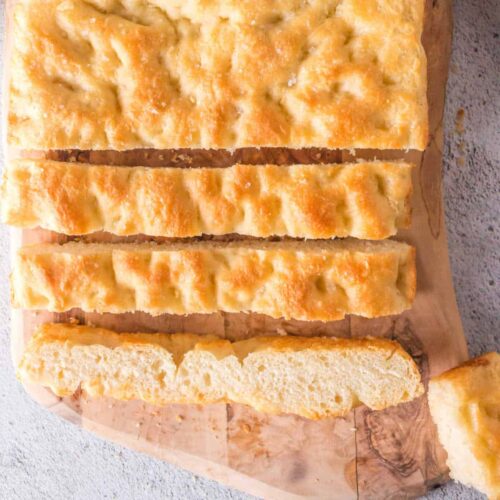
No-knead homemade pizza dough is so much better than store-bought or delivery, and you can customize everything to your exact liking!
Best of all, this is the best pizza dough recipe ever because there is no tiresome kneading.
Out of all the easy recipes, you could say this one is as easy as pie-pizza pie, that is!
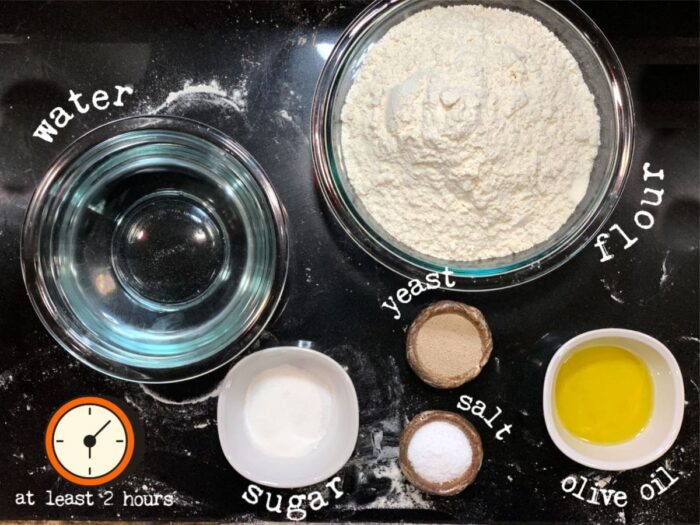
🧾 Ingredients
This is an overview of the ingredients. You'll find the full measurements and instructions in the green recipe card (printable) at the bottom of the page.
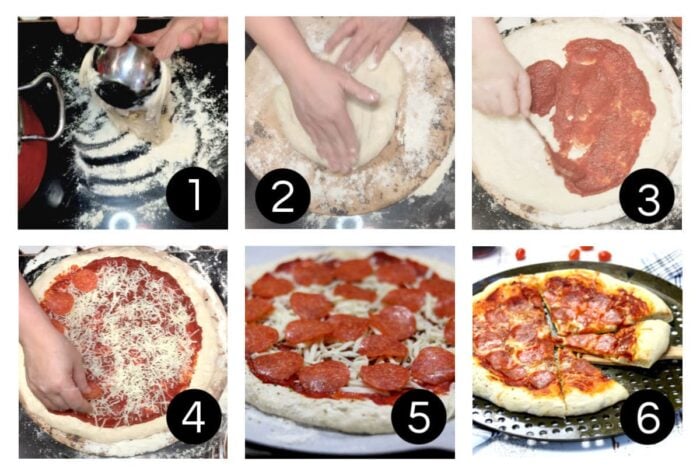
Pizza dough does not get easier than this! 🔪 Instructions
This is an overview of the instructions for my favorite artisan pizza crust. Full instructions are in the green recipe card at the bottom of the page.
Mixing the Pizza Dough

- Add yeast to a large pot.
- Add the sugar.
- Add the warm water.
- Add the olive oil.
- Add the salt.
- Add the flour.
- Mix.
- Cover and let rise 2 hours.
- Once risen you can keep it in the fridge for up to a week or bake it right away.
How to add toppings
Everyone's favorite part, right?
- Scoop 1-½ cups of pizza dough out onto a floured surface. Pat into a ball.
- Sprinkle cornmeal on a pizza pan and place the dough in the center. Gently pat it out from the middle to create a crust.
- Add the sauce, or for a really delicious pizza topping use Southern stewed tomatoes instead.
- Sprinkle on the cheese and the toppings.
- Let it rise for just a few minutes.
- Bake at 500 for about 10 minutes.
🥄 Equipment
The following are affiliate links. We are a participant in the Amazon Services LLC Associates Program, an affiliate advertising program designed to provide a means for us to earn fees by linking to Amazon.com and affiliated sites.
You'll need the following items to make this recipe successfully:
- Pizza pan or pizza stone
- Meat or candy thermometer-not necessary, but helpful
🎥 Video
Click on the image to watch me make this recipe from start to finish with extra tips! (Video opens in a new tab).
🥫 Storage
This easy pizza dough recipe truly is simple all the way around, even when it comes to storage!
Short-Term Storage Instructions:
Keep in mind that you can let the pizza dough rise in a warm spot for up to 12 hours. So, technically, that means you have up to 12 hours of room-temperature storage time before you have to refrigerate it.
After the rise time has elapsed, store it unbaked in the refrigerator for a week-this goes for unbaked leftover dough as well. Cover it with plastic wrap to avoid the dough from absorbing any odors while in the fridge.
You can store baked pizza leftovers in the refrigerator for about four days. Microwave to reheat, or not! We're on team cold pizza leftovers, here!
Long-Term Storage & Homemade Frozen Pizza Instructions:
You can safely freeze a ball of dough for up to six months, but the quality definitely starts to diminish after three. Seal it carefully with plastic and let thaw in the fridge when you're ready to use it.
🍕DIY frozen pizza
However, I think it's even easier to prep frozen pizzas, rather than just freezing the dough on its own. Here's how we do it:
- Follow the instructions to prepare your pizza. If you don't have multiple pizza pans, you can place the parchment on cardboard rounds.
- Add pizza sauce and your favorite toppings.
- Place the pizza unwrapped into the freezer just until it's frozen to the touch.
- Wrap the pizza tightly in plastic wrap.
- Freeze for up to six months.
- Transfer to a pizza pan and bake from frozen for 10-15 minutes. Be sure to remove the cardboard if you used it. You can keep the parchment paper attached.
📖 Variations
- Flour: We like all-purpose flour pizza crusts, but you can use whole wheat, bread flour, or a combination.
- Yeast: This recipe uses active dry yeast, but you can use rapid rise or instant if you have them.
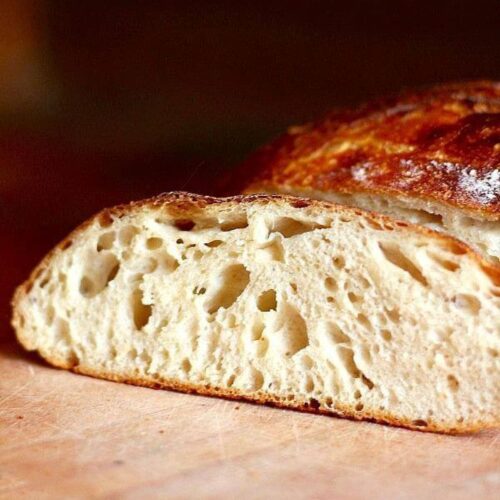
- Flavor: As the dough sits, it will develop a sourdough taste-so take this into account depending on what you like. You can also sprinkle the crust with some garlic powder, Italian seasoning, or parmesan cheese just before baking to create a more flavorful pizza crust.
- Crispy Crust: For thin-crust pizza, don't let the dough rise before putting it in the oven.
- Even Crispier Crust: For an extra crispy crust, bake the dough with no toppings, first. Then, add toppings and bake just until the cheese bubbles and melts.
Don't forget about the toppings! The best part about homemade pizza? Customize it as much as you want!
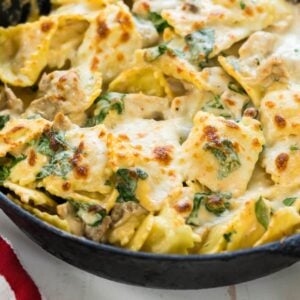
I like to make one pizza with marinara sauce and mozzarella cheese and one with white or olive oil-based sauce. That one is great topped with cherry tomatoes and spinach.
With the last crust, I make one breakfast pizza! To do so, prebake the crust, then use sausage gravy as the sauce. Top it with scrambled eggs, bell peppers, onions, bacon, lots of cheddar, and bake just until the cheese melts.
With homemade pizza, the options are pretty much endless!
💭 Things to know
Expert Tip: This dough is much easier to work with if you refrigerate it before shaping the crust. It's wet, but it's supposed to be. On that note, put your rolling pin away! Dust your hands with a little flour and hand-stretch the dough, instead.
- To estimate the temperature of the warm water without a thermometer, test it with your finger. It should feel warm, but not hot. Aim for bath water temp, rather than a hot tub.
- Use bottled water if you are in an area that chlorinates the water heavily or has a lot of minerals. The additives can interfere with the yeast and prevent it from growing.
- For best results, let active dry yeast bloom. To do so, let the yeast, sugar, and water sit for five to ten minutes before adding the salt, olive oil, and flour to it. (Instant yeast doesn't need to bloom, thus, it's "instant.")
- Don't skip the sugar! The yeast feeds on it in order to rise. You'll only end up eating a tiny fraction of it anyway, so omitting it really won't save you any calories if that's what you're worried about!
- This dough can be refrigerated up to a week so you can scoop out as much as you need and put the rest back in the refrigerator for next time.
- A bench scraper works great to scoop out the dough without getting your hands all sticky. Grease it with a little cooking spray for good measure!
- If your kitchen is drafty or runs cool, a good "warm place" to let the dough rise is actually inside your oven! Use the bread-proof setting, or, if you don't have one, turn the oven on to 150 or 200 degrees F. Let it start to preheat for a few minutes, then turn off the heat and place the dough inside. Make sure it's not piping hot, though. The optimal rising temperature is 75 to 80 degrees F.
- If you don't have a pizza pan use a. heavy sheet pan or even a cast iron skillet.
👩🍳 FAQs
Yeast should get bubbly and frothy as it sits. Bloomed yeast will look foamy when it's ready to go!
Kneading develops gluten, and gluten structure is what creates a chewy, sturdy crust. However, put away your stand mixer and dough hook, because there are multiple ways to develop gluten!
Extra moist doughs allow the gluten to develop, so that's why this dough, and most no-knead recipes, are a bit wet.
Bummer! You can still use it, but the pizza will be thin-crust style. If you want a thicker crust next time, know that this could be the result of a few things:
1) Check the expiration date of the yeast. Old yeast doesn't work as well as fresh, and won't have as much leavening power.
2) Did you add the salt before the yeast bloomed, or did you use tap water? (See the tips section above for more information about blooming yeast and water quality.)
Cornmeal has the perfect texture to prevent pizza crust from sticking to a pan. The small grains also work as tiny ball bearings to help roll the crust off of a pizza peel and into a stone pizza oven.
If you have an aversion to cornmeal and are using a pizza pan and parchment paper, you can substitute all-purpose or semolina flour, instead. Or, just grease the parchment paper really well. (On the other hand, flours don't work as well with the pizza peel method.)
📚 Related recipes
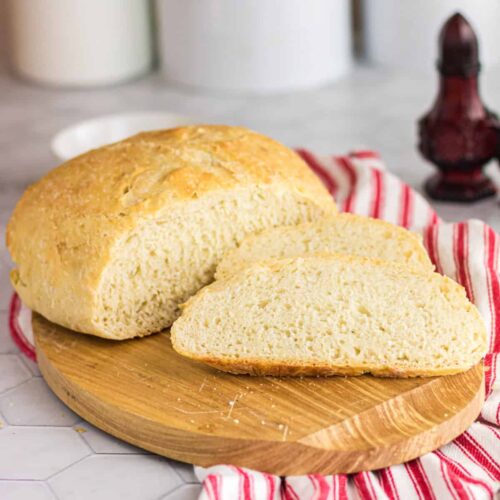
- This No-Knead Sandwich Bread comes together super quickly and makes unbeatable toast in the morning-the only thing missing is jam!
- Topped with the best Tex-Mex ingredients and lots of cheese, Taco Crescent Roll Pizza uses quick and easy canned rolls as the crust!
- Made with the same basic ingredients as traditional pizza dough, but with a special touch so it's extra chewy-try Beer Pizza Dough next time! It makes a delicious pizza, too!
🍽️ Serve with...
Pizza is a great meal by itself but if you want to go all out serve it with Crispy Baked Chicken Wings (pizza & wings-is there a better combo?!).
I like this easy Broccoli Cauliflower Salad and to finish all of it off? Double Chocolate Coca-Cola Cake!!
📞 The last word
This is the best homemade pizza ever!
The dough is very versatile - just let it rise a bit for a chewy pizza dough recipe or bake it immediately for a thin crust. I also like to use this 30 minute baguette sometimes for a chewier, thicker crust. It's an easy recipe, too!
I like to make my own pizza with a drizzle of olive oil, some pizza sauce, fresh mozzarella, and fresh basil. What's your perfect pizza?
If you click on the number of servings in the recipe card you can adjust the measurements up or down for the exact number of servings you need. Don't forget that you can click on "add to collection" to save it to your own, private recipe box!
If you love this recipe please give it 5 stars! ⭐️⭐️⭐️⭐️⭐️
📖 Recipe

No-Knead Pizza Dough
Print Pin Recipe Rate RecipeIngredients
- 2-¾ cups water, 80°-90°
- 1-½ tablespoons active dry yeast, or one packet
- 1-½ tablespoons salt, I used kosher salt - use 1 tablespoon if using regular table salt
- 1 tablespoon sugar
- ¼ cup olive oil
- 6 cups all-purpose flour
- cornmeal, for sprinkling baking sheet
Toppings
- sauce
- pepperoni
- mozzarella
Instructions
To mix dough
- Mix the yeast, sugar, salt, water, and olive oil in a large container with a cover.
- Using a heavy, wooden spoon mix in the flour until no dry powdery flour remains. The dough will be very wet.
- Cover loosely and allow to rise at room temperature for at least 2 (or up to 12) hours.
- The dough can be used after this time but it's easier to handle if you refrigerate it, covered, for 2 hours or so before using.
To make pizza
- Scoop about 1-½ cups of the sticky dough out onto a heavily floured countertop.
- Pat the dough into a round.
- Cover a pizza pan with parchment paper then sprinkle with cornmeal OR just grease it really well.
- Plop the dough in the center of the pizza pan and begin to gently pull the dough from the center to the edge to create a crust with thicker edges.
- Set aside to rise a little - just while the oven is preheating.
- Preheat oven to 500°
- While the oven is preheating add your pizza sauce and favorite toppings to the dough.
- Bake for 8 to 12 minutes, watching carefully.
- Remove from the oven and let cool slightly to allow cheese to cool down and set.
Notes
- You can let it rise at room temperature for up to 12 hours - the longer it goes the more like a sourdough crust it will be.
- This dough is much easier to work with if you refrigerate it before you want to make the crust.
- You can keep dough in the refrigerator up to a week.
- For thinner, crispier crusts don't let the dough rise before putting it in the oven.
- For an extra crispy crust bake the dough with no toppings, then add toppings and bake until the cheese bubbles and melts.
Nutrition Facts
Nutrition information is estimated as a courtesy. If using for medical purposes, please verify information using your own nutritional calculator. Percent Daily Values are based on a 2000 calorie diet.
This recipe has been tested several times. If you choose to use other ingredients, or change the technique in some way, the results may not be the same.
Love this recipe?
Subscribe to the free membership group and never miss another recipe!
First published May 4, 2020. Last updated July 29, 2023 for editorial content.
What's new? Check out my Restless Chipotle & Co. Store on Amazon where you'll find all kinds of nostalgic goodness! Thanks so much for being a part of Restless Chipotle!

Paula says
Love this stuff
Mary-Lou says
Hello,
I have two (2) questions:
(1) In your video, you said that the pan does not need to be completely covered; however, after the rise of the dough, the video showed that the pan had the cover completely on. Please explain.
(2) Please clarify the amounts in the written recipe instructions. I do not understand.
For example, in the settings for 30 slices and with 1X, the measurement requirement is for
2-¾ cups water. Do you mean 2.75 cups of water
or .75 cups of water x 2 = 1.50 cups of water?
Thank you.
Marye says
The pan cover may have slipped over when I was carrying it or I may have put it on all the way. It doesn't really matter. 2.75 cups of water.
Sherree says
How many 10 or 12 inch pizzas will this recipe make?
Marye says
It makes 3 at my house.
Beth says
I just made it! It is GREAT and really did only take the few little minutes to prep that she said it would. And, i have some in the frig for the weekend. 🙂
Marye says
Awesome!
Ginger Vermaes says
The pizza looks so good and easy and I want to try it but I was wondering if the pizza after being frozen can be baked directly on the oven rack without a pan and also if my oven is just a reg oven
( NOT convection ) will it still be cooked in my oven at 500 deg. Thank you for posting this recipe.
Marye says
No, you'll need to put it on a pizza tray or even a cookie sheet. 🙂