Instructions include Rapid Rise as well as Active Dry yeasts.
Don't want to scroll through the page to get to the recipe? Use the table of contents to click on the section you want to go to.
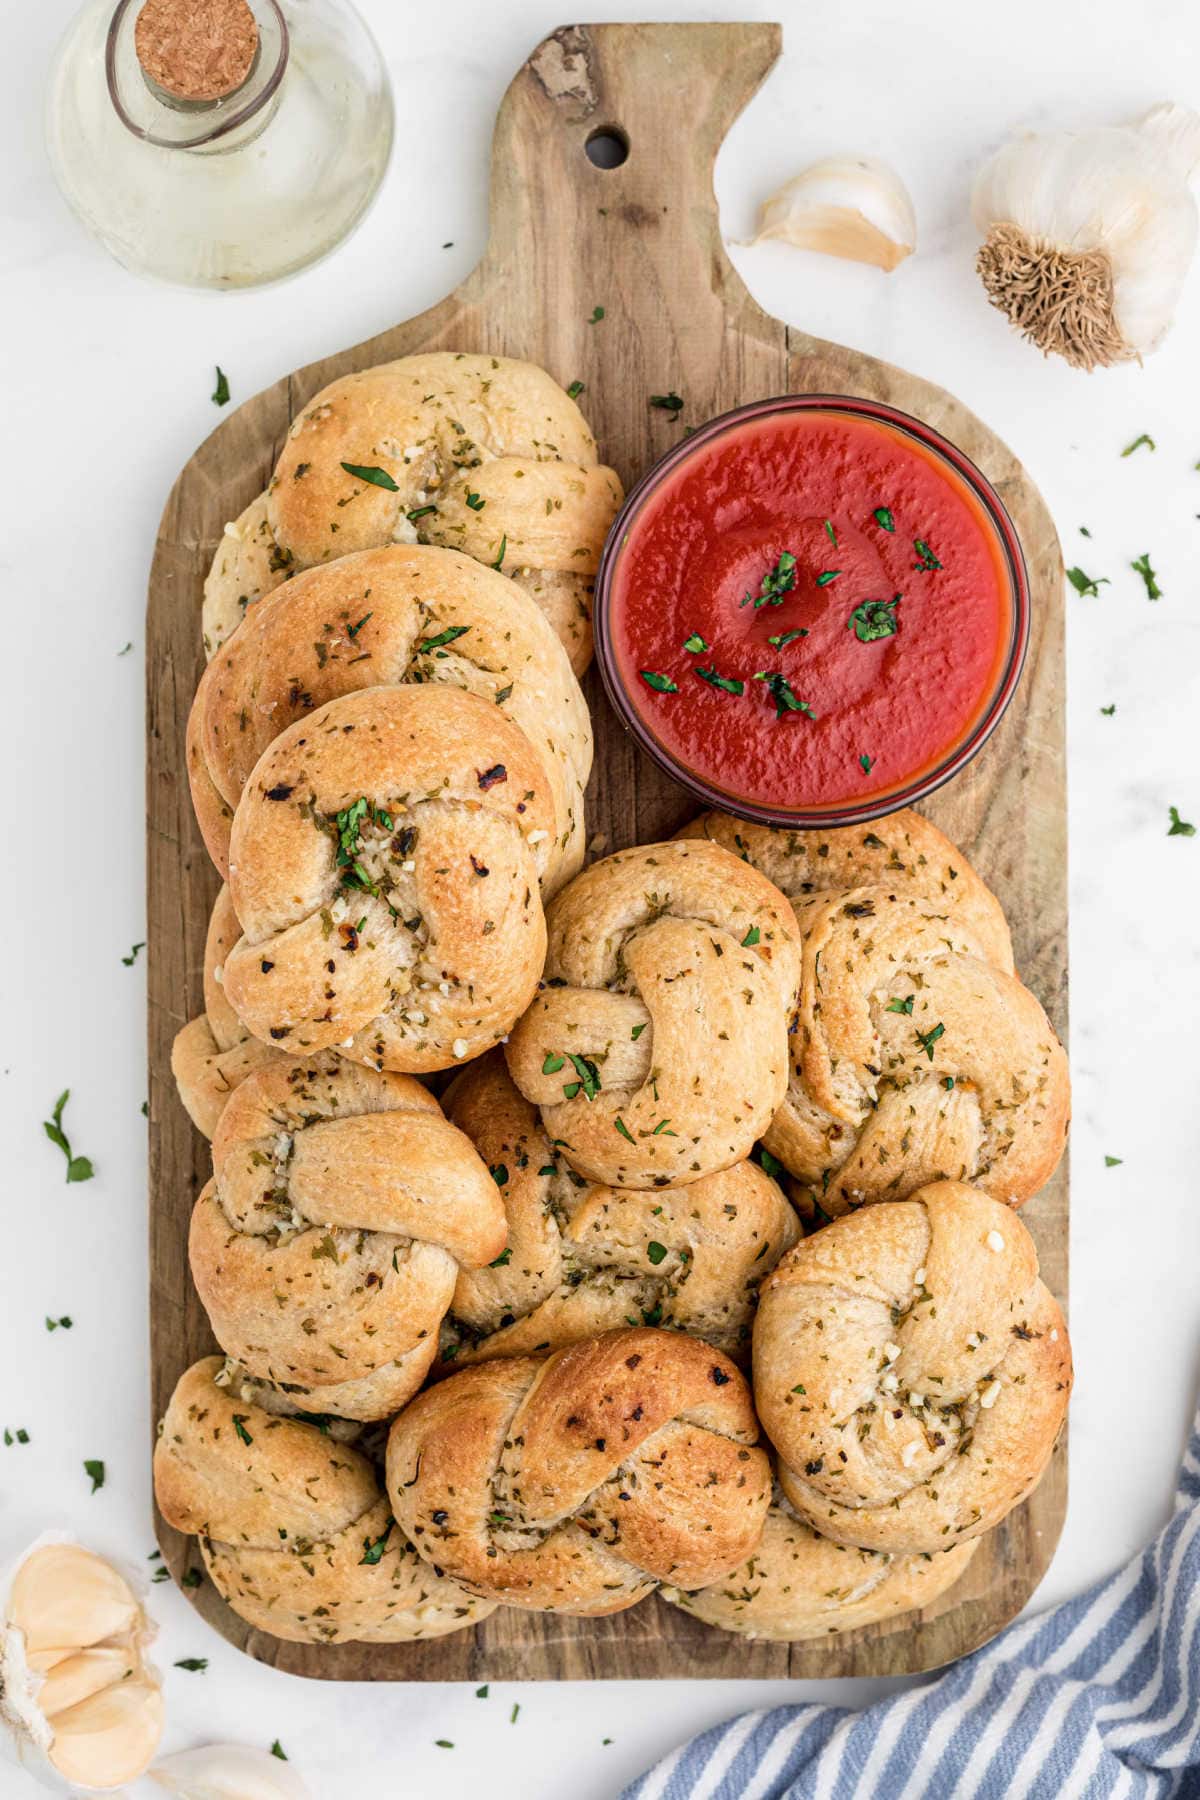
Table of Contents
🗝️ Key takeaways
- Homemade garlic knots are easy to make, budget-friendly, and much tastier than store-bought.
- These freeze well so make a bunch on a weekend and serve with with any casual midweek meal.
- An instant-read thermometer and a stand mixer make this recipe easier but are not totally necessary.
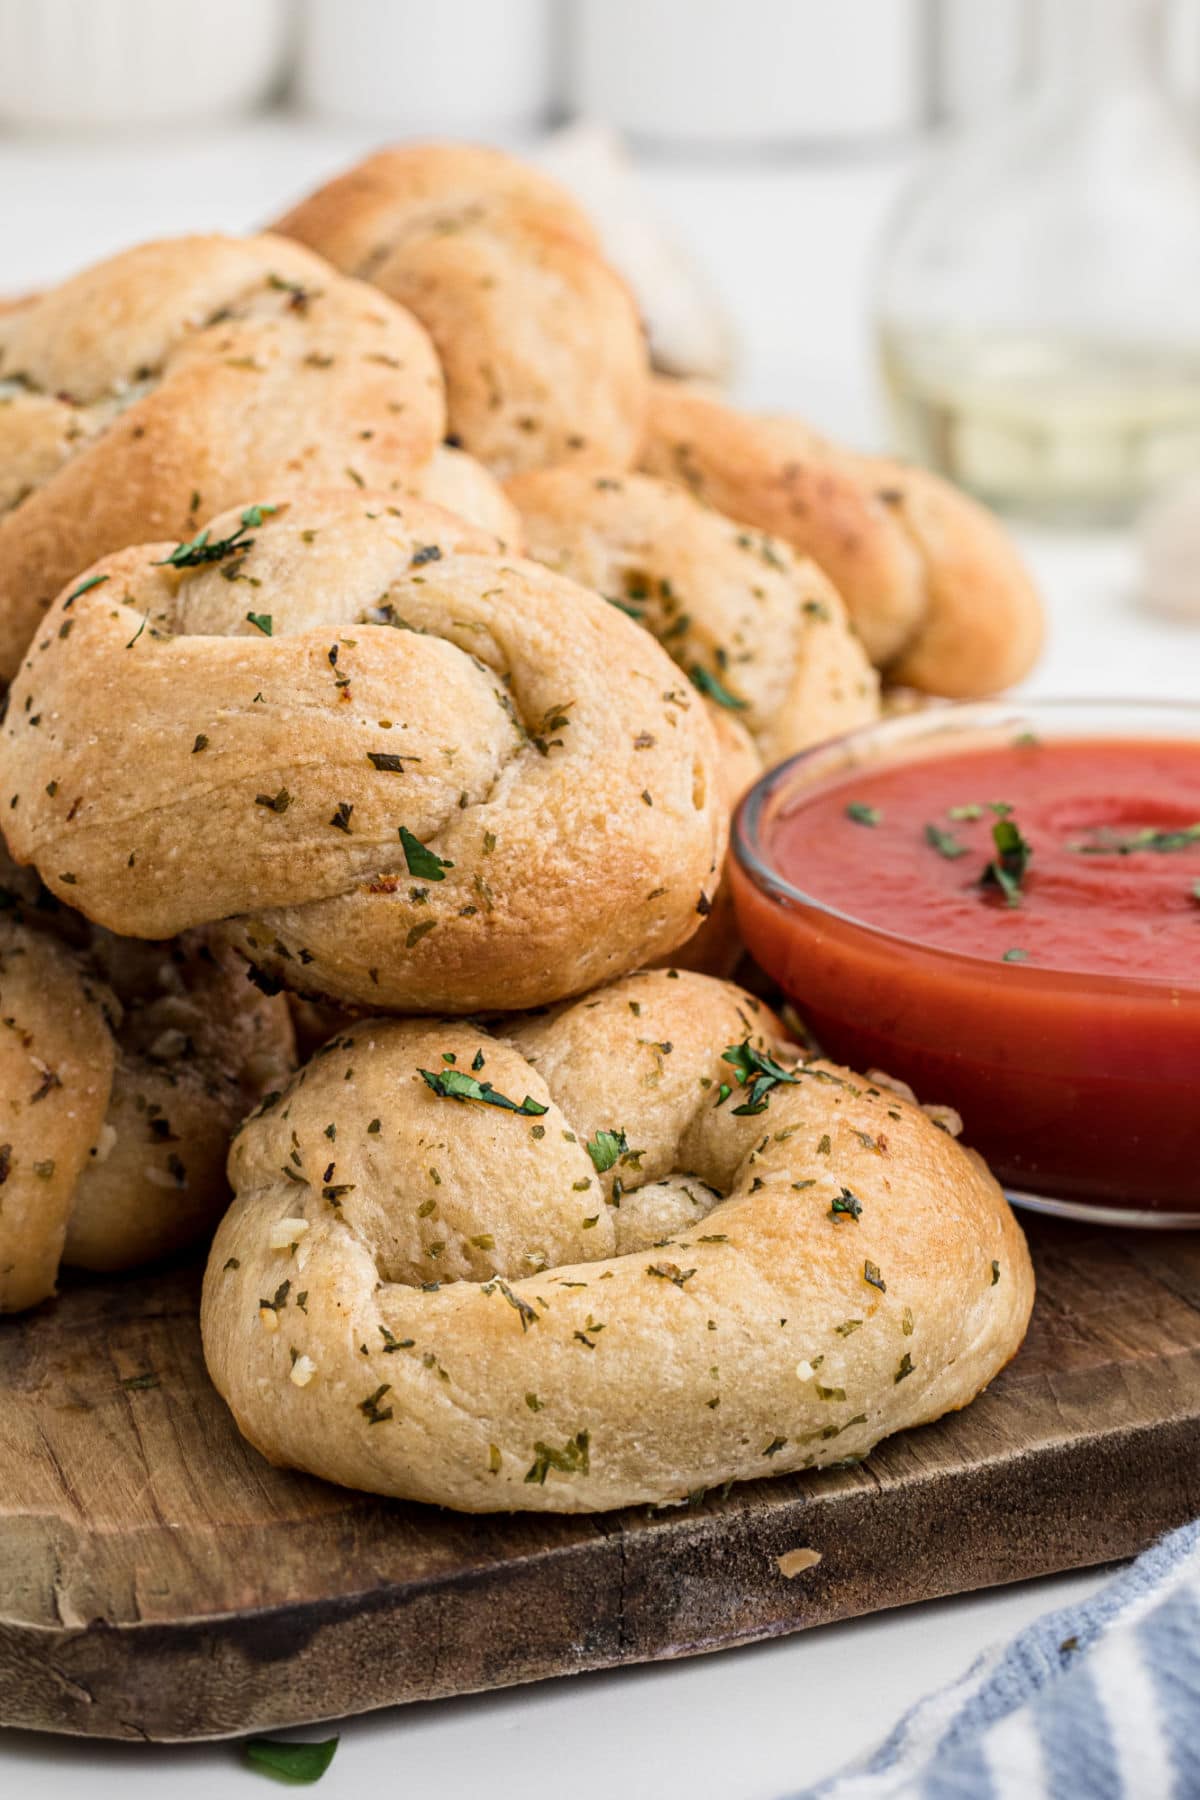
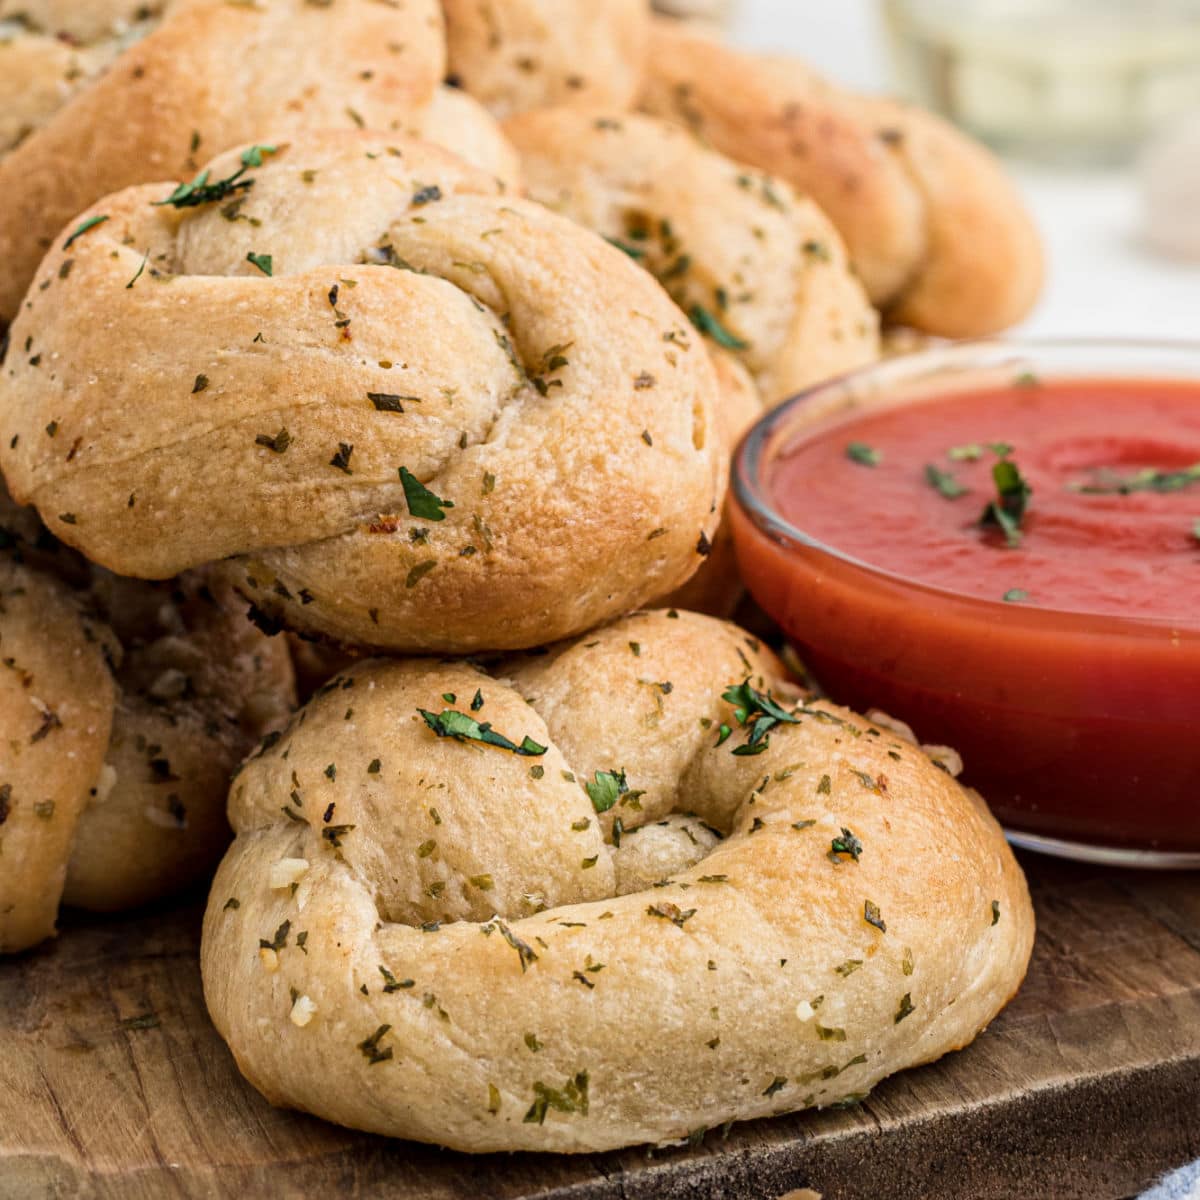
One of the best things in life is tearing open a warm, buttery roll to reveal the fluffy, soft interior and inhale the heavenly scent of fresh garlic and homemade bread.
That's why these garlic knots are supreme—they deliver all the nostalgic, comforting taste and flavor you crave, without too much effort or time. (And, only minimal kneading!)
🧾 Ingredients
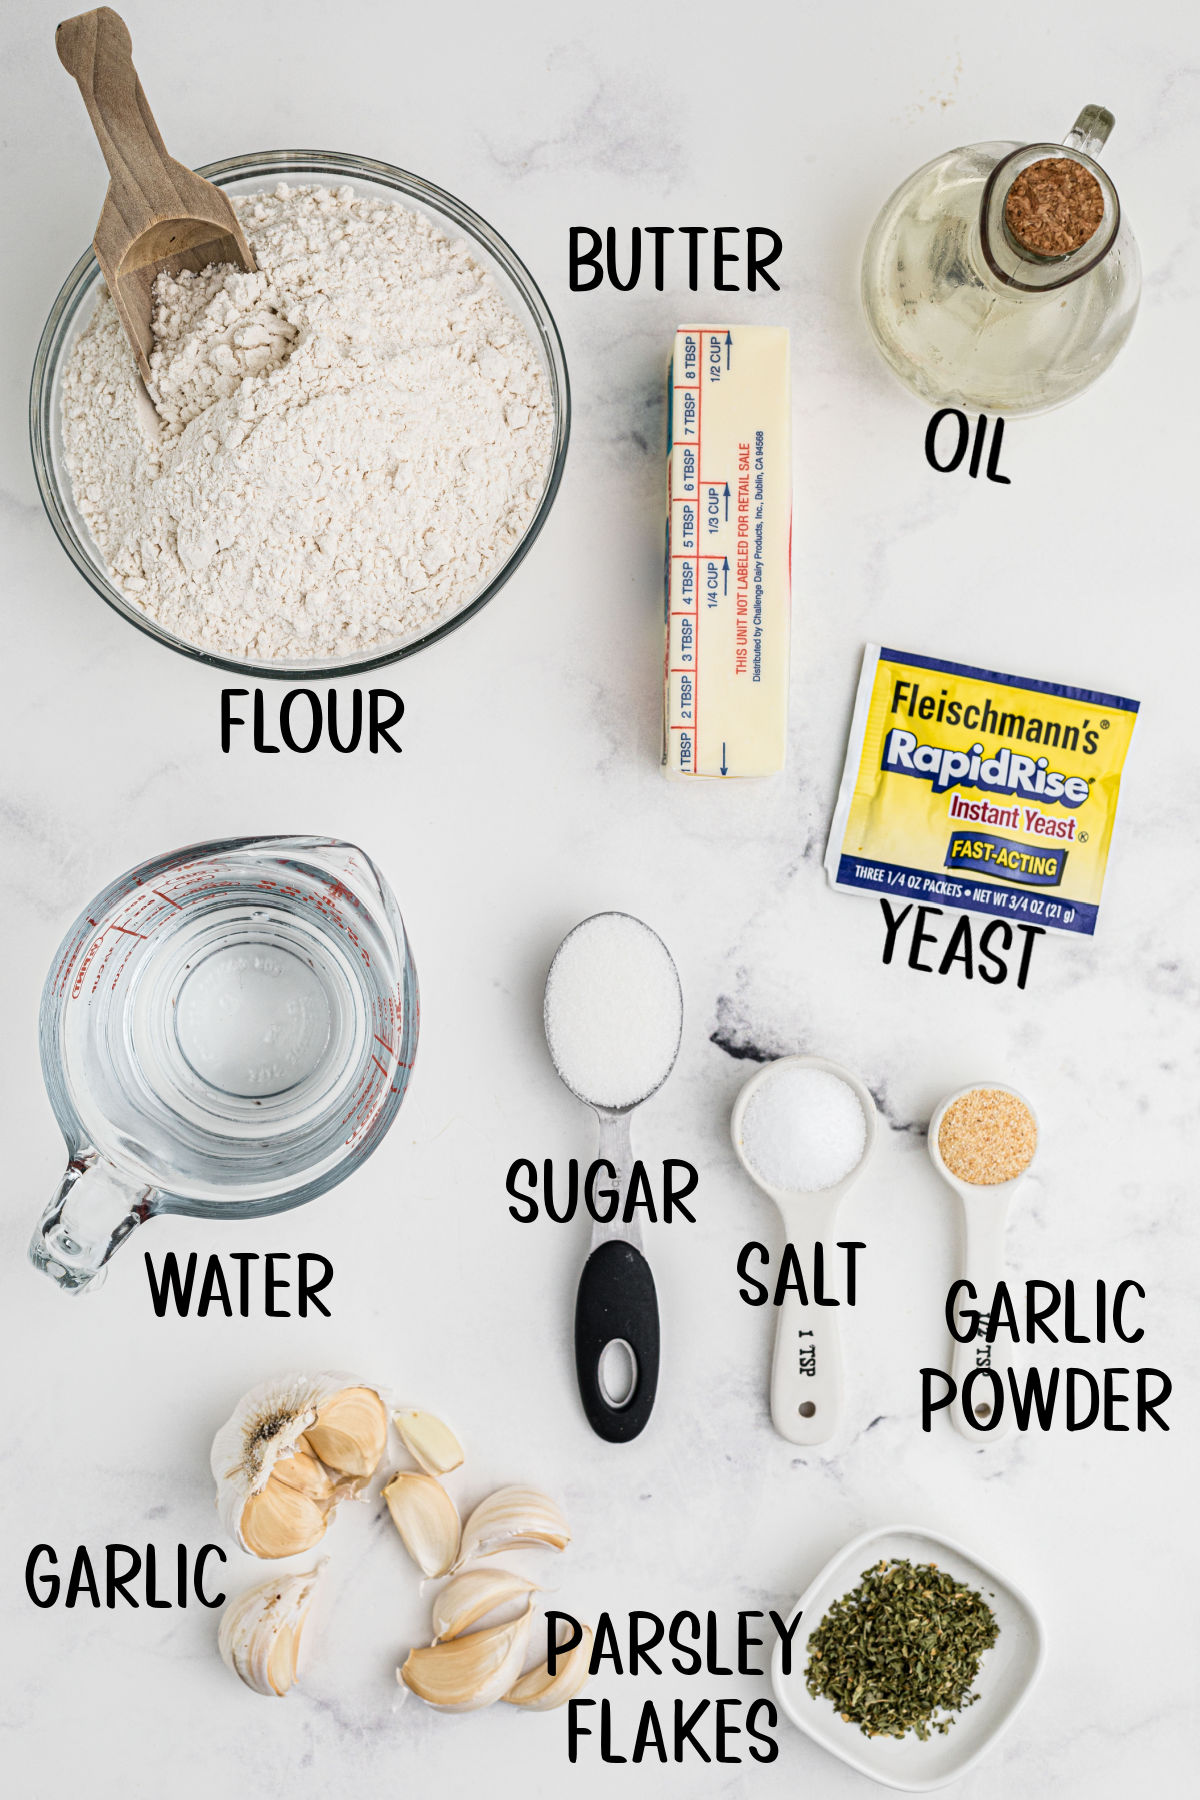
This is an overview of the ingredients. You'll find the full measurements and instructions in the green recipe card (printable) at the bottom of the page.
📖 Variations
- Prefer to use active dry yeast? That's fine. However, you'll have to let it activate in the warm water for at least ten minutes, and rising may take more time than compared to instant yeast.
- Instead of parsley flakes, feel free to use fresh herbs or dried Italian seasoning for a slightly different flavor profile.
- Prefer parmesan garlic knots? Before baking, sprinkle the tops of the rolls with grated parmesan cheese. Easy, cheesy, deliciousness.
- Add some deli pepperoni before tying the knots and serve with marinara sauce. Call them "pizza" knots for the kids!
🔪 Instructions
This is an overview of the instructions. Full instructions are in the green recipe card at the bottom of the page.
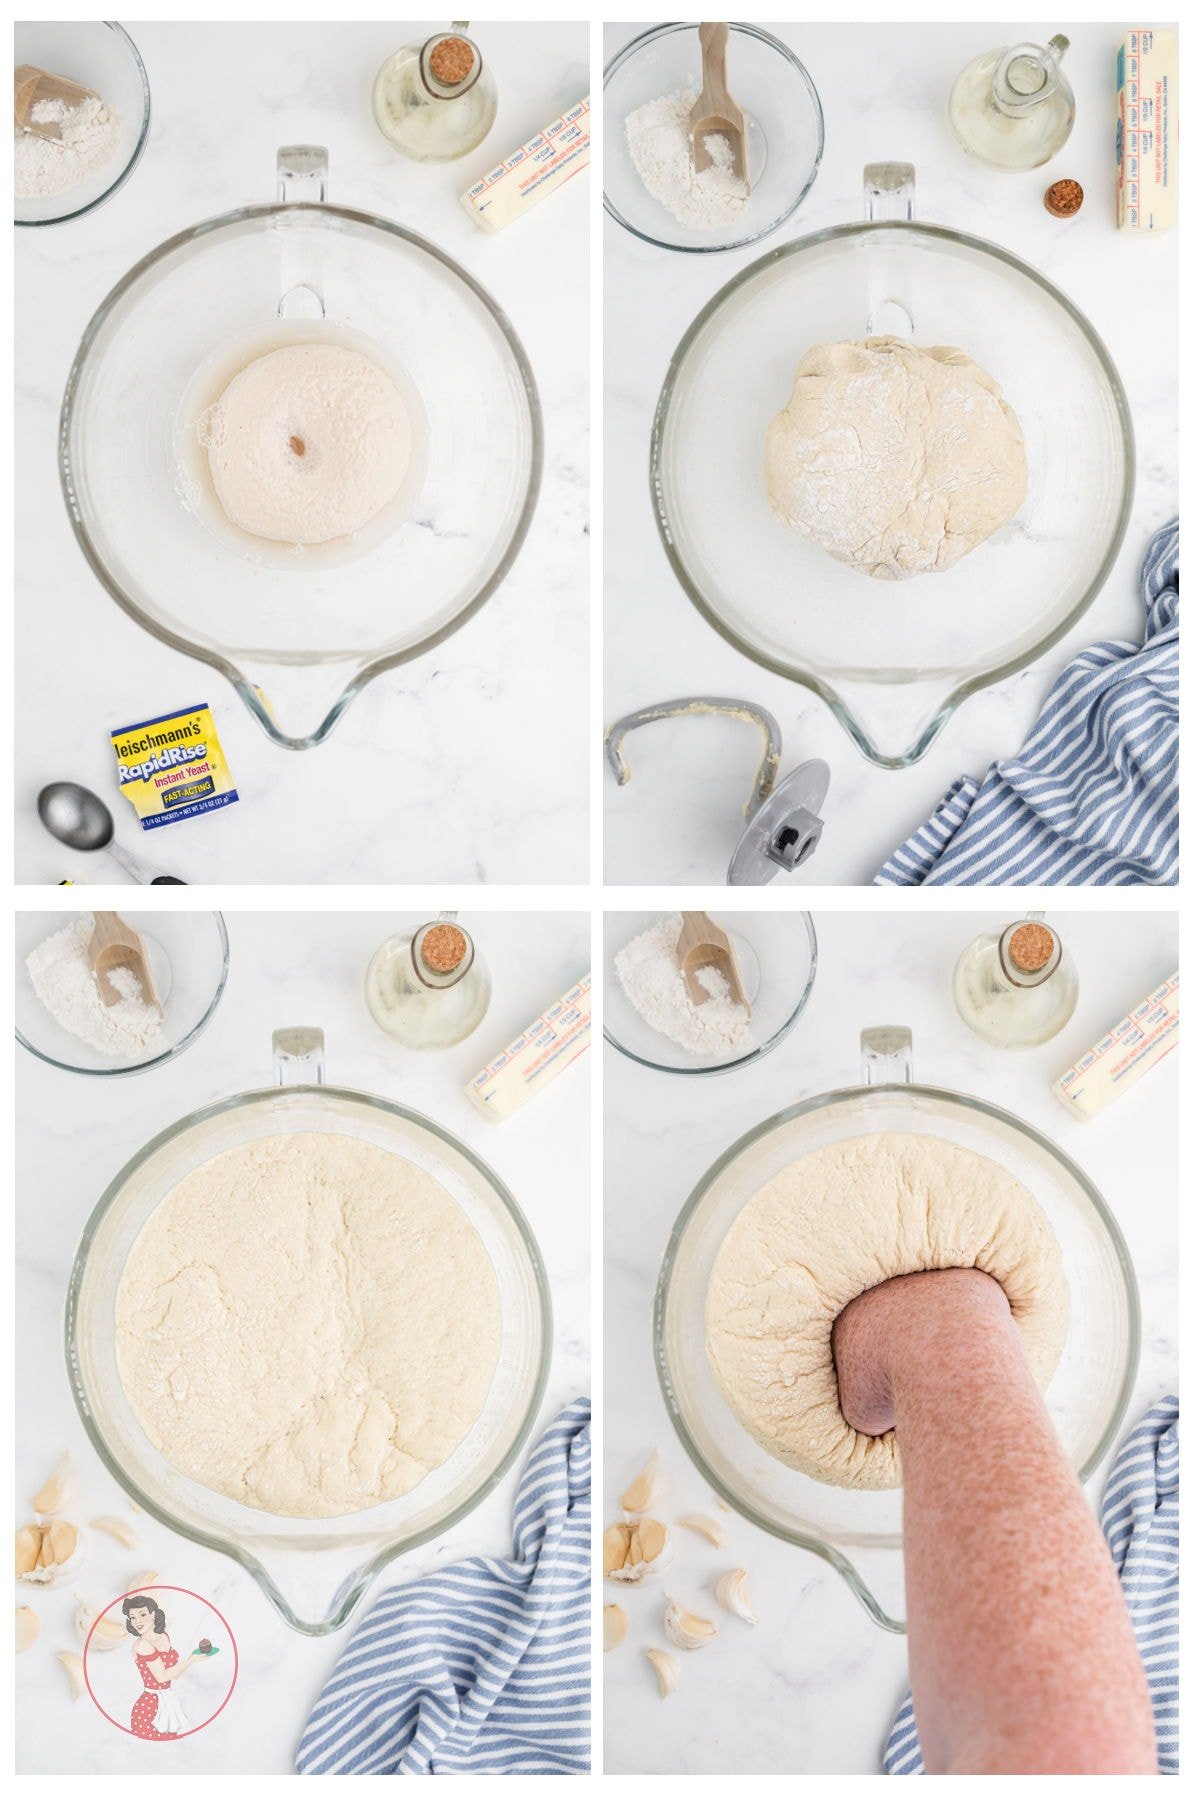
- Combine the yeast, warm water, and sugar in the bowl of a stand mixer.
- Add olive oil, salt, garlic powder, and all-purpose flour. Mix into a dough.
- Let dough rise in a warm place for about two hours or until size doubles.
- Punch down the bread dough to release the air.
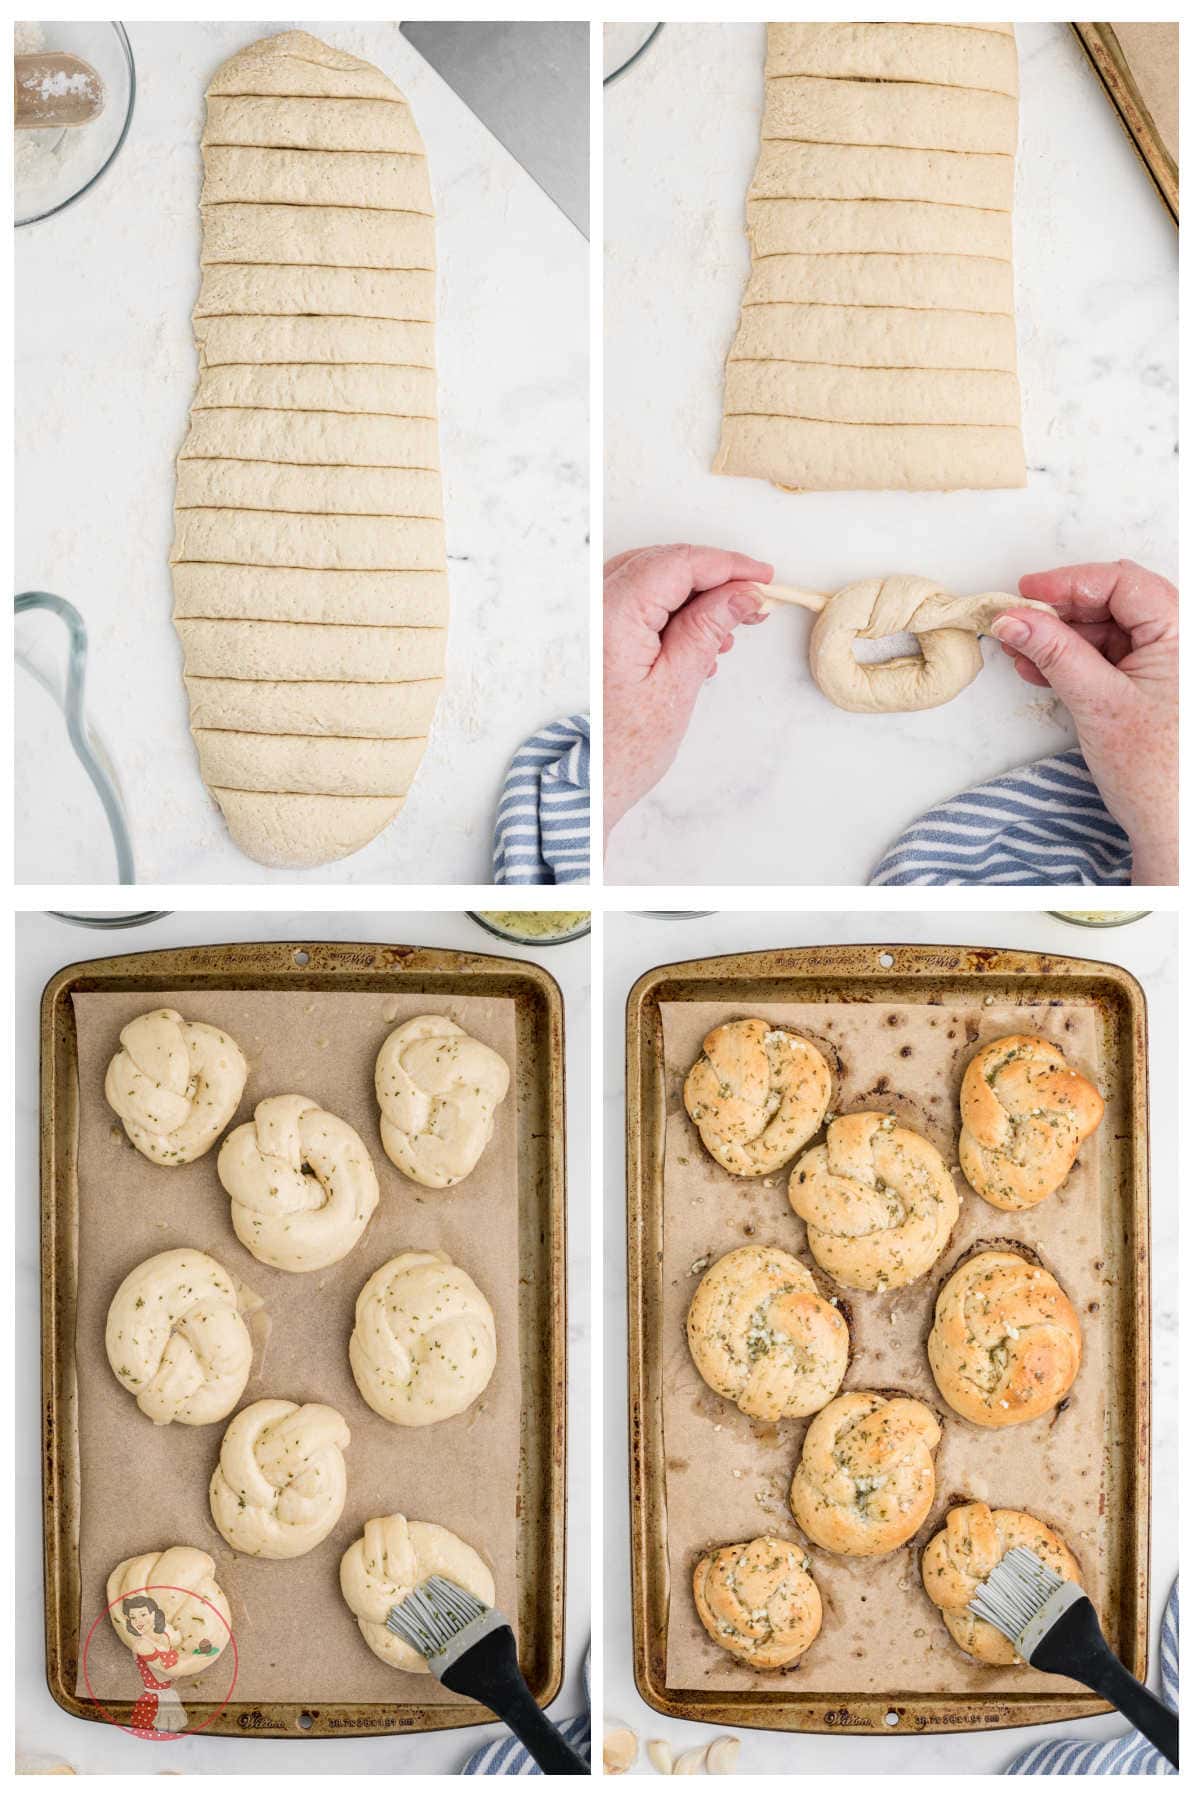
- Shape the dough into a flat loaf and cut into 1" slices.
- Tie each piece of dough into a knot.
- Set aside for the second rise. Then, brush with the garlic herb butter.
- Bake until golden brown and top with remaining melted butter.
🧄 Let the garlic knot dough rise in the refrigerator
- Prep the dough up to step 5 in the recipe instructions below.
- Oil the ball of dough and put it in a large, oiled
mixing bowl . - Cover loosely with plastic wrap.
- Place in the refrigerator and leave overnight. Don't leave it in the refrigerator for more than 24 hours.
- The next day, follow the rest of the steps as written!
🥫 How to store leftovers
Homemade garlic bread rolls aren't filled with preservatives like the store-bought stuff, so they won't last forever in the pantry.
However, they'll keep just fine at room temperature for two or three days. Just be sure to let the garlic knots cool down, first, before storing them in an airtight container.
Want 'em fresh-out-of-the-oven warm again?
Wrap the knots in aluminum foil and reheat them in the oven for a few minutes. If I'm baking something for dinner I'll just pop the rolls in for the last bit of time and they taste like new again!
Like most homemade dinner rolls, feel free to freeze leftover garlic knots for another time.
Simply package them up tightly in a freezer bag and use them within three months for best results—though, they'll be safe to eat for up to six months.
💭 Things to know
Expert Tip: If you don't have a warm spot in your kitchen to let the dough rise, turn the oven on to its lowest temperature, let it preheat for a few minutes, then shut it off. Put the dough inside and let it grow!
- For fool-proof, perfect garlic knots, measure all of the ingredients properly. This makes a big difference, people!
- New, fresh yeast is best. Don't try to use any that's expired—trust me.
- No mixer? No problem. Use a wooden spoon and a bit of muscle power to combine the ingredients into a ball of dough. Then you'll need to knead it for about 5 to 10 minutes.
- If you live in a dry climate, dampen the kitchen towel or use plastic wrap to cover the bowl so the dough doesn't dry out during proofing.
- Line the baking sheet with parchment paper to prevent sticking. Don't confuse parchment with wax, though, as the wax paper isn't oven-safe!
- Let the garlic butter cool down a little before brushing it on top of the knots (so they continue to rise in the oven.) Piping hot butter can harm the yeast even still at this point in the process.
👩🍳 FAQs
Two main culprits here: overworking the dough or too much flour (perhaps your "lightly floured surface" was dusted a little too heavily?) Follow the recipe carefully and these ones will turn out tender and soft!
Rise times are just a guide, so it's best to pay attention to the size. After all, depending on the warmth of your kitchen or the strength of the yeast, rising may require more or less time.
If you struggle to gauge the size of the dough, consider putting a piece of tape or two around the outsides of the bowl to mark the dough's initial size. Or, snap a photo on your phone to reference later!
Prep the dough up to the first rise, but place it in the fridge and leave it overnight. The yeast will rise at a much slower pace, so it gives you some extra time. However, don't leave it in the refrigerator for more than 24 hours. The next day, follow the rest of the steps as written!
You can still make the recipe without a thermometer, but you may have trouble with the yeast. Using the right temperature of water is vital—too hot and you risk damaging the yeast, which will cause flat, dense garlic knots.
📚 Related recipes
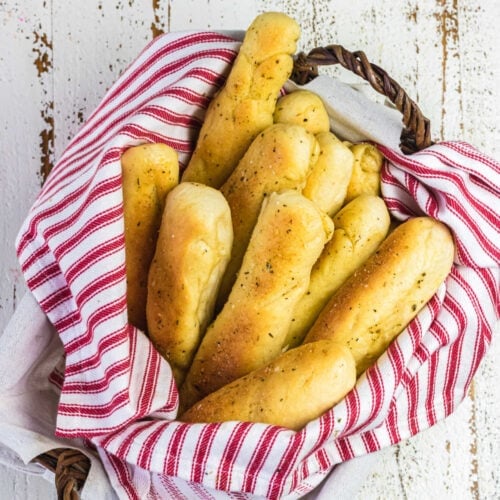
- Garlic Breadsticks are so delicious, and, better yet, versatile! You can freeze the sticks before baking or after for an easy side in just minutes.
- Anyone can make this chewy, delicious Potato Garlic Baguette recipe—it tastes as if it came straight out of a fancy-schmancy bakery!
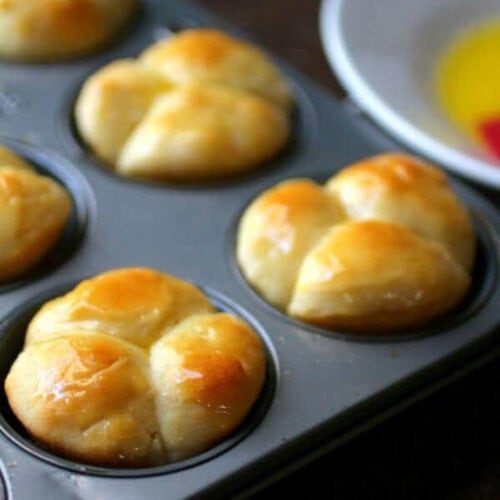
- These 30-Minute Dinner Rolls are yeasty, buttery, and almost sound too good to be true. And, did I mention, they only take a half hour? Score!
🍽️ Serve with...
I love these with almost anything but one of the best ways to serve garlic knots is with pasta covered in my Slow Cooker Beef Ragu Sauce. I'll add a salad or Green Bean Casserole. Red Velvet Bundt Cake finishes off a satisfying meal with moist texture, sweet flavor, and just the right amount of tangy frosting.
📞 The last word
There's something about making homemade bread that just makes you feel confident and good. It's one of the few times I feel like I've got this adulting thing down!
If you click on the number of servings in the recipe card you can adjust the measurements up or down for the exact number of servings you need. Don't forget that you can click on "add to collection" to save it to your own, private recipe box!
If you love this recipe please give it 5 stars! ⭐️⭐️⭐️⭐️⭐️
📖 Recipe
Garlic Knots
Print Pin Recipe Rate RecipeIngredients
- 1-⅓ cups water, 105-115°F.
- 2-¼ teaspoons instant yeast, or one package
- 1-½ tablespoons sugar
- 3 tablespoons olive oil
- 1 teaspoon salt
- ½ teaspoon garlic powder
- 3-½ cups all-purpose flour
- 6 tablespoons salted butter
- 4 cloves garlic, minced
- 1 teaspoon dried parsley flakes
Instructions
Proof the Yeast (Active Dry Yeast)
- Add the warm water to the bowl of your stand mixer - ensuring the temperature is between 105-115°F.
- Sprinkle in the yeast and sugar and mix with a whisk. Let sit for 5 minutes.
- After the 5 minutes is up the yeast should have formed a foaminess in the water. If it didn’t that means the yeast is dead and you need to start again.
- Add the olive oil, salt, garlic powder and flour then using the dough hook on your mixer on a low speed, allow the dough to come together to where it is just sticky but floured hands can touch it.
Using Rapid Rise Yeast
- Mix the warm water, olive oil, and salt.
- Add the yeast and garlic powder to 3 cups of the flour.
- Add the flour mixture to the olive oil mixture.
- Using the dough hook on your mixer on a low speed, allow the dough to come together to where it is just sticky but floured hands can touch it.
Rising and Shaping
- Empty out the dough onto a floured surface then spray the inside of your mixing bowl with cooking spray.
- Place the dough back into your mixing bowl and cover with a kitchen towel. Sit in a warm dry place for about 2 hours, until the dough has doubled in size.
- Punch the dough down.
- Empty the dough out onto a floured surface and shape into a long flat (ish) loaf. About 15” long.
- Cut 1” slices through the dough.
- Take each slice and roll out like a worm. Remember making snakes with Playdo?
- Form a knot - either tucking the ends under or leaving them out.
- Arrange on a baking sheet lined with parchment paper, 2” apart. Cover again and allow to rise for another 30 minutes.
- Preheat oven to 400°F.
- In a small mixing bowl, melt the butter with the garlic and parsley.
- When the 30 minutes is up brush each knot with the garlic butter then bake in the oven for 20 minutes until golden brown.
- After you take them out of the oven brush again with the remaining garlic butter.
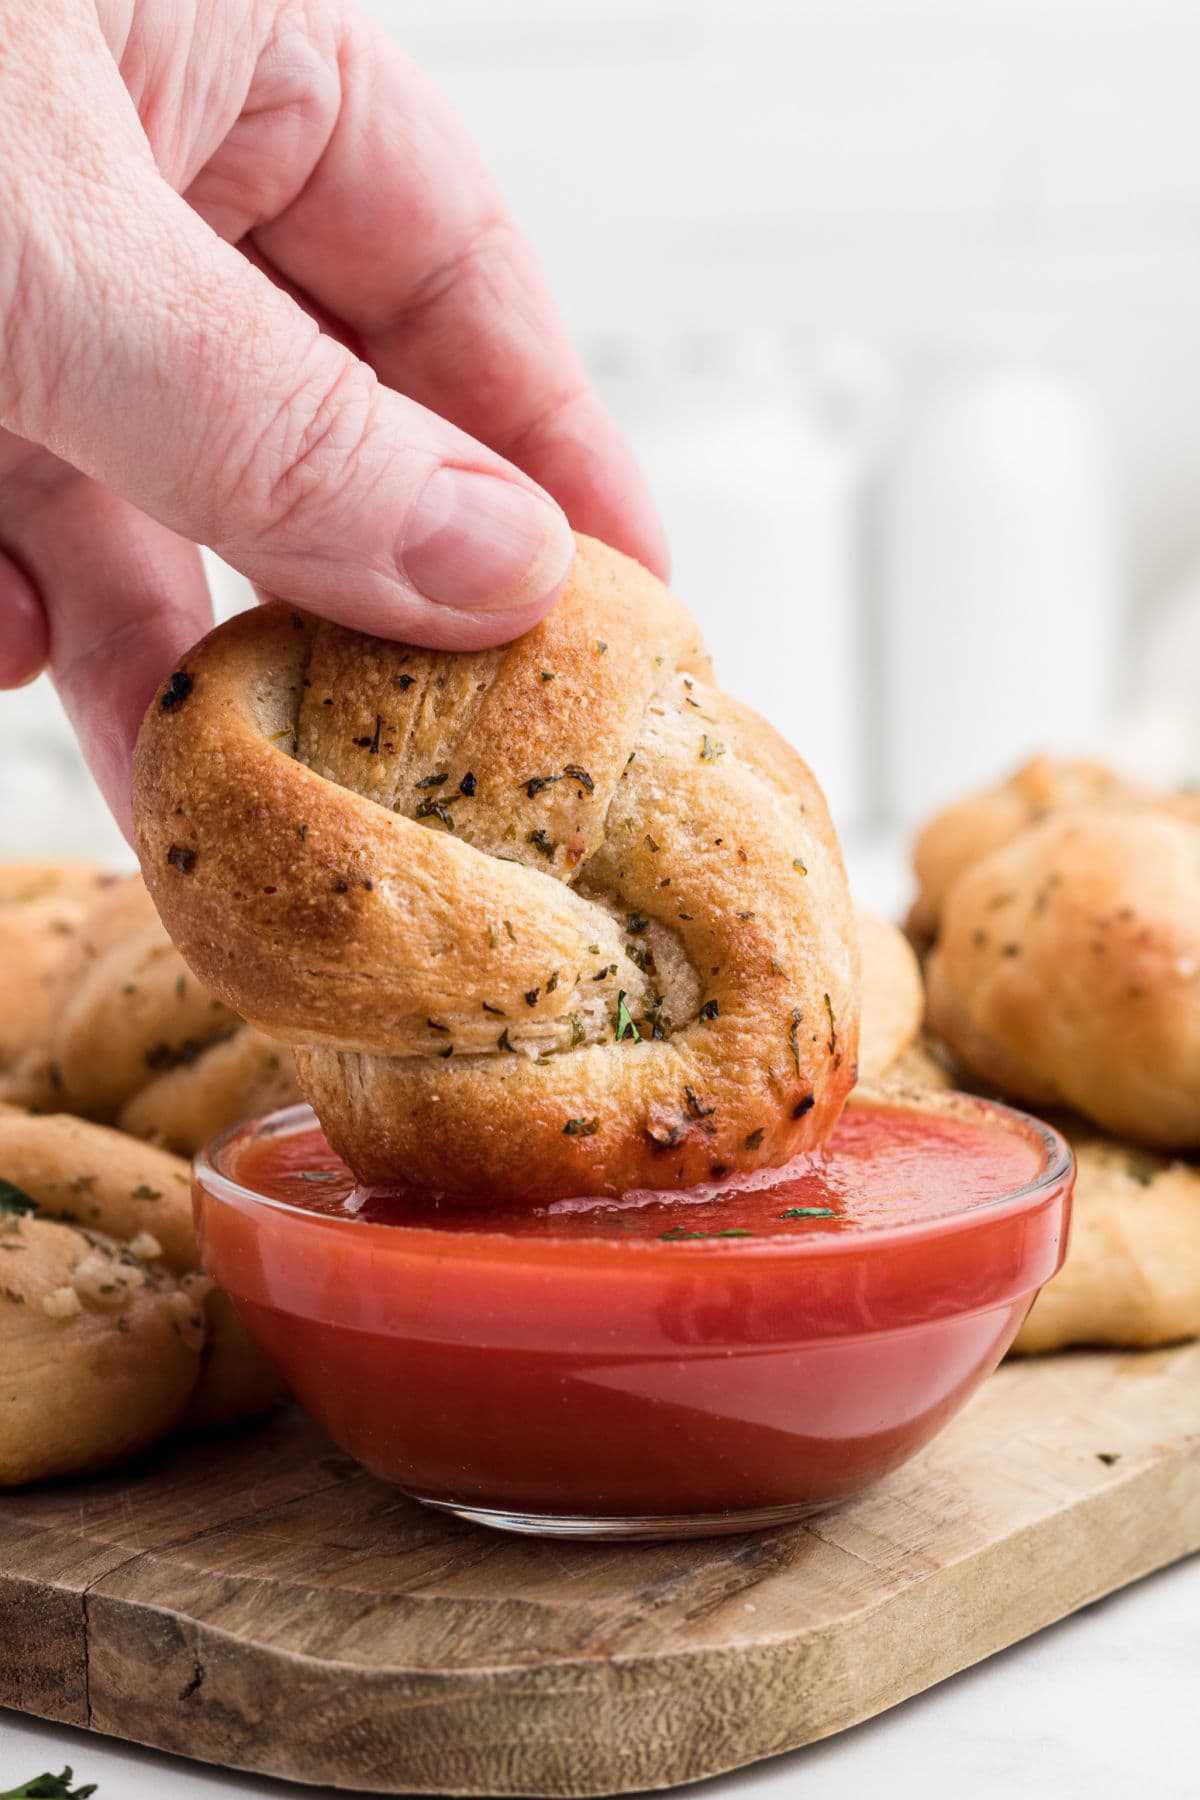
- Serve with your favorite dip and sprinkle with fresh parsley (optional)
Notes
Once the garlic knots have cooled completely store them in an airtight container in the refrigerator for up to 4 days. Reheat in the oven. These garlic knots freeze well. Store in a resealable freezer bag or an airtight container with parchment between the layers and freeze for up to 6 months. Tips:
- For fool-proof, perfect garlic knots, measure all of the ingredients properly. This makes a big difference, people!
- New, fresh yeast is best. Don't try to use any that's expired—trust me.
- No mixer? No problem. Use a wooden spoon and a bit of muscle power to combine the ingredients into a ball of dough. Then you'll need to knead it for about 5 to 10 minutes.
- If you live in a dry climate, dampen the kitchen towel or use plastic wrap to cover the bowl so the dough doesn't dry out during proofing.
- Line the baking sheet with parchment paper to prevent sticking. Don't confuse parchment with wax, though, as the wax paper isn't oven-safe!
- Let the garlic butter cool down a little before brushing it on top of the knots (so they continue to rise in the oven.) Piping hot butter can harm the yeast even still at this point in the process.
Nutrition Facts
Nutrition information is estimated as a courtesy. If using for medical purposes, please verify information using your own nutritional calculator. Percent Daily Values are based on a 2000 calorie diet.
This recipe has been tested several times. If you choose to use other ingredients, or change the technique in some way, the results may not be the same.

Comments
No Comments