When summer squash is plentiful this easy side dish is the best way to use it up!
Don't want to scroll through the page to get to the recipe? Use the table of contents to click on the section you want.
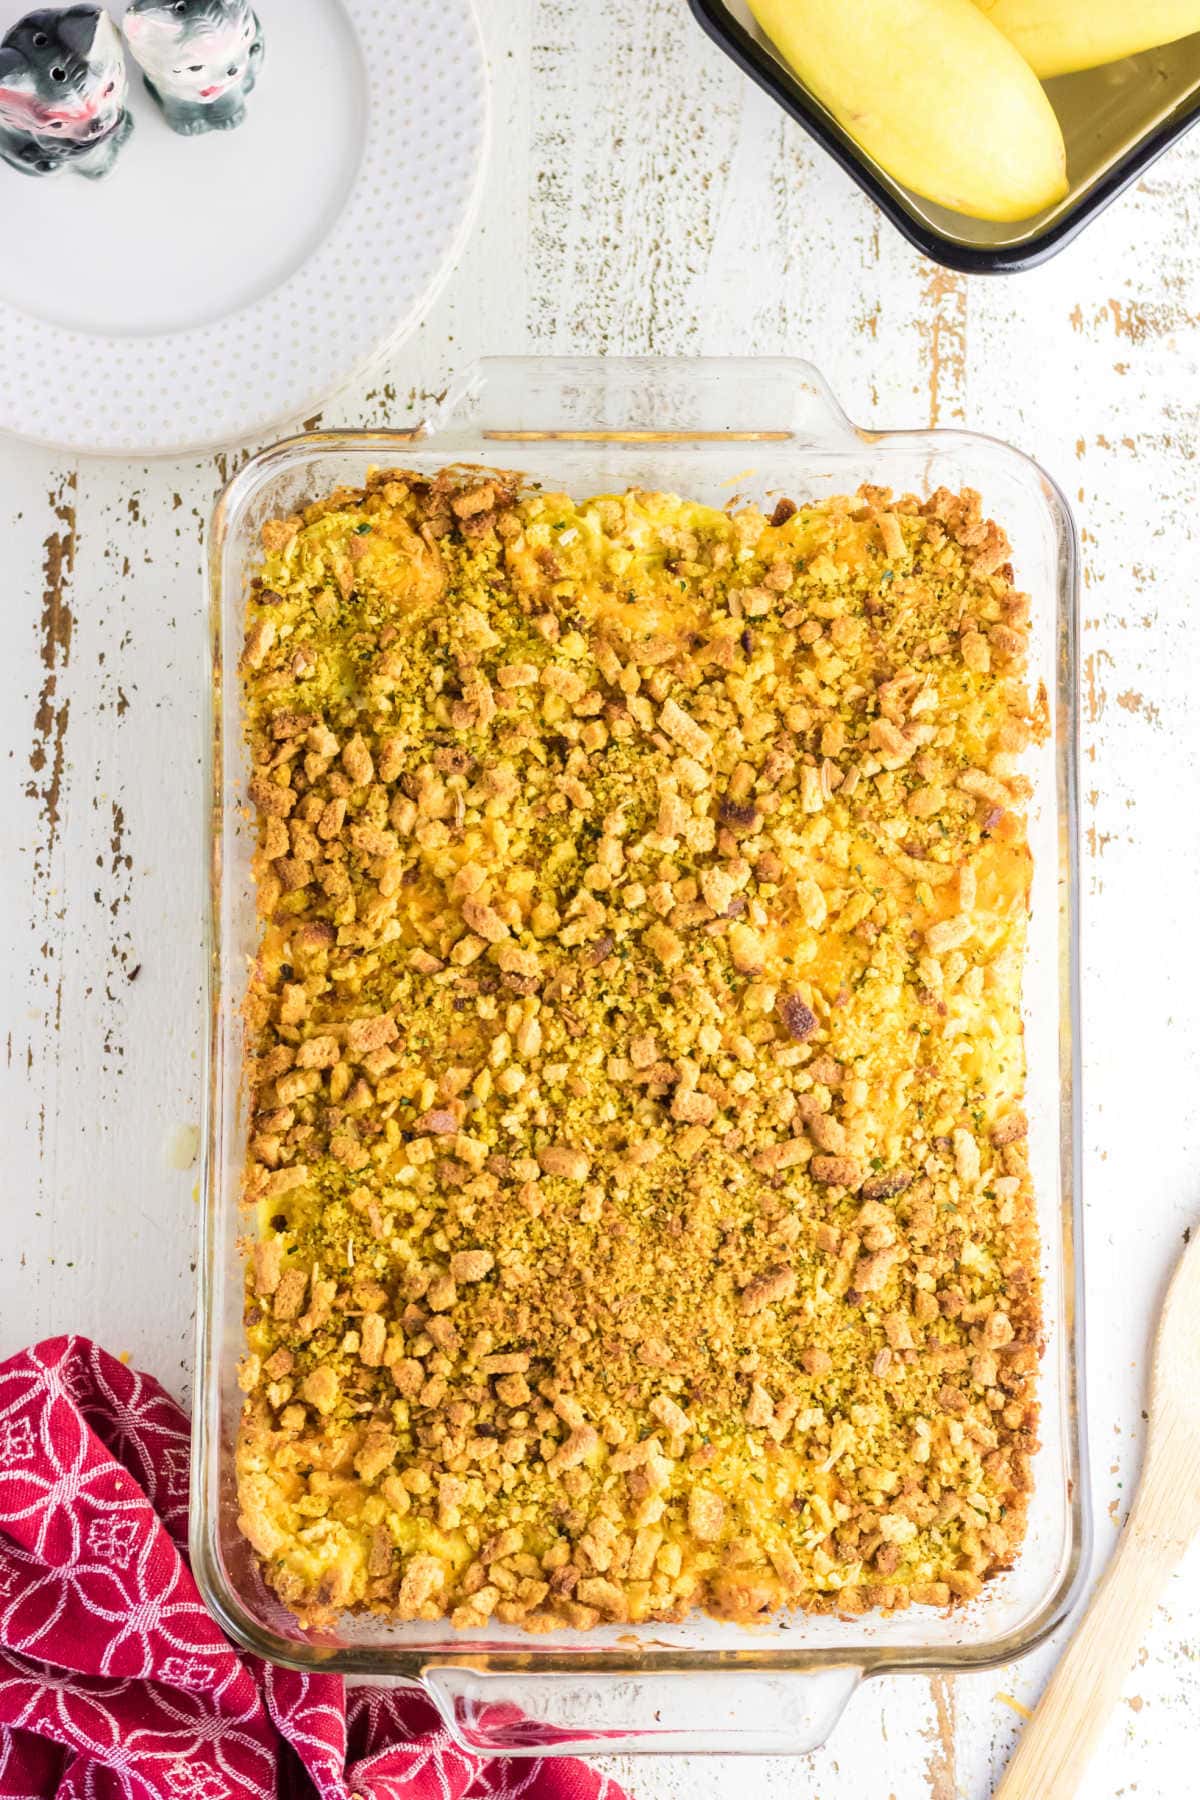
Table of Contents
🗝️ Key takeaways
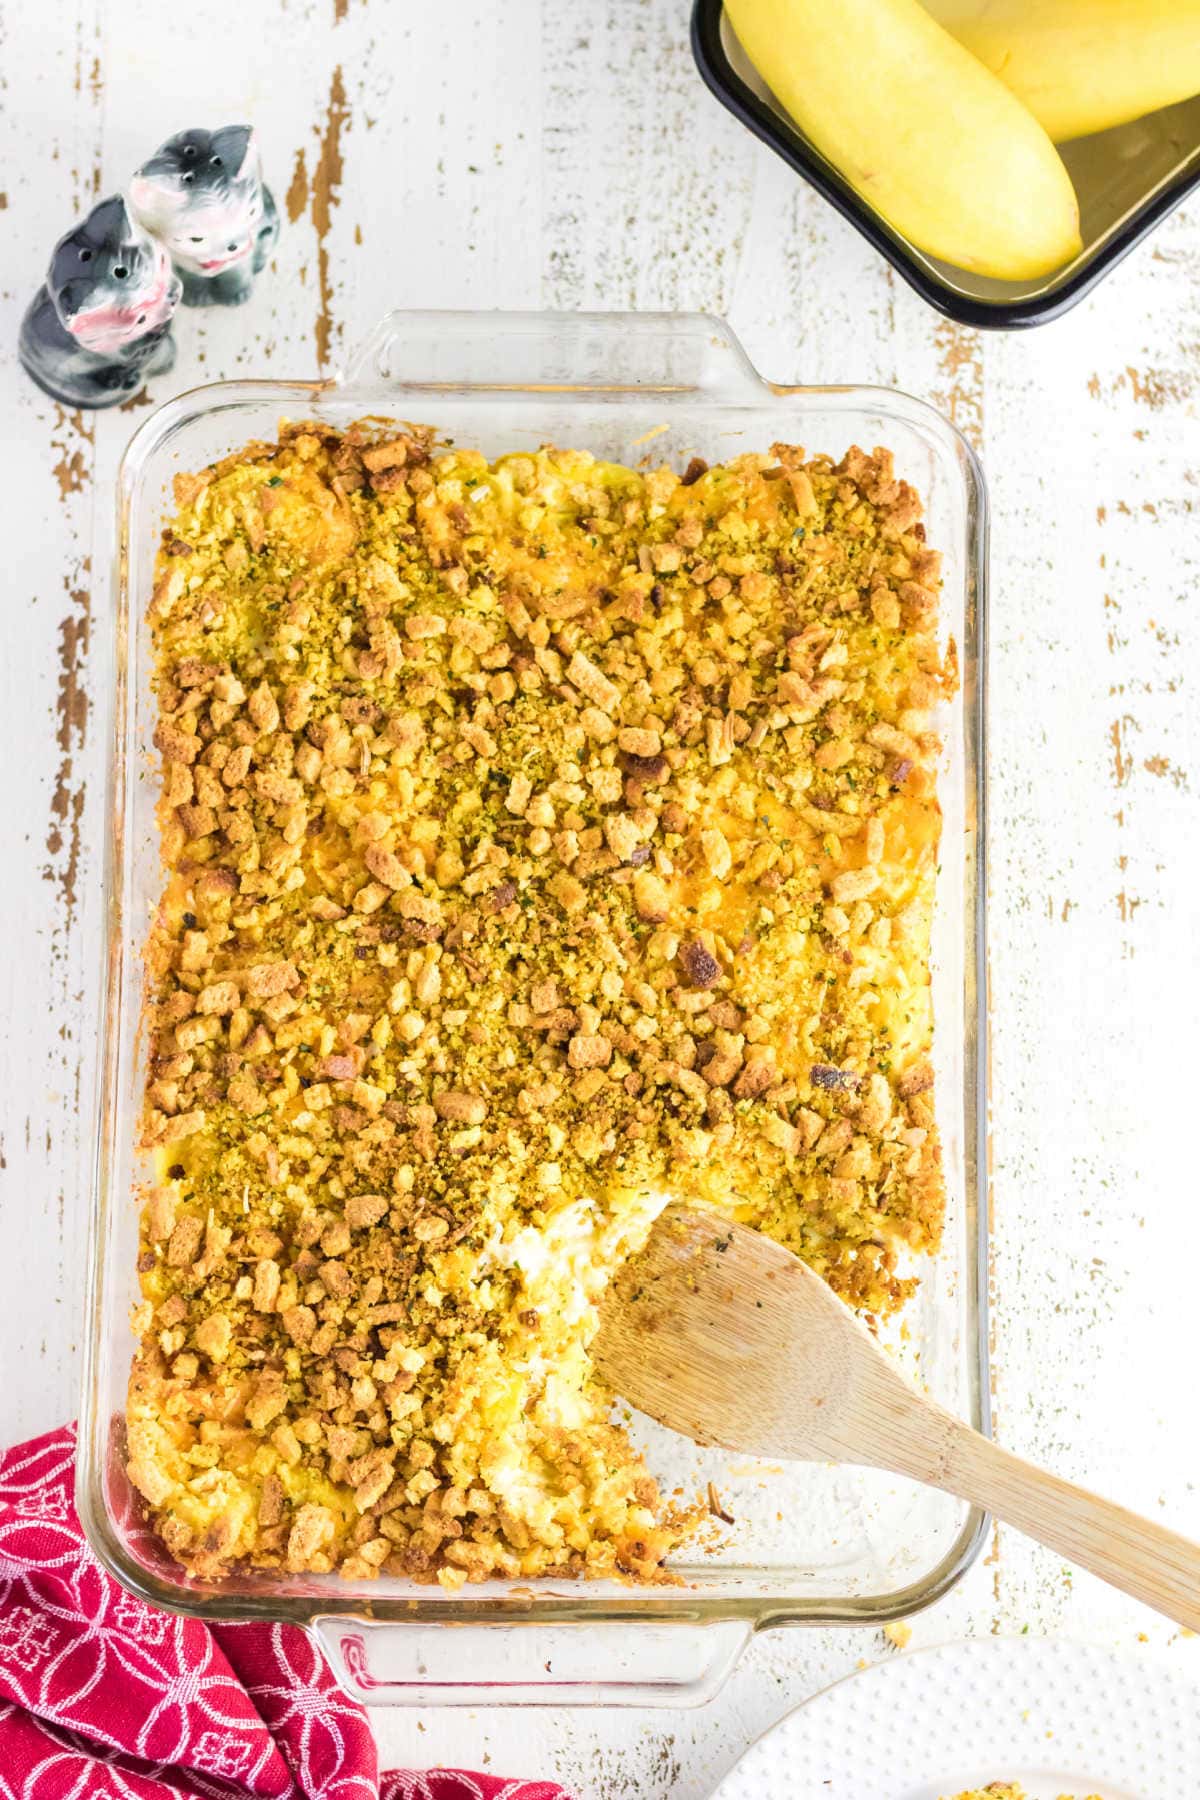
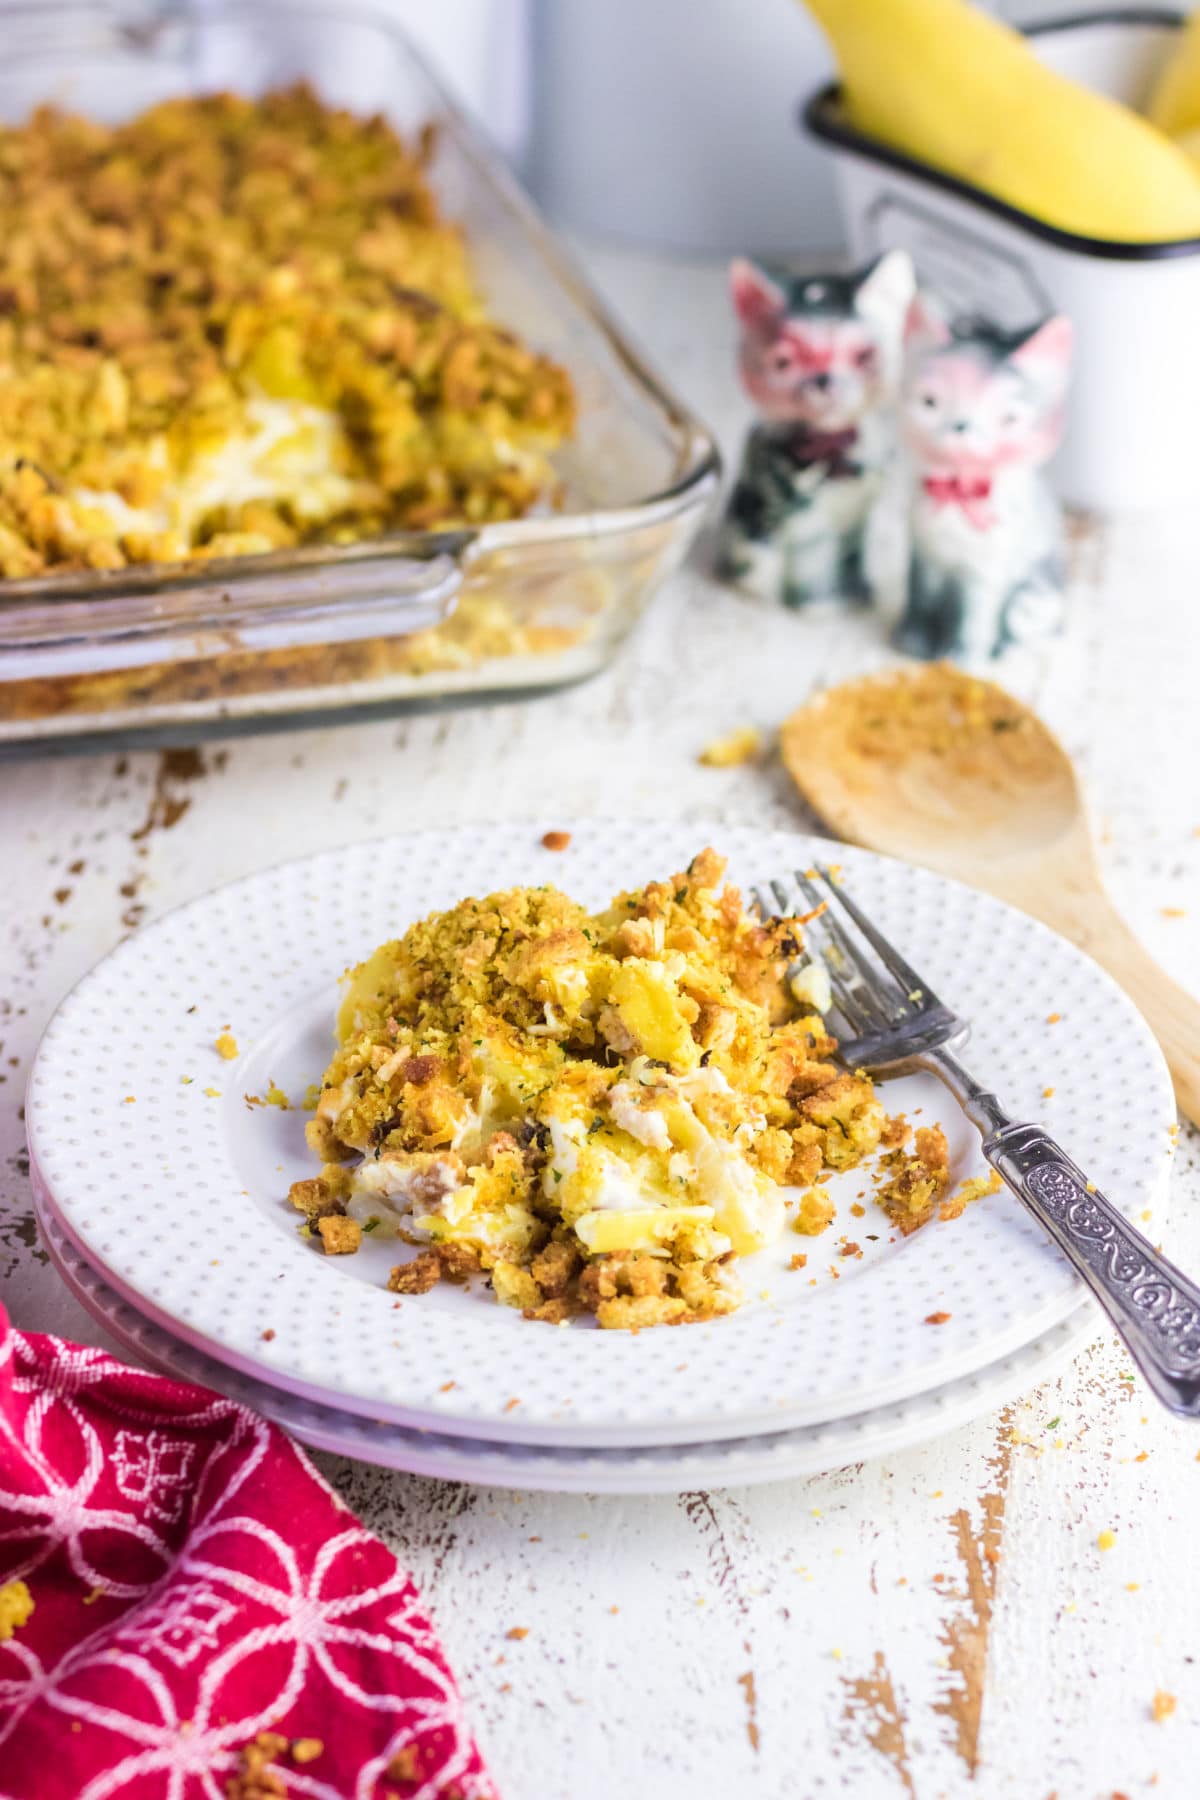
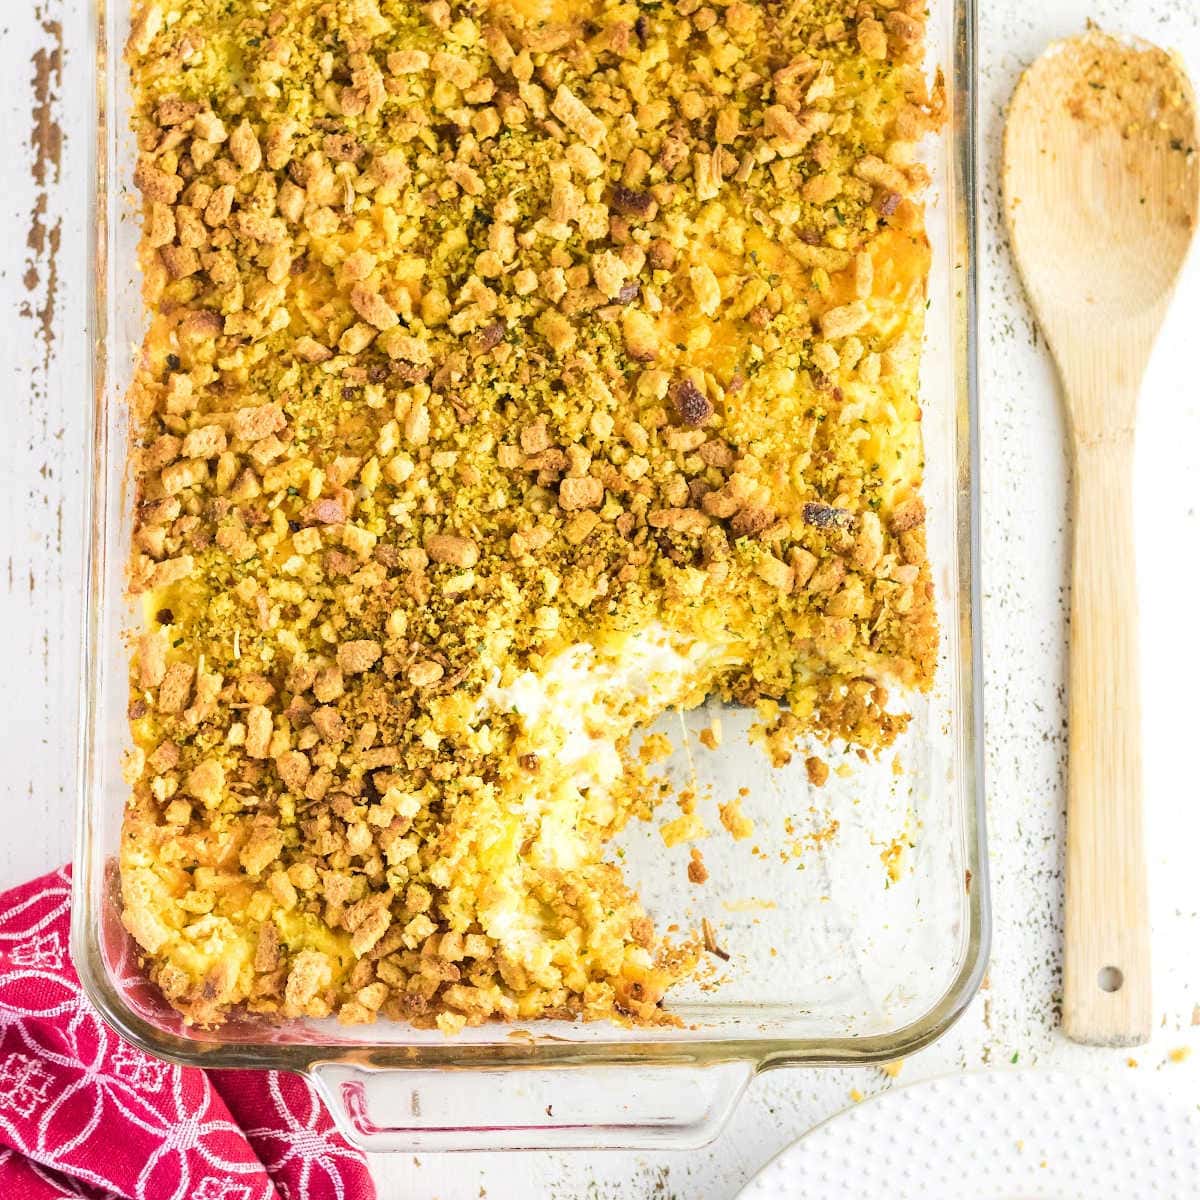
- The golden brown topping gets these cravable little crunchy stuffing bits around the edges—I always try to get a scoop from the corner!!
- This classic southern side dish is a great way to use up yellow squash all season long!
- It's important to slice the squash into even pieces so that it cooks evenly.
With sweet onion, tangy sour cream, and mellow, fresh squash, this flavorful casserole is bound to be a favorite.
Every bite is a perfect combination of soft, gooey, and crisp textures—let the satisfied choir of "yums" commence!
Have lots of summer squash? Try this easy squash casserole recipe with sour cream next.
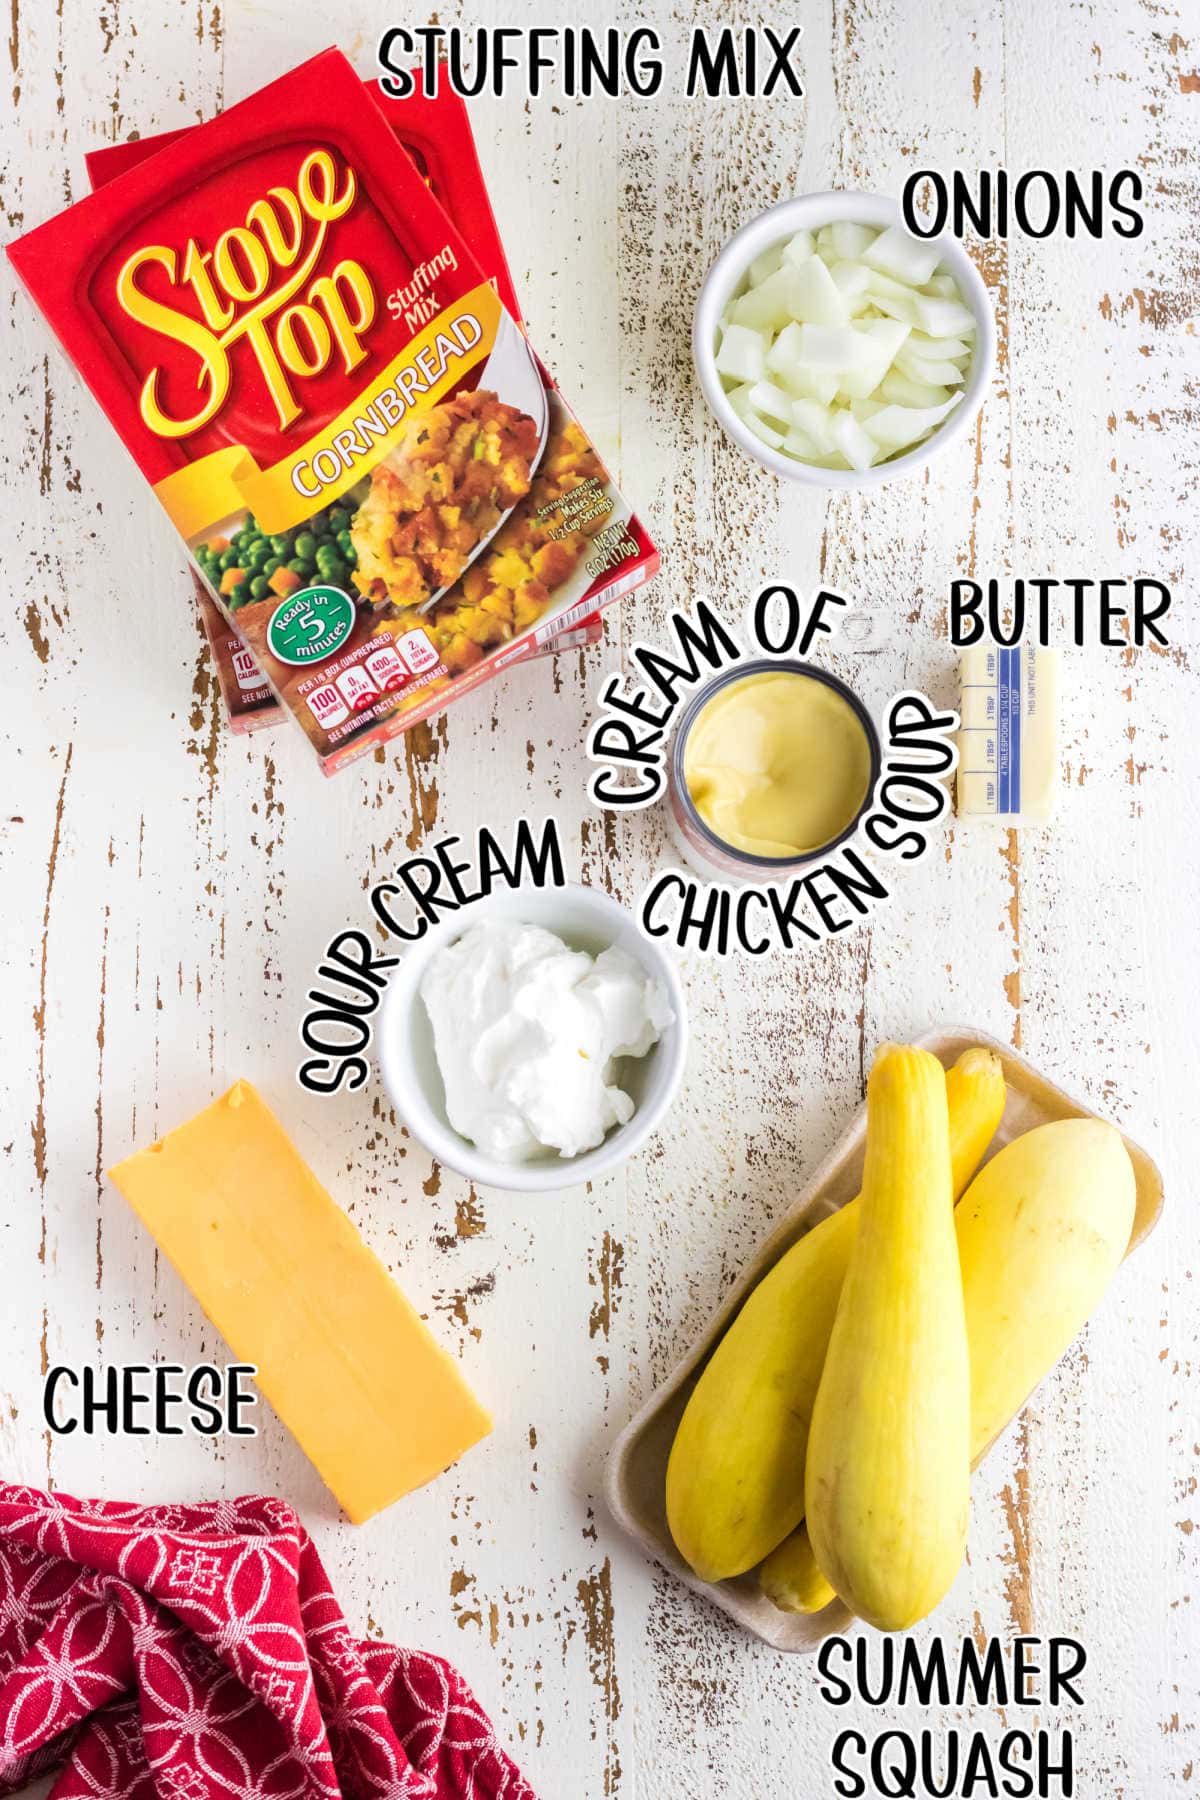
🧾 Ingredients
This is an overview of the ingredients. You'll find the full measurements and instructions in the green recipe card (printable) at the bottom of the page.
📖 Variations
- Add these french fried onions to the top before baking.
- You can use zucchini instead of summer squash if you want.
- If you like earthy flavors, you can swap the cream of chicken for the condensed cream of mushroom soup.
- Add some leftover shredded chicken breast or chopped, cooked ham to the squash mixture for a great main dish idea.
- Add green chiles or jalapenos.
- Consider adding some more texture and flavor with chopped bell peppers or shredded carrots. For best results, blanch them at the same time as the squash and onion mixture.
- Consider swapping the cheddar cheese for another similar variety, like American or Colby-Jack.
- The cornbread stuffing mix adds a hearty sweetness to the dish, but you could use an herb stuffing mix, instead.
- If you don't want so much stuffing use 1 box and ¼ cup of butter and skip the first layer of stuffing.
- Before serving, garnish with summery, fresh herbs, like chives or parsley.
🔪 Instructions
This is an overview of the instructions. Full instructions are in the green recipe card at the bottom of the page.
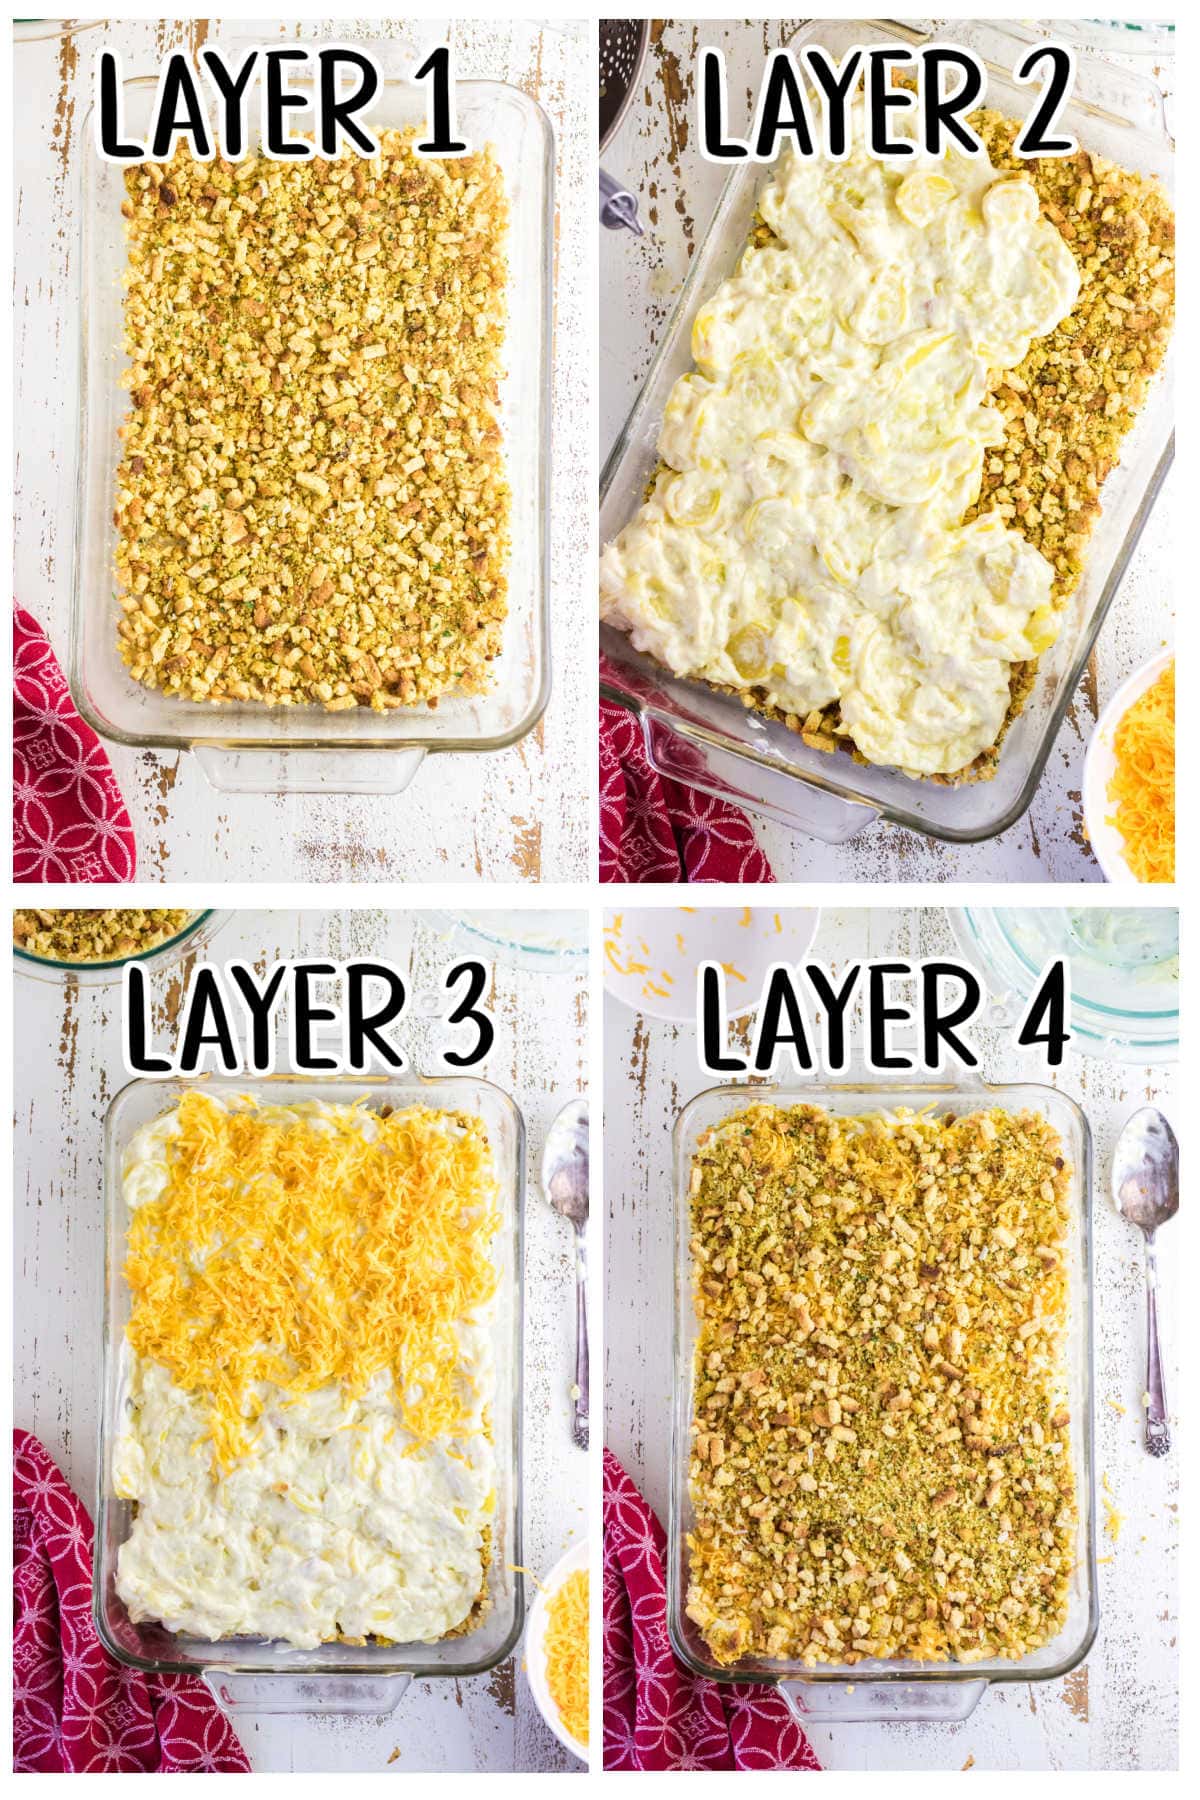
- Mix butter and stuffing. Place half the stuffing mix in the bottom of the prepared casserole dish.
- Stir together cooked squash mixture, sour cream, and soup. Place over the stuffing.
- Grate the cheese and sprinkle over the squash.
- Add another layer of stuffing and bake.
🥫 Storage
Squash casserole with stuffing keeps pretty well. Wrap up any leftovers in an airtight container, or cover the top of the casserole dish with plastic. Refrigerate for up to three days.
You can microwave individual portions until heated to your liking. Alternatively, rewarm the casserole in the oven, tented loosely with foil.
To enjoy yellow summer squash all year long, you can freeze leftovers in a freezer-safe container. It'll last for about three months.
Thaw in the refrigerator before microwaving or warming in the oven.
You can also make ahead and freeze the casserole before baking. Just leave the stuffing off until you're ready to bake.
💭 Things to know
Expert Tip: Don't overcook your squash and onions. Since they'll continue baking a bit in the oven, just get them tender enough to prick with a fork.
- There's no need to peel summer squash as long as it's not so big that it develops tough outer skin. If it's that big you don't want to use it anyhow.
- Try to use smaller, tender squash in this easy squash casserole. They're a bit sweeter and slightly more flavorful than larger ones.
- Slice your squash as evenly as you can. Similar-sized pieces will cook more evenly, ensuring every bite of your finished casserole is perfect!
- Use a large saucepan, preferably one that is a little flatter than higher, to cook the squash and onions. This will help them all cook at the same rate.
- After steaming the veggies, be sure to pat them dry very well. Use multiple towels if necessary to prevent your final casserole from tasting watery.
- Always grate your cheese from a block! The pre-grated cheese has stuff on it to keep it from clumping which ALSO hinders the melting!
👩🍳 FAQs
You sure can! After spooning the squash mixture into the casserole dish and covering it with the remaining stuffing mixture, seal with plastic wrap or foil.
Refrigerate for up to four days, or freeze for three months. Let thaw in the fridge before baking.
This is my favorite recipe to make in the fall with my final fresh squash. Then, I save a batch (or two) in the freezer for Thanksgiving or Christmas dinner. Check "side dish" off your busy holiday to-do list!
Use any dry stuffing mix you can find in the grocery store. I like the Stove Top or Pepperidge Farm brands. If you're feeling ambitious, use homemade stuffing—extra bragging points if you do!
No, I wouldn't recommend it! Butternut squash is in the winter squash category, along with acorn and other heartier varieties. It takes a lot longer to cook than yellow.
On the other hand, yellow squash and zucchini are considered summer squash, and they're softer, with higher water content. They don't take as long to cook, taste great against gooey cheese, and perfectly complement the buttery stuffing on top!
📚 Related recipes
- A buttery, Ritz cracker topping is the star of the show in this extra creamy Southern Yellow Squash Casserole recipe.
- Broccoli and Ritz Cracker Casserole makes eating your veggies feel like a real treat—this is one that even picky eaters will crave!
- With tender chicken, warm gravy, and flavorful stuffing, this Chicken and Stuffing Casserole makes any regular evening taste like a holiday!
- Bourbon Sweet Potato Crunch Casserole is another easy side dish that just might upstage the main meal... it really is that good!
🍽️ Serve with...
I can make a meal out of this easy casserole but if you prefer it as a side dish try pairing it with the cajun spiced grilled chicken breast, fluffy drop biscuits, and some chocolate chip cookies (no brown sugar needed for these!)
📞 The last word
When I was growing up this casserole was on the table all summer long - and it was considered a main dish!
I love the old-fashioned flavor and creamy texture - and I still will eat it as a main dish. Everyone else can have their hamburgers and steaks!
It's that good.
If you click on the number of servings in the recipe card you can adjust the measurements up or down for the exact number of servings you need. Don't forget that you can click on "add to collection" to save it to your own, private recipe box!
If you love this recipe please give it 5 stars! ⭐️⭐️⭐️⭐️⭐️
📖 Recipe
Squash Casserole with Stuffing
Print Pin Recipe Rate RecipeIngredients
- 2 ½ pounds yellow squash, sliced
- ½ pound onion, chopped (about 1 medium)
- 10.5 ounces condensed cream of chicken soup
- ½ cup sour cream
- 4 ounces cheddar cheese, shredded from a block
- 12 ounces cornbread stuffing mix
- ½ cup butter, melted
Instructions
- Preheat oven to 350 degrees F.
- Grease a 2 ½ quart baking dish, (13x9-inch pan)
- Stir together the stuffing mix and melted butter.
- Layer ½ the stuffing mix in the bottom of your baking dish.
- Cook squash and onion in a little salted water until tender - about 5 minutes.
- Drain and pat dry.
- Mix the sour cream and soup together in a medium bowl.
- Fold in the drained squash and onion.
- Spoon into casserole dish.
- Add a layer of cheese on top.
- Sprinkle the remaining stuffing mix over the cheese layer.
- Bake at 350 for 20 to 30 minutes.
Notes
- The squash and onions continue baking in the oven so don't overcook.
- There's no need to peel summer squash as long as it's not so big that it develops a tough outer skin.
- Use smaller, tender squash in this easy squash casserole
- Slice your squash as evenly as you can so they cook evenly.
- After cooking the veggies, be sure to pat them dry very well to prevent your final casserole from tasting watery.
- Always grate your cheese from a block! The pre-grated cheese has stuff on it to keep it from clumping which ALSO hinders the melting!
Nutrition Facts
Nutrition information is estimated as a courtesy. If using for medical purposes, please verify information using your own nutritional calculator. Percent Daily Values are based on a 2000 calorie diet.
This recipe has been tested several times. If you choose to use other ingredients, or change the technique in some way, the results may not be the same.
First published August 3, 2022. Last updated September 2, 2023 for editorial improvements.



Comments
No Comments