Pickling is a great way to use all of that fresh summer produce! Refrigerator pickles are so easy anyone can make them!
Don't want to scroll through the page to get to the recipe? Use the table of contents to click on the section you want to go to.
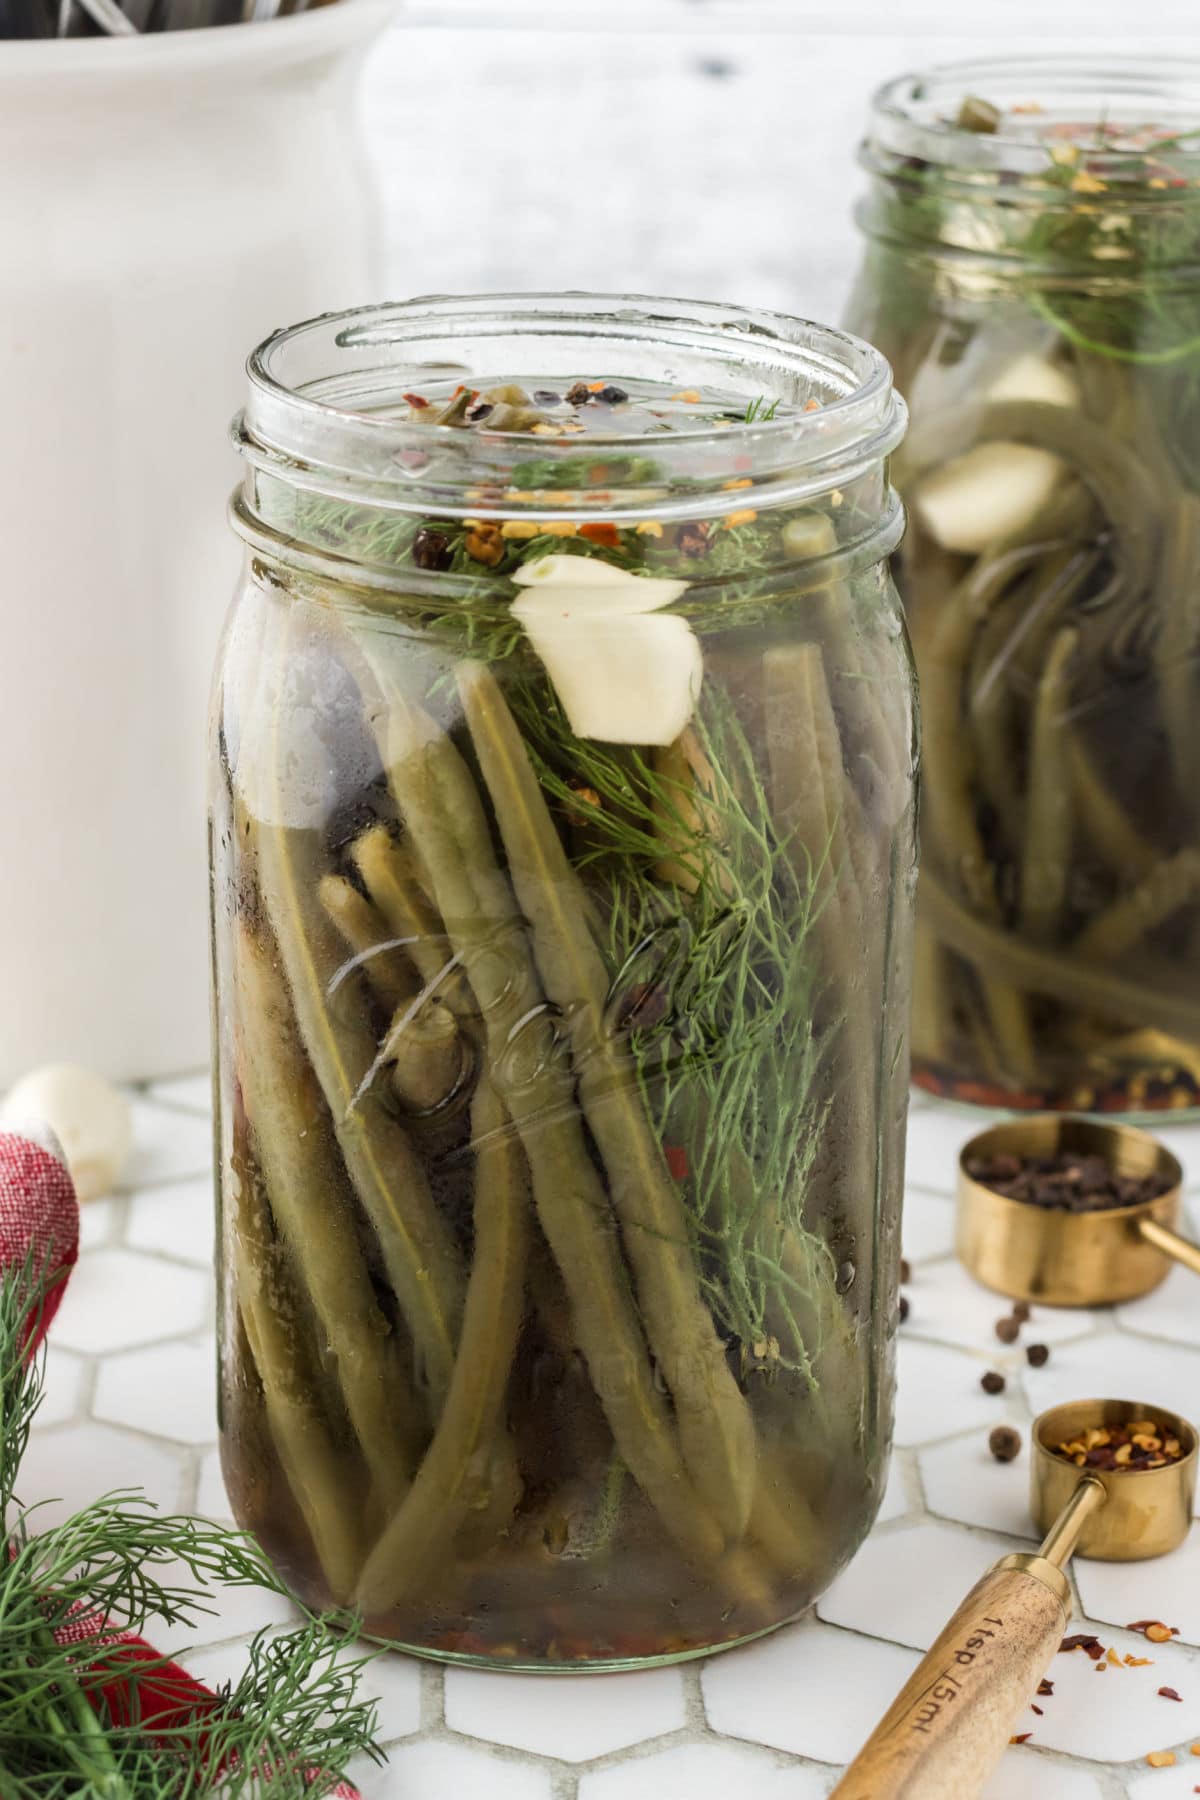
Table of Contents
❤️ Why you'll love it
- Easy recipe—no fussy canning required
- Great addition to charcuterie boards, salads, and Bloody Mary cocktails
- One of my favorite ways to preserve fresh beans (they'll keep for a month!)
Crisp and tangy, this quick pickled green beans recipe turns fresh vegetables into the most snackable treat ever.
This recipe is cheap, the pickling mixture is made with pantry staples, and the whole process takes less than ten minutes of work—that's what I call really quick pickles.
If you love an easy pickle as much as I do try this sweet and spicy refrigerator pickled watermelon rind, too.
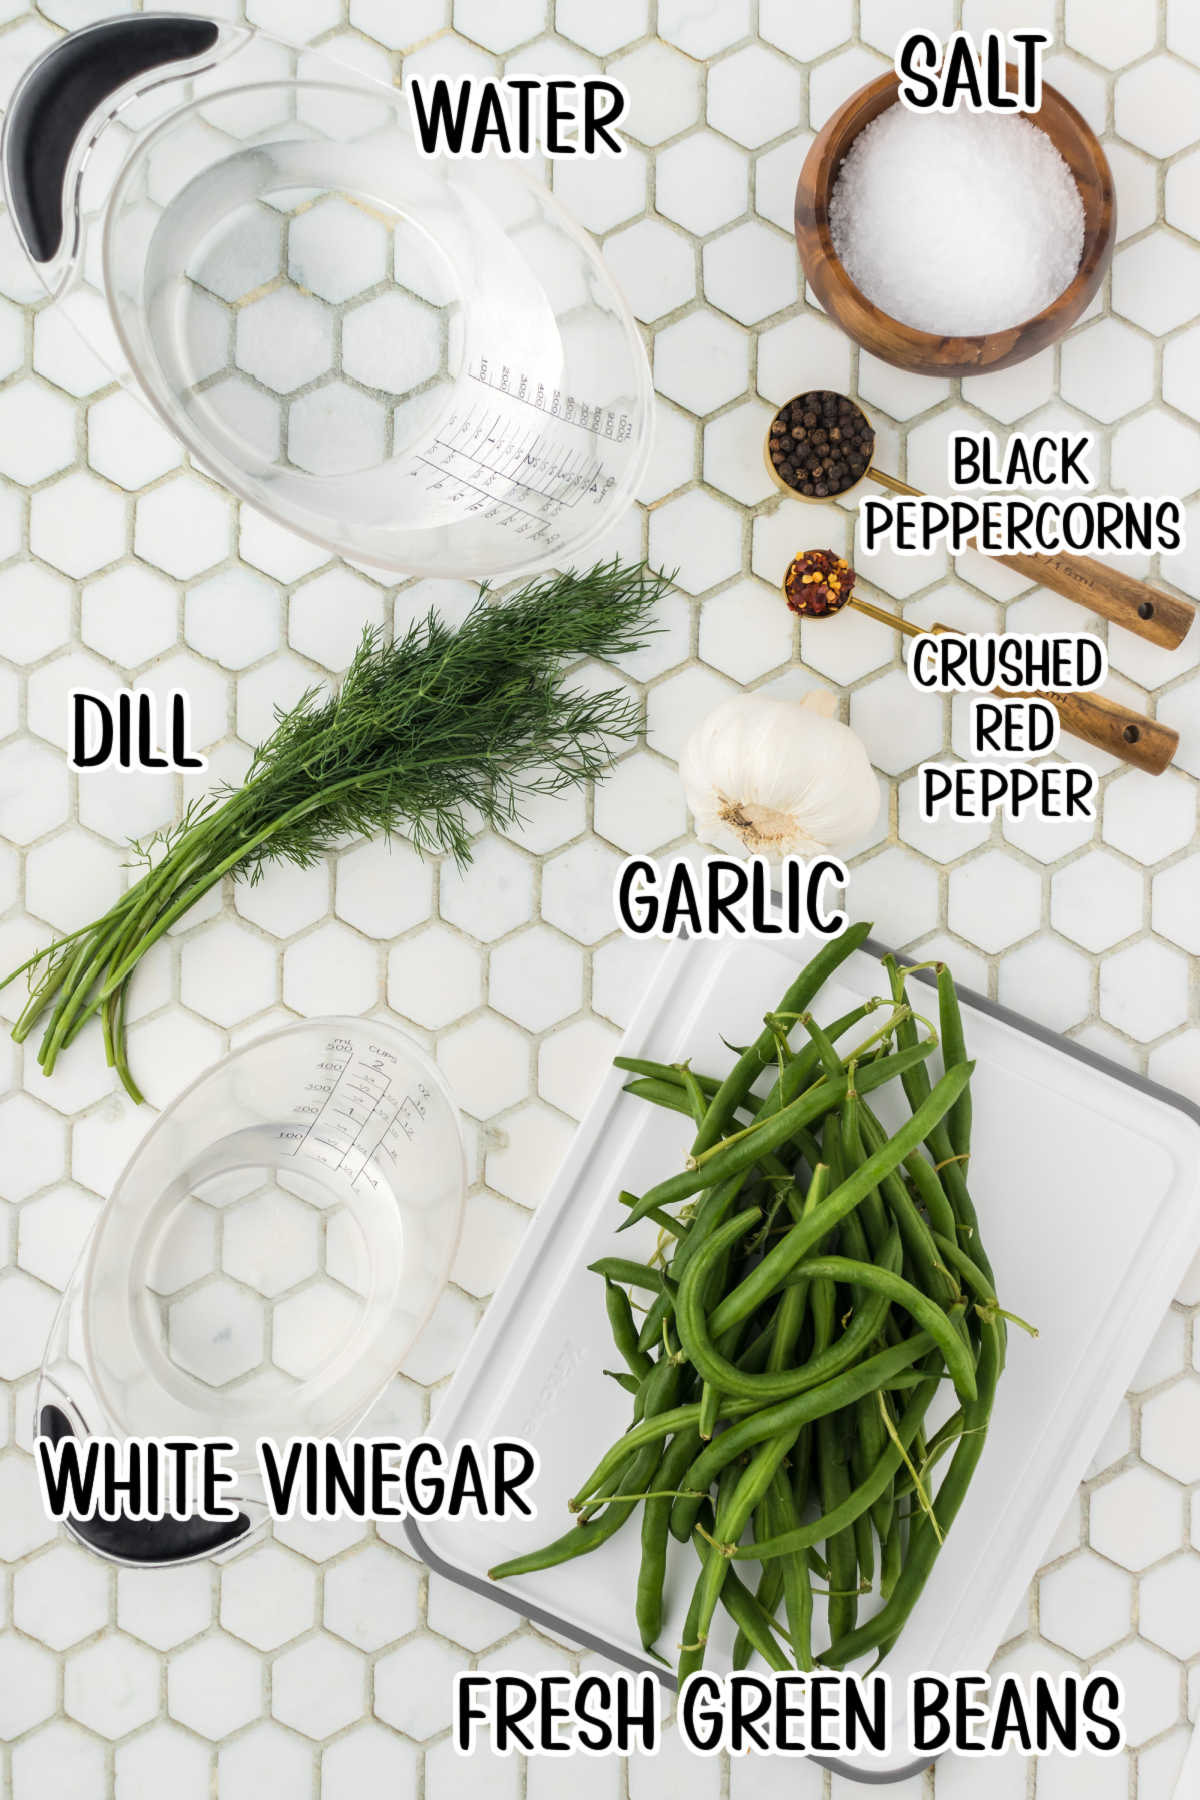
🧾 Ingredients
This is an overview of the ingredients. You'll find the full measurements and instructions in the green recipe card (printable) at the bottom of the page.
📖 Variations
- We like to use regular 'ol green beans, but you can make this quick pickle recipe with string beans, pole beans, and wax beans! Just avoid Haricots Verts—they're too thin to hold up against the hot brine.
- If you prefer a sweeter pickle, add a few teaspoons of sugar.
- Forgot to pick up some white vinegar at the store? Any kind of light variety will work, including white wine and rice vinegar. Some people like to use apple cider vinegar, though it will make the beans darker in color.
- Make spicy pickled green beans by increasing the amount of red pepper flakes. Add a few slices of fresh cayenne peppers for even more heat.
🔪 Instructions
This is an overview of the instructions. Full instructions are in the green recipe card at the bottom of the page.
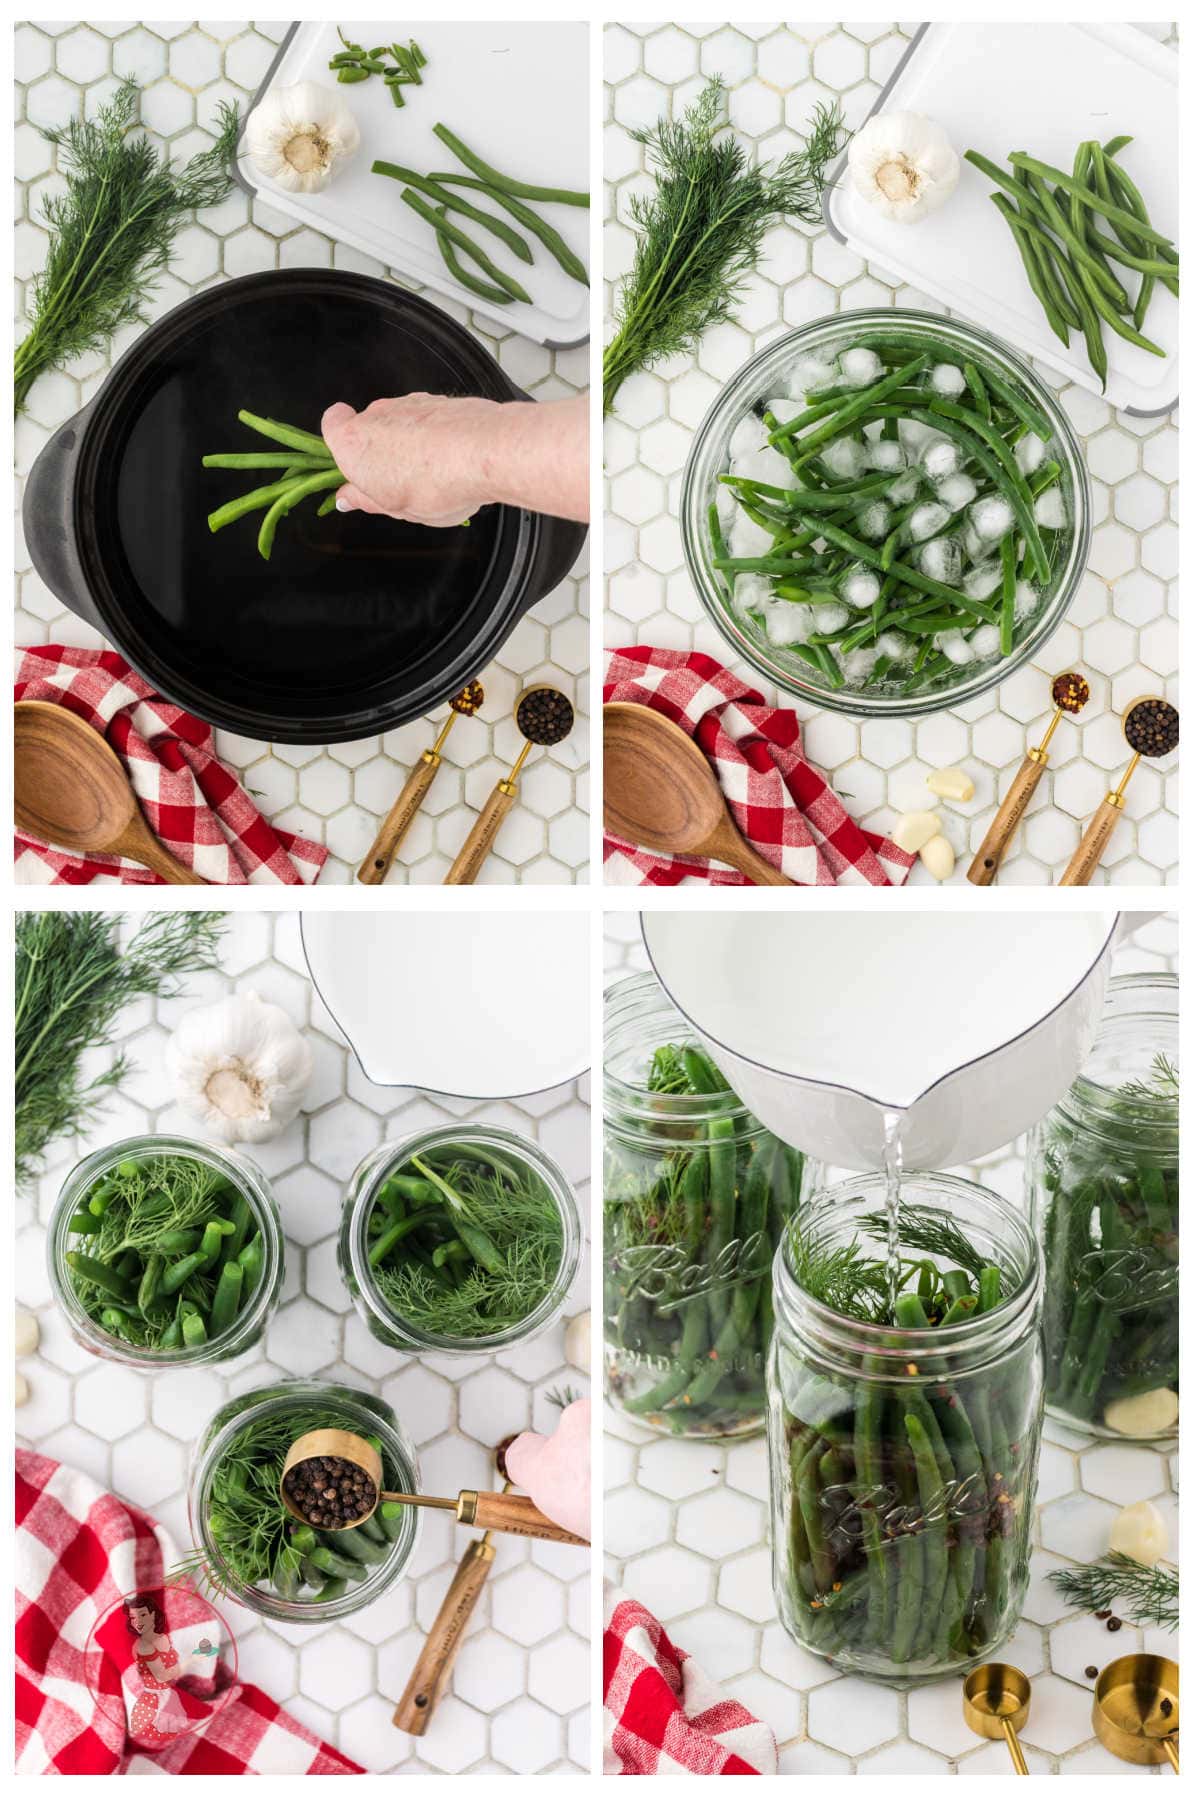
- Cook the green beans in boiling water for two minutes.
- Immediately transfer the beans to an ice bath (a bowl of ice water.)
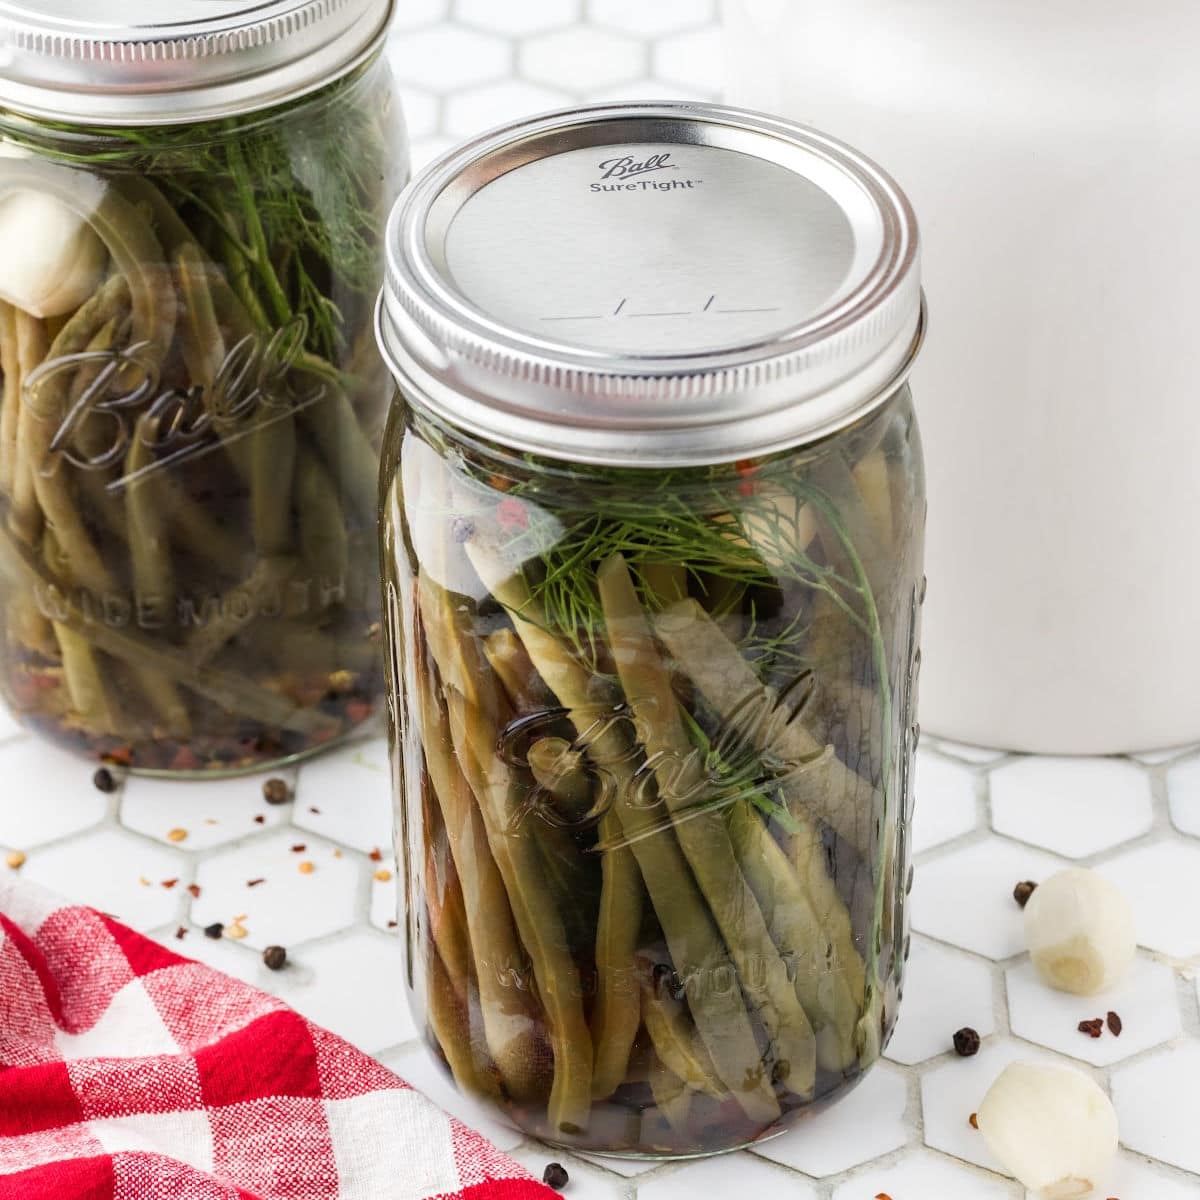
- Divide the green beans, garlic cloves, fresh dill, and peppercorns/flakes evenly into the canning jars.
- In a small saucepan, boil the brine ingredients to let the salt dissolve. Once cool, pour it into the mason jars. Seal and refrigerate.
🥫 How to store leftovers
Making quick pickled beans is a great way to preserve your fresh summer veggies (or ones you bought from the grocery store and didn't use up!) They'll keep for up to a month just like this quick pickled okra.
It's important to note, refrigerator pickles like these need to be stored in the fridge at all times. This "quick canning" recipe doesn't go through the strict methods of water bath canning, so they're not safe to store at room temperature.
💭 Things to know
Expert Tip: Choose fresh green beans for the best results! Look for beans that are brightly colored and firm. They shouldn't feel limp or rough.
- For perfectly crunchy green beans, prepare the ice water bath before you boil the beans. This cooking process is called blanching and, though it's easy, does require some timing precision.
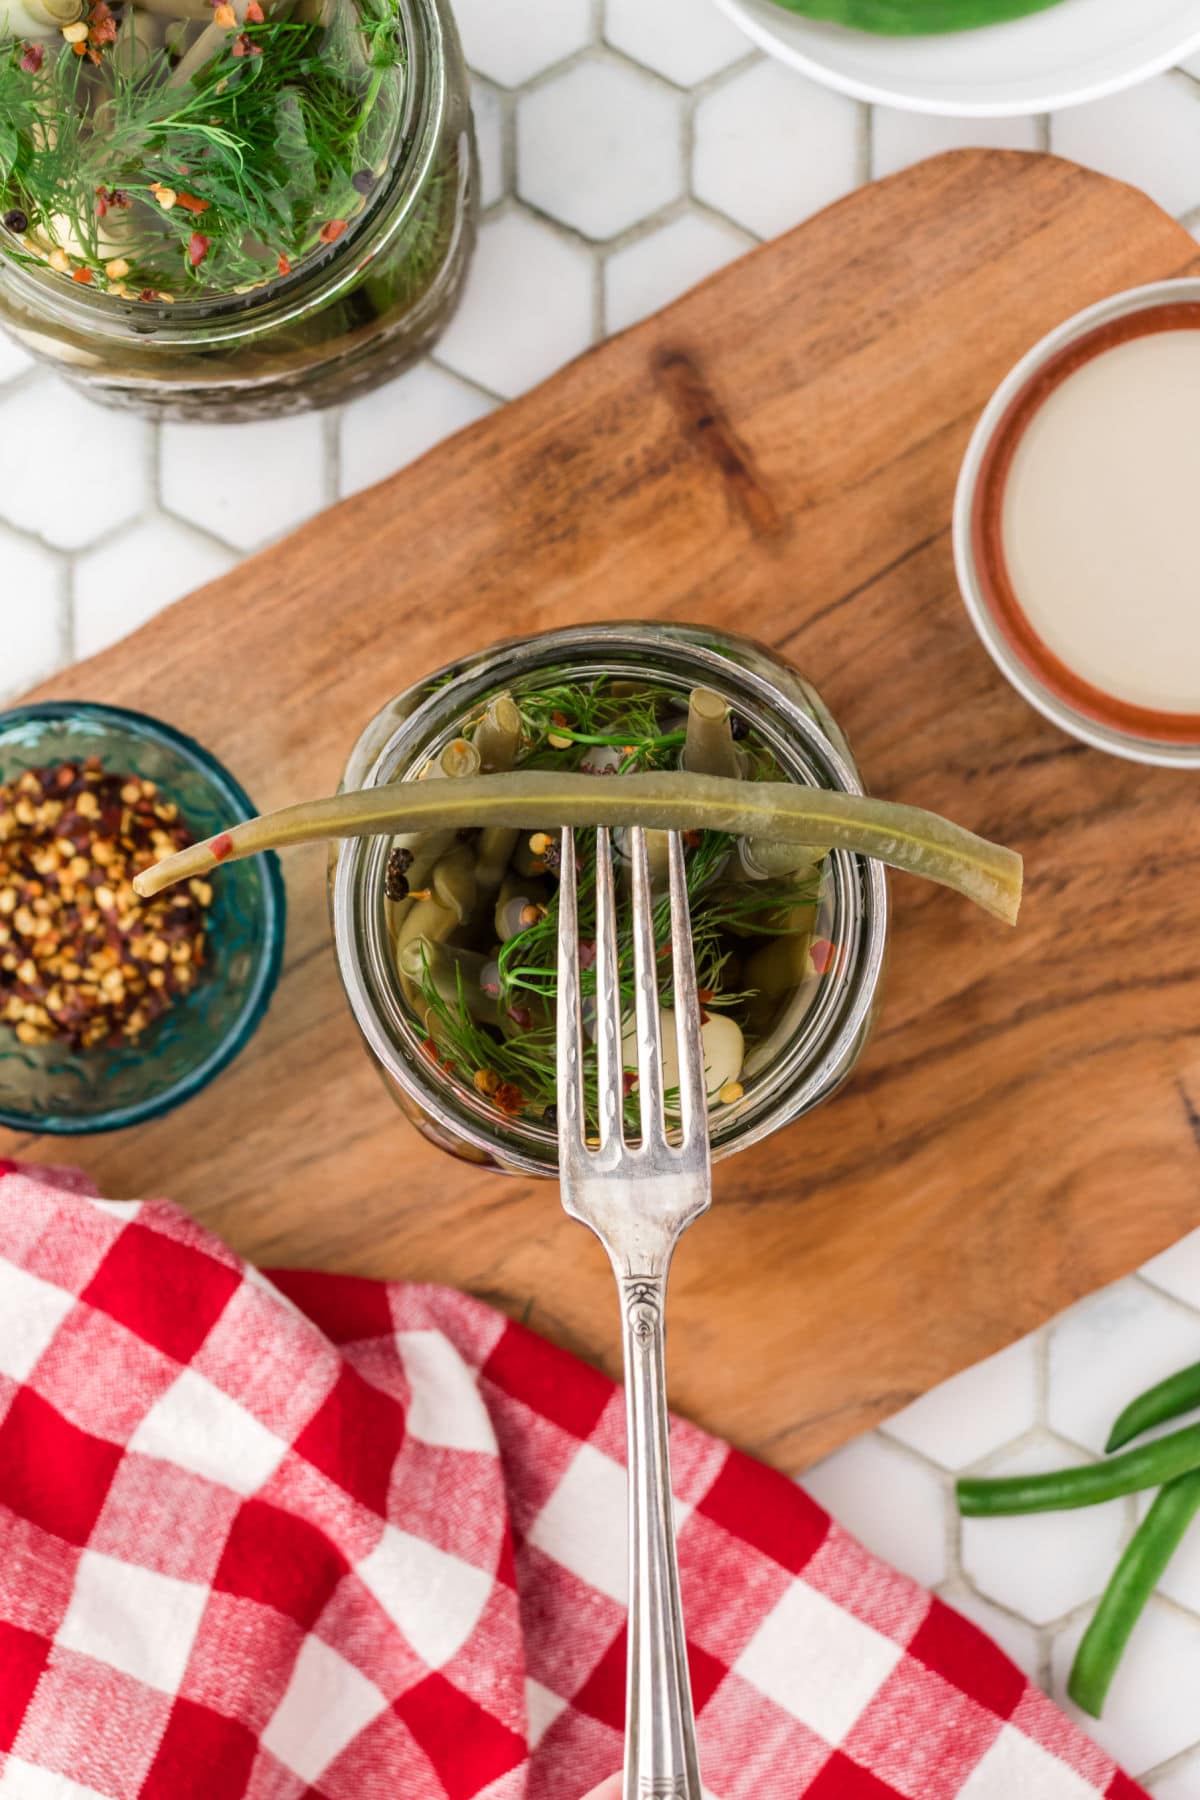
- Be sure to submerge the green beans completely in the salt brine. If you need to trim them down, do so—nothing should be exposed to air.
- I recommend using Kosher salt because it won't make the pickling solution cloudy like table salt (with iodine) will. You can also use pure sea salt or, if you have it, canning salt.
- Quick pickling is a faster process than canning, but you should still let the green beans sit in the fridge for three days. This way, they can soak up all of the delicious flavors!
👩🍳 FAQs
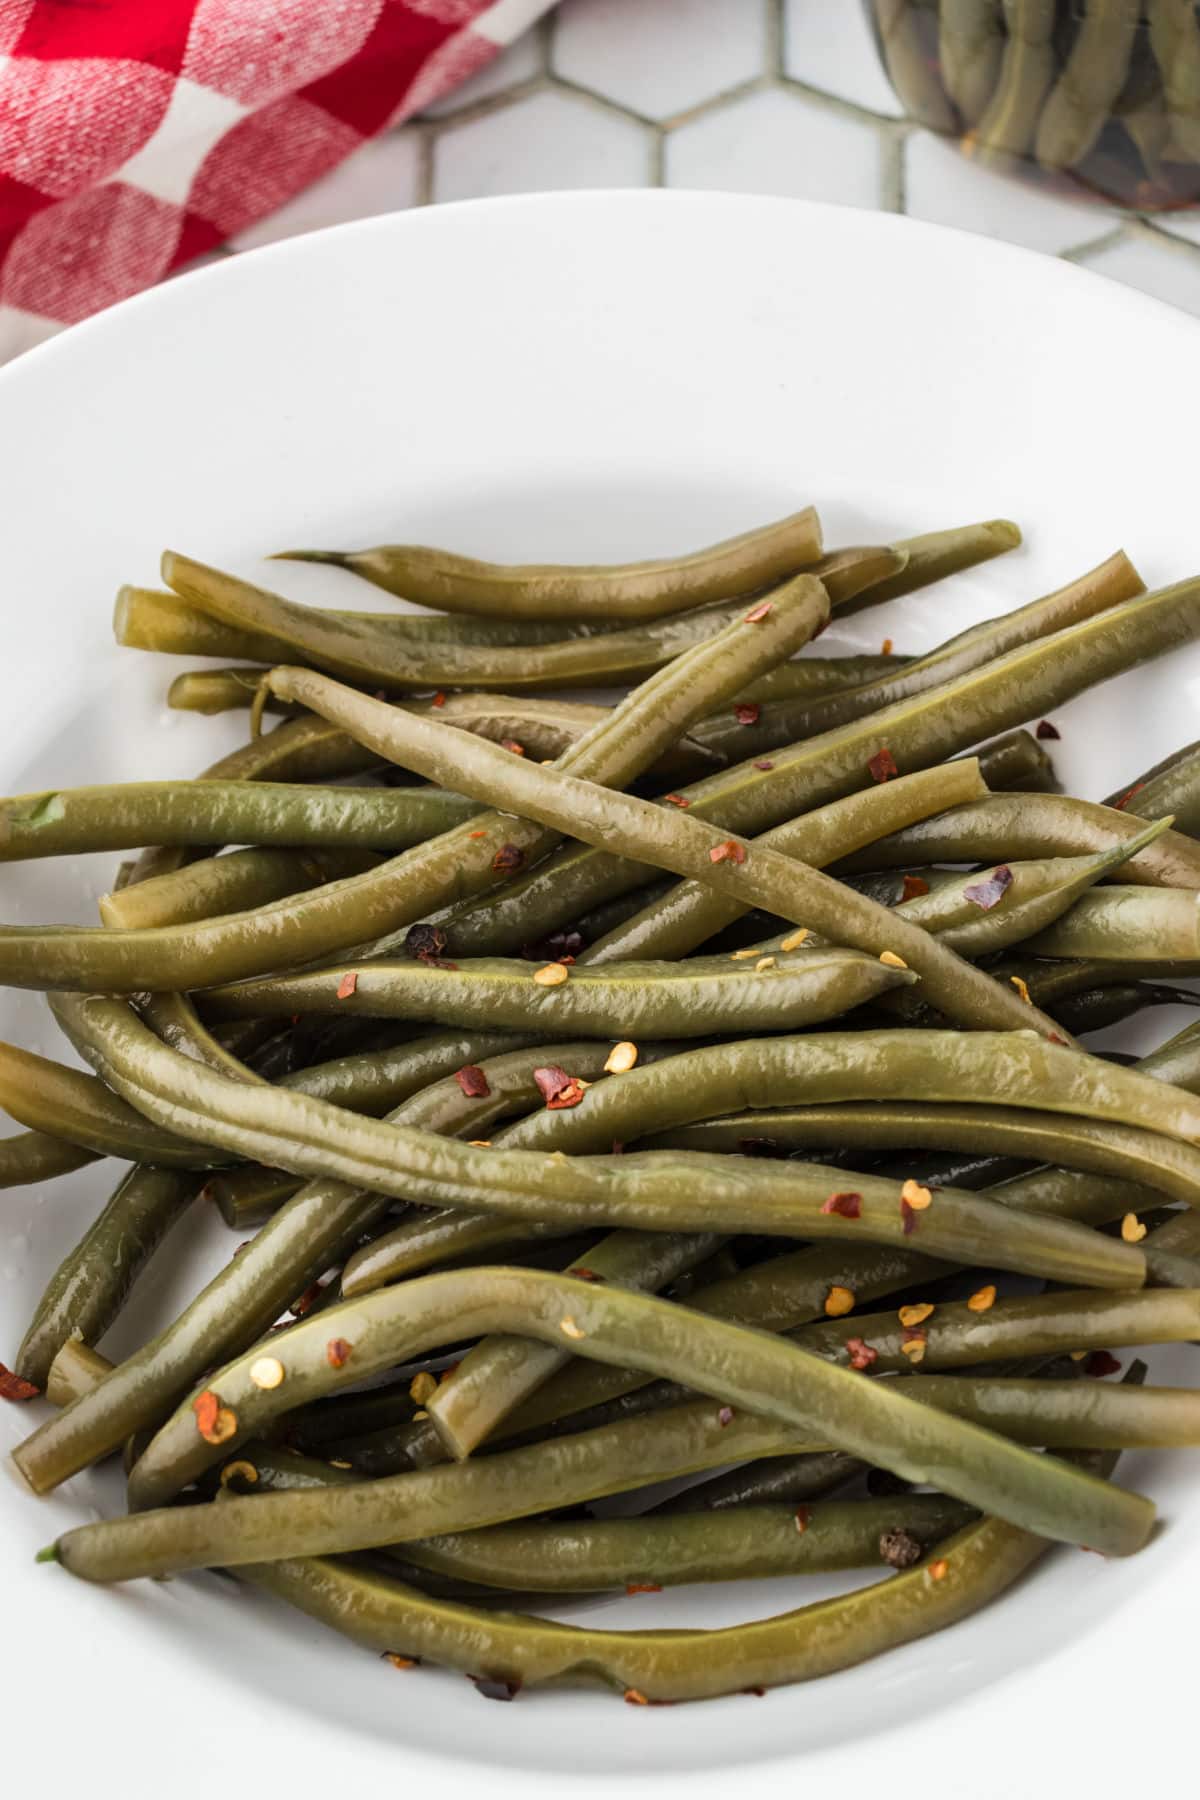
I've heard them called refrigerator dilly beans, yes! They're like traditional dill pickles, but instead of pickling cucumbers, we pickled green beans.
Yes ma'am, and here's why: 1) Blanching the beans gets rid of any bacteria that might be lingering from the store or garden. 2) Blanching before pickling ensures they have the absolute best, crunchiest, most snackable texture.
In this quick pickling recipe, yes, as long as they're sterilized and still in proper working order. (Generally, when canning with a hot water bath for long-term, room-temperature storage, you're not supposed to reuse the lids and seals. We're not doing that method, so it's fine!)
📚 Related recipes
- With cherry tomatoes and zingy red onion slices, Italian Green Bean Salad is a flavorful, chilled side dish that goes with just about anything.
- Often called "smothered," Southern Green Beans are cooked with bacon, onions, and garlic until smoky, tangy perfection. They're good!
- Classic comfort food done right—that's what you'll say after trying a bite of Loaded Green Bean Casserole. Its creamy, crispy textures are 10/10 delicious.
🍽️ Serve with...
- Retro Lipton Onion Soup Burgers (or any of your favorite sandwiches, really) make the perfect vehicle for pickled green beans! Use 'em just like regular pickles as a crunchy, tangy topping.
- Deviled Ham Salad is a hearty, satisfying lunch. Serve it with pickled green beans and some chips to rival your favorite deli!
- Smoked Deviled Eggs with Chipotle and Bacon are super easy to snack on and have a delicious kick. They're perfect on a party platter with meats, cheese, crackers, veggies, and, of course, pickles!
📞 The last word
Refrigerator pickles are surprisingly easy to make. These dilly beans are as delicious on a charcuterie board as they are sitting next to your cheeseburger.
Enjoy!
If you click on the number of servings in the recipe card you can adjust the measurements up or down for the exact number of servings you need. Don't forget that you can click on "add to collection" to save it to your own, private recipe box!
If you love this recipe please give it 5 stars! ⭐️⭐️⭐️⭐️⭐️
📖 Recipe
Refrigerator Pickled Green Beans
Print Pin Recipe Rate RecipeIngredients
- 2 pounds green beans, washed and stemmed
- 2¾ cups water
- 4 tablespoons kosher salt
- ¾ cup white vinegar
- 3 cloves garlic, peeled
- 3 sprigs dill, fresh
- 1 tablespoon black peppercorns
- 1 teaspoon red pepper flakes, optional
Instructions
- Bring water, vinegar, and salt to a boil and stir until salt is dissolved.
- Remove the pan from the heat and allow it to cool.
- Trim green beans to fit jars.
- Fill a bowl with ice water.
- Bring a pot of water to a boil.
- Gently drop the beans in and boil for 2 minutes. Be careful - the hot water can splash and burn you.
- Pour into a colander to drain immediately at the 2-minute mark.
- Pour the drained beans in the ice water. This will stop them from cooking and give them a gorgeous bright green color.
- Leave in the cold water for 2 minutes then drain.
- Add one clove of garlic and one spring of dill to each pint jar.
- Fill tightly with the green beans.
- Add peppercorns and red pepper flakes.
- Pour the vinegar solution over green beans. Be sure to completely cover.
- Cover tightly and refrigerate for at least two or three days.
Notes
- Choose fresh green beans that are brightly colored and firm.
- For perfectly crunchy green beans, prepare the ice water bath before you boil the beans. This cooking process is called blanching and, though it's easy, does require some timing precision.
- Be sure to submerge the green beans completely in the salt brine. If you need to trim them down, do so—nothing should be exposed to air.
- I recommend using Kosher salt because it won't make the pickling solution cloudy like table salt (with iodine) will. You can also use pure sea salt or, if you have it, canning salt.
- Quick pickling is a faster process than canning, but you should still let the green beans sit in the fridge for three days. This way, they can soak up all of the delicious flavors!
Nutrition Facts
Nutrition information is estimated as a courtesy. If using for medical purposes, please verify information using your own nutritional calculator. Percent Daily Values are based on a 2000 calorie diet.
This recipe has been tested several times. If you choose to use other ingredients, or change the technique in some way, the results may not be the same.



Lucy says
Hi! Can I use this same recipe for water bath canning, if so how long?
Marye says
I suggest you check out the Ball Canning Blue Book. I am unsure if water bath canning would be sufficient for this recipe.