
Are you having issues with your yeast bread baking? Yeast bread baking troubleshooting help is here!
Now... if you are baking troubleshooting is one of those things you are going to need to know how to do eventually. There's always something to learn when it comes to yeast doughs!
Listen, everyone screws up sometimes. Once in a while I get a loaf that looks like ... well just weird. So, bookmark this post or pin it to your Pinterest board so you'll know where it is and can use it when you need a reference.
If you've read through Bread Baking Tips then congratulations!
You really can bake a loaf of bread and have it come out properly - although you may need plenty of practice to achieve the perfect loaf. If you've carefully followed all of the steps in the previous two articles and it still had trouble then you should be able to find the answer in this article.
If you can't then leave a comment below and I will try to help you figure out what happened. If you'll dedicate yourself to trying, following the recipes exactly, and keeping open dialogue with me I promise you you'll end up with a fantastic loaf of bread.
What makes a perfect loaf of bread
You can't make the perfect loaf unless you know what one is, right? As with everything else there is a standard by which good bread is judged. Will yours always meet the standard?
No, it won't. Like any standard, it is somewhat unachievable, but you want to get as close as you can.
So, what does the perfect loaf of bread look and taste like?
The standard:
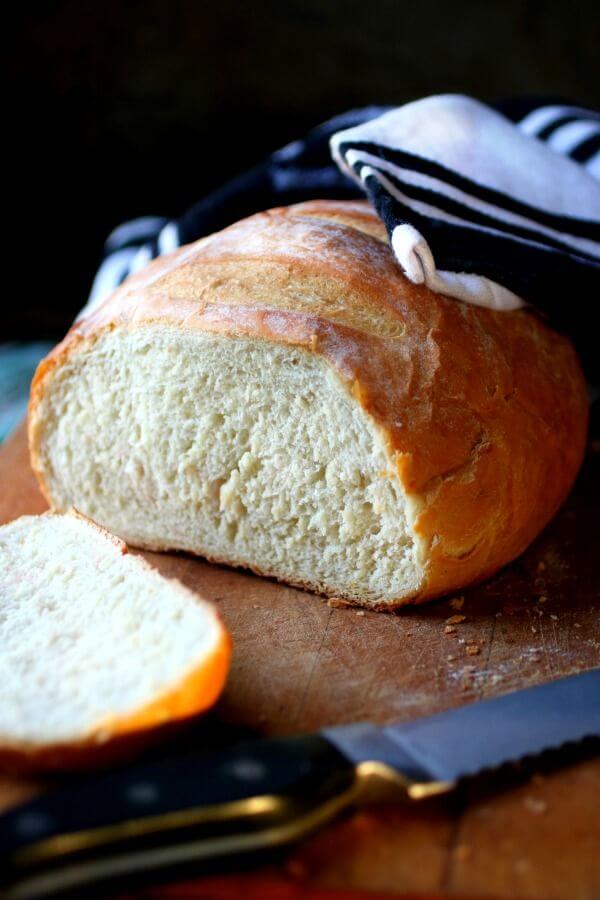
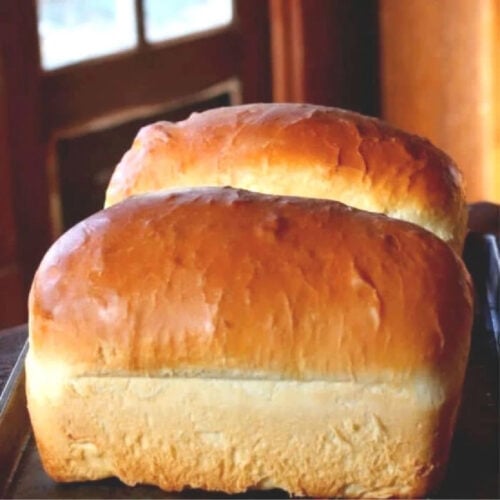
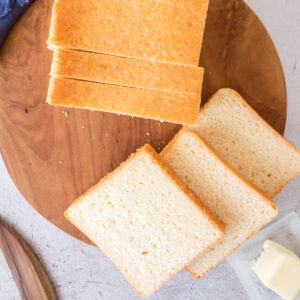
An excellent loaf of yeast bread should have an evenly rounded top and be symmetrical in size and with no cracks,bulges, or bumps. Between the top and the sides, there should be a "break", which should be even and have a well shredded look.
Crusts on all yeast breads should be crisp and tender. The interior color should be even with no light or dark streaks and should feel soft and fine with no crumblinesss. The crumb [interior of the bread] should have many small even holes.
Farm Journal Country Fair Cookbook, 1975
If you've had a problem with your bread baking, try figuring out what went wrong with these common problems and causes.
My dough didn't rise or it rose very slowly
The best temperature for the rising period is a draft-free 85F to 95F. It will rise more slowly at lower temperatures and probably won't rise at all if the room is much below 70F.
- You didn't give it enough time. When the kitchen is too cool it may take double the amount of time to rise.
- House too cold. If the house is too cold it won't rise at all.
- You killed the yeast with too-hot liquids. Active Dry Yeast needs 110F to 115F, rapid rise yeast needs 120F to 130F, and yeast cakes need 90F to 95F. Use a thermometer until you get used to the way the water should feel.
- You made the yeast dormant with water that was too cold. Remember the water should be 110F to 115F.
- You used too much or too little sugar, honey, or other sweetener. Too much will inhibit the growth of the yeast, while too little will not give it enough to allow it to rise. Always follow the recipe exactly, especially at first. Recipes are formulated for success-at least mine are!
- You used too much salt. Salt restricts the growth of yeast. Follow the recipe for when you add salt. I usually try to add it last but the tomato swirl bread recipe calls for it early on. Always follow the recipe!
- You didn't use enough yeast.
- Too much flour/ too stiff of a dough.
- Your yeast was expired or bad. Always proof it!
- Not enough flour (this is unusual but it happens).
- Your rising period was too short.
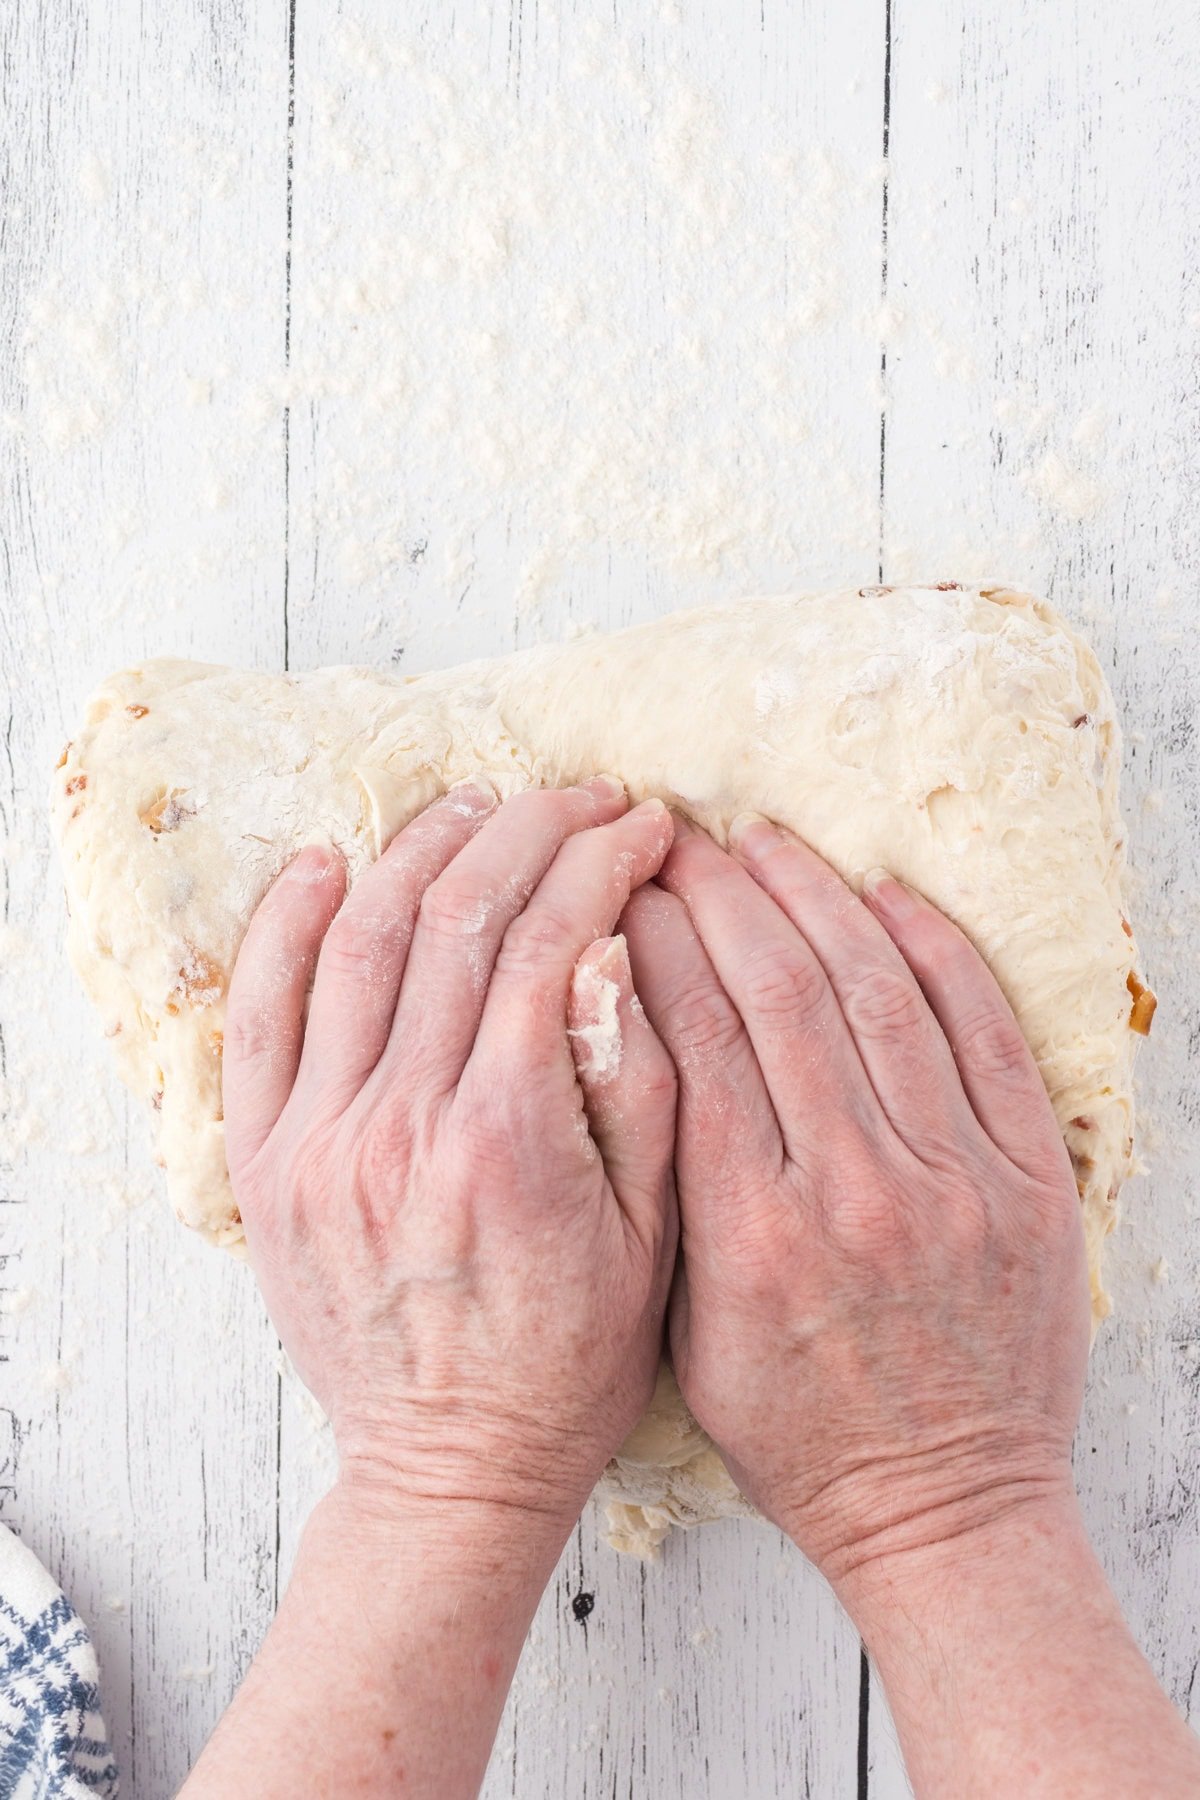
- Kneading was insufficient to develop the gluten.
- Your pan was too big.
My dough is too sticky
- Not enough flour.
- Too much kneading. Knead it until it is elastic - but more is not necessarily better.
- Low gluten flour. Use bread flour or a good all-purpose flour. Never use pastry flour or cake flour for bread. Learn the differences in flour types here.
Cracks, bulges, or lumps
- You used too much yeast.
- It wasn't kneaded properly.
- You had too much dough in the pan.
- You left it to rise too long.
- You started it in a cold oven or the oven temperature wasn't hot enough.
- You let it cool in a cold draft.
No shred or break between the top and the sides of the loaf
- Not kneaded enough.
- Low gluten flour
Too much shred or break between top and sides
- Oven is too hot.
- Didn't rise long enough.
- Wasn't shaped well.
Flat top
- The dough rose too long (then collapsed).
- Wasn't kneaded enough.
- Too much yeast.
- Not enough gluten in the flour.
Collapsed in the oven
- Allowed to rise too much.
- Low gluten flour. Next time use bread flour or add gluten to your recipe.
- Oven was too cold.
Heavy or dense loaf
- Water was too hot and killed yeast.
- Ingredients weren't mixed well.
- Room temperature was too cold during rising time.
- Either there wasn't enough gluten present in the flour or it wasn't developed enough through sufficient kneading.
- Dough wasn't allowed to rise enough.
Holes in bread
Holes are desirable in artisan loaves but not in sandwich loaves.
- Too long of a rising period after shaping.
- Too cool of an oven.
- Not enough flour.
- Not kneaded well.
- The air wasn't properly pressed out during the punching down.
- The shaping wasn't done properly.
Crumbly bread
- Dough wasn't kneaded well (this is the most common reason).
- Flour doesn't have enough gluten.
- Too much flour.
- Too long of a rising time.
Gummy or doughy bread
- Oven temperature was too high.
- Bread was removed from the oven too soon. Make sure it sounds hollow when thumped on the bottom. An instant read thermometer will measure 190F in the center of the bread when it's done.
Off flavors
- Yeasty - too long of a rising time or too hot of a kitchen during rising.
- Sour - too long of a rising period or poor quality ingredients.
- Stale flavor - Old flour or butter that has taken on refrigerator odors.
Crust problems
- Tough - too much handling of the dough or not enough rising time.
- Pale crust - too much salt, too low of a baking temperature, or too little sugar. Also, the dough may have been allowed to develop a crust during rising time. Remember to keep it oiled and covered!
- Wrinkled crust - Loaf cooled too quickly in a draft.
- Soggy - bread was left to cool completely in the pan. Let it cool for a few minutes and then remove it from the pan to cool completely.
- Too thick - too much flour, a crust formed during rising, bread baked too slowly in too cool of an oven.
- Crust Separates from bread - dough developed a crust before baking. Grease surface and cover dough when rising.
Bread doesn't brown on the sides
- Bright pans will reflect the heat away from the dough.
- Overcrowding the pans in the oven will keep the sides from browning.
👩🍳 Let's answer those questions: FAQs
Have other questions? Ask me in the comments!
Weather and atmospheric pressure honestly does affect bread dough! I would let it rise in a warm over where the air would be dryer. I'd also replace 1 tablespoon of flour per cup called for in the recipe with gluten.
That can happen if it cools too fast or has risen a little too much before baking.
It's the lines that go down the sides of yeast bread when it's baked...where the top attaches to the sides.
You can poke the bubbles gently with a toothpick or knife point to let the air out. Usually bubbles are caused by over-kneading the dough.
📚 More Southern comfort: related recipes you'll love
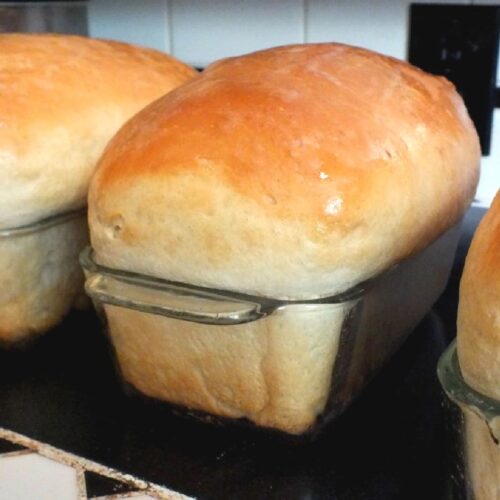
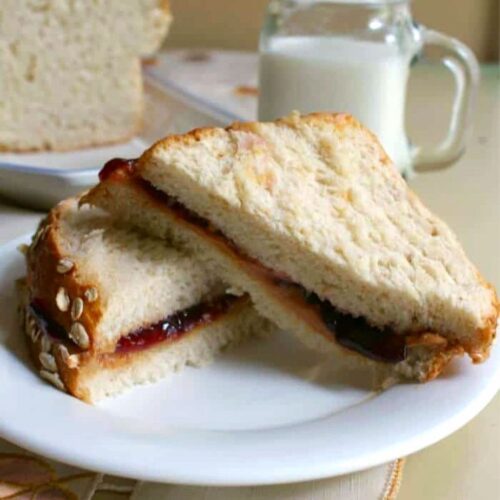
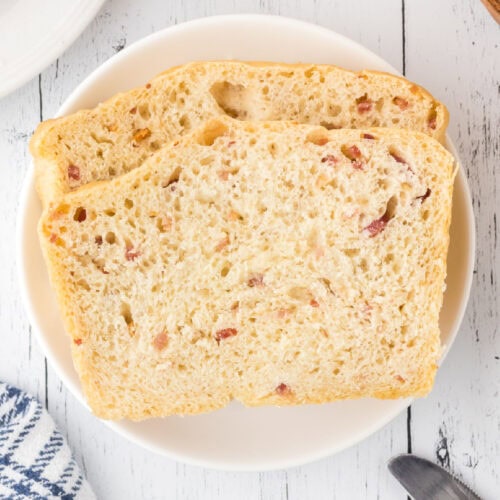
If you are having trouble with yeast bread baking your problem is probably going to fit in one of these areas. If not, be sure to ask questions in the comments below. You can do this!
First published March 6, 2014. Last updated June 26, 2024 for more information and editorial improvements.
skye fillmore says
I found your website today on Pinterest and have spent a better part of the day (while working lol) looking through your bread recipes and the bread guides. LOVE IT!!! So I am sort of new to stand mixer bread ... I have been using a bread machine for several years and now branching out to using my stand mixer. I love it but I do have one question. When I put the damp tea towel on top of the bread for it to rise, and then when I try to remove the tea towel from the dough after it rises, it sticks to it and I have to rip it off. I have not been 'greasing' the dough when putting it in a bowl first- If I do this (I Noticed you do this), will that stop the tea towel from sticking? (I went out and bought real deal tea towels b/c a friend told me they do not stick as much). Or should I put some flour on the top of the dough where the towel will be hitting it once it rises?
Marye Audet says
Yep, you need to oil that dough before you let it rise. It shouldn't stick at all to your tea towel.:) Don't put the flour on top ... just oil the ball of dough really well.
Loy W eathers says
Marye, Will the amish bread recipe work with white low-carb bread flour ?
Marye Audet says
I don't know but I don't think so. If it has gluten in it maybe? If you do it let me know!!!
Jean Luby says
Where would one get fresh yeast? I've tried health food stores no luck. It is still widely used in Europe and is best but has shorter life. It makes the best yeast dough!! Many Thanks, Jean
Marye Audet says
Jean, one in awhile I see it in the refrigerator section of the health food store but I haven't seen it in a regular grocery in years.
Sheri says
I just realised that I was shy a teaspoon of yeast in my honey buttermilk loaf. I forgot that 1 packet = 2 1/4 teaspoons! Is there any way to save this batch? Will double or triple the rising time help? I feel such a dingbat!
Marye Audet says
Sheri It should be fine. When a recipe calls for a packet I just use a tablespoon - easier to remember!
Katherine Newsome says
Thank you I have figure out what was going wrong with my bread. It would have high and low spots to were it looked like a rustic type bread. I now take my rolling pin and roll it out, and then I roll it up into a loaf shape. I have also learned from you the differences on flours. I was using bread flour and had also use unbleached all purpose flours before and my loaves would rise up nicely. I had switched to a bleach all purpose flour and my breads would look terrible, so I went back to my old flours that I had used before and now have really great loaves of bread once again. Other than for the craters in it yet lol. I have also tried making whole wheat bread and had a lot more success at making them. I had Hemp seeds, Flax seed and a little extra bran to it. My husband loves it. I also use potato flakes and powder milk and it works wonderful for a very healthy loaf of bread. Again Thanks.