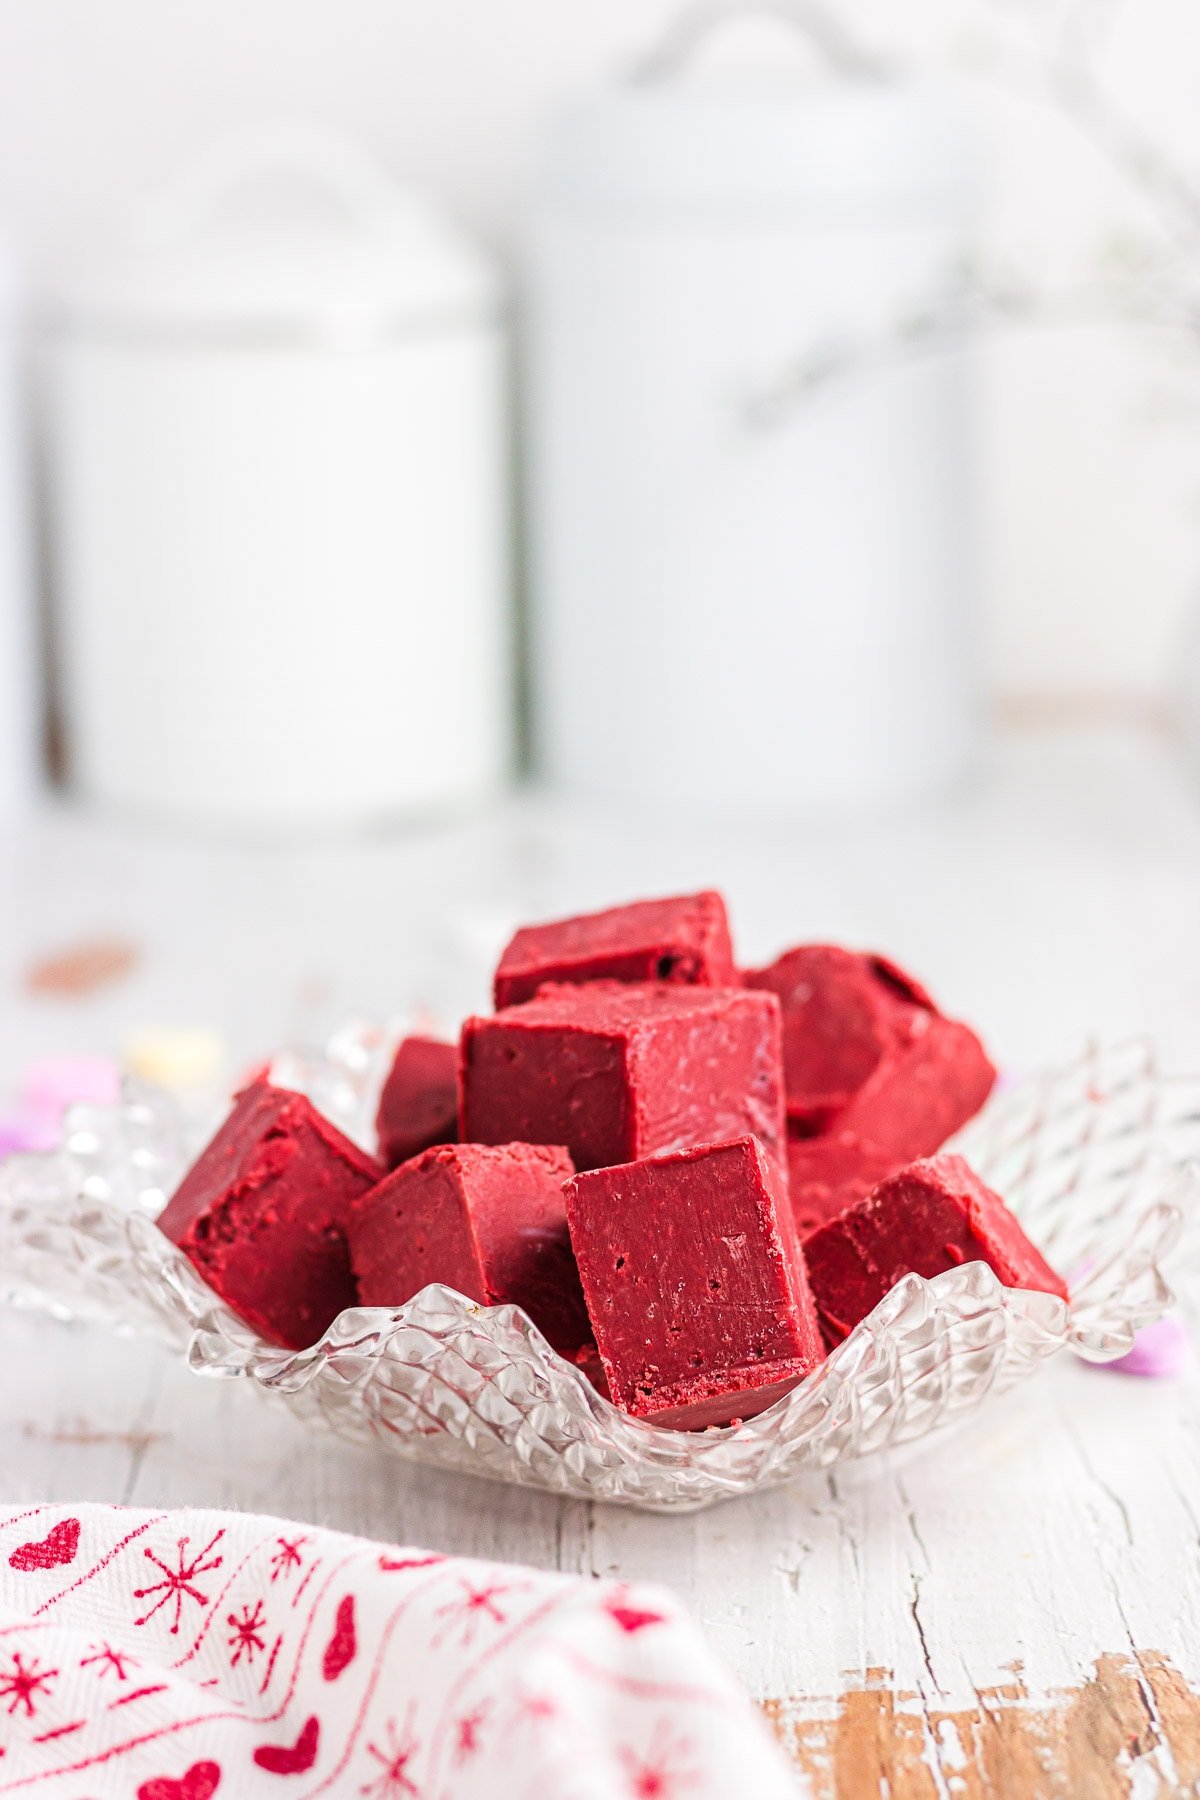
Homemade candy is fun to make and it's the perfect gift any time of year! I especially love this pretty recipe for Valentine's Day.
Save this recipe by clicking on the ❤️ heart on the right-hand side of the screen or in the recipe card.
Table of Contents
🗝️ Key takeaways
- My easy red velvet fudge recipe is a no-bake dessert made with four simple ingredients—no candy thermometer or double boiler required!
- Homemade fudge is the perfect gift for your boo on Valentine’s Day or a delicious treat for any special occasion!
- You'll learn to use the microwave to make the perfect rich fudge. It's quick and simple.
I have a confession, y’all: my favorite thing about Valentine’s Day is the candy!
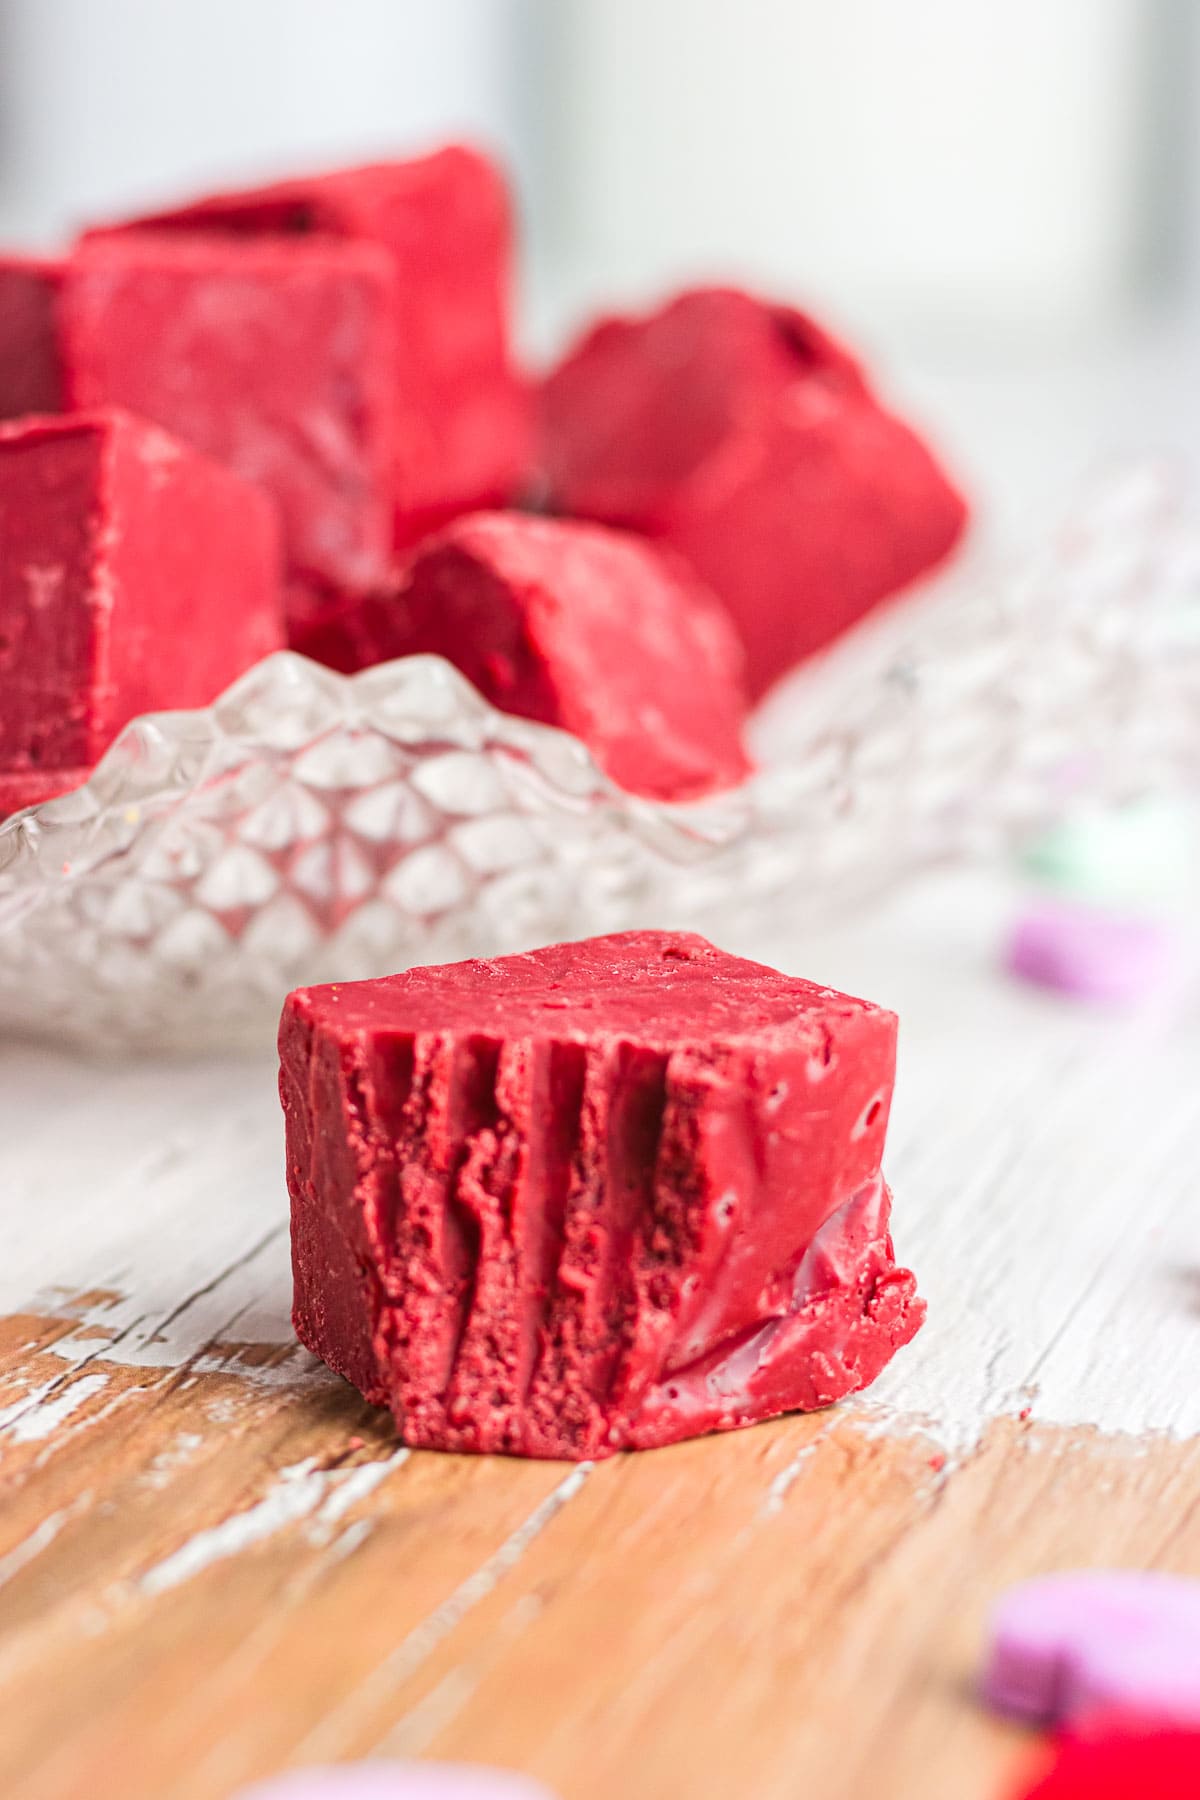
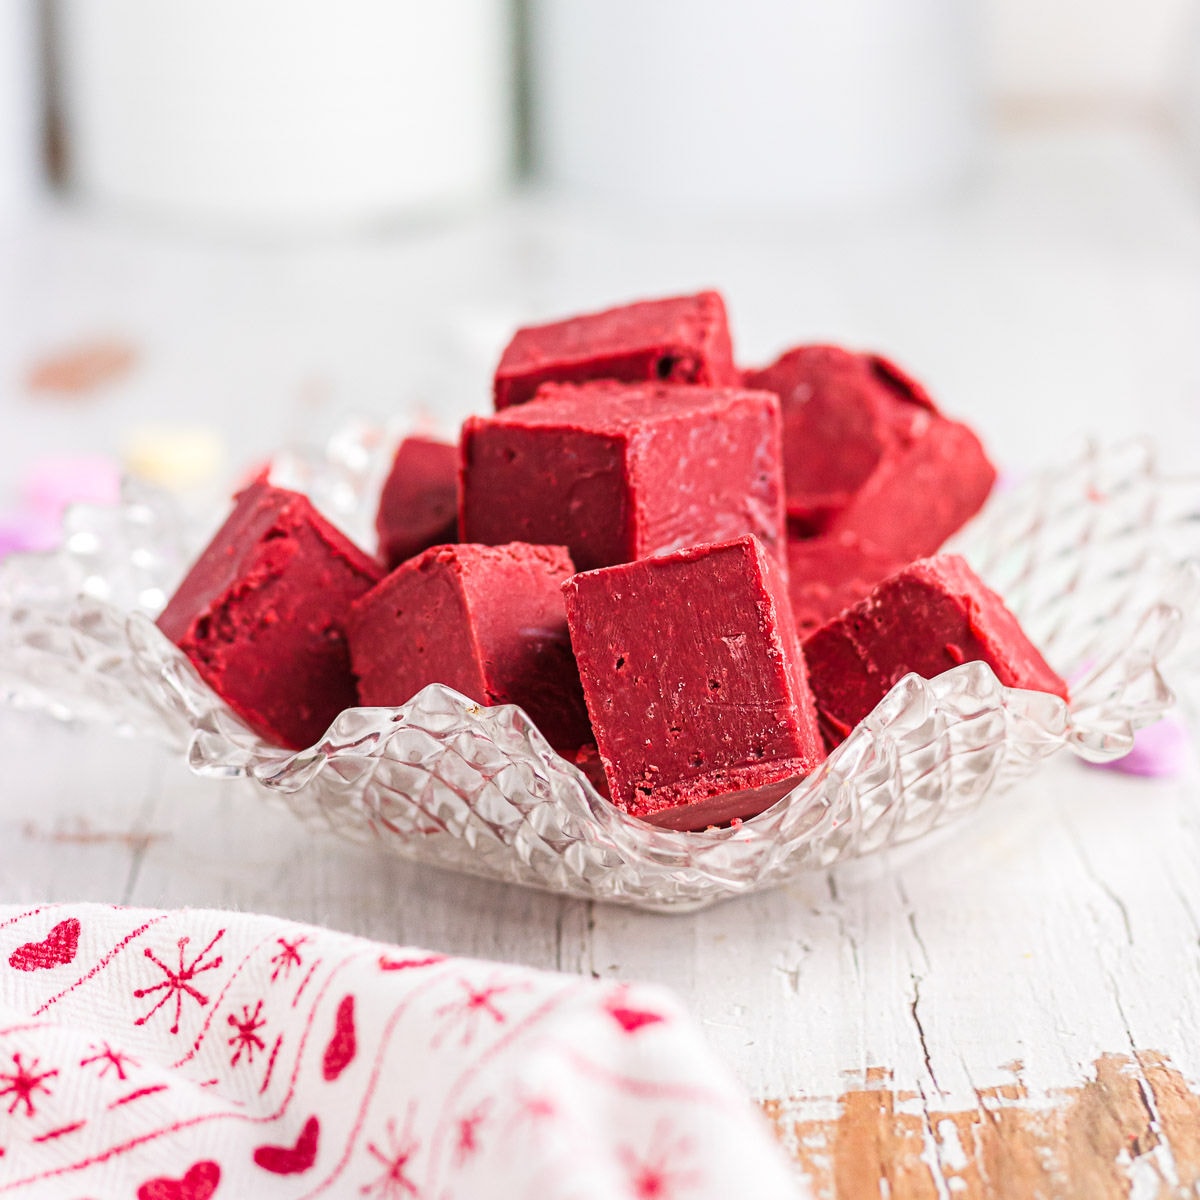
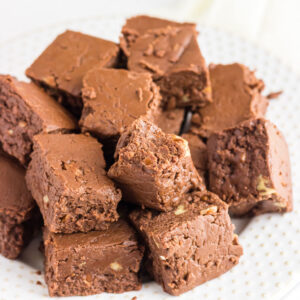
White cream cheese frosting, a hint of chocolate, and rich red color make this creamy red velvet fudge the perfect treat for you and your special someone this February 14th.
Combine it with this Fireball fudge and add a little spice to the romance!
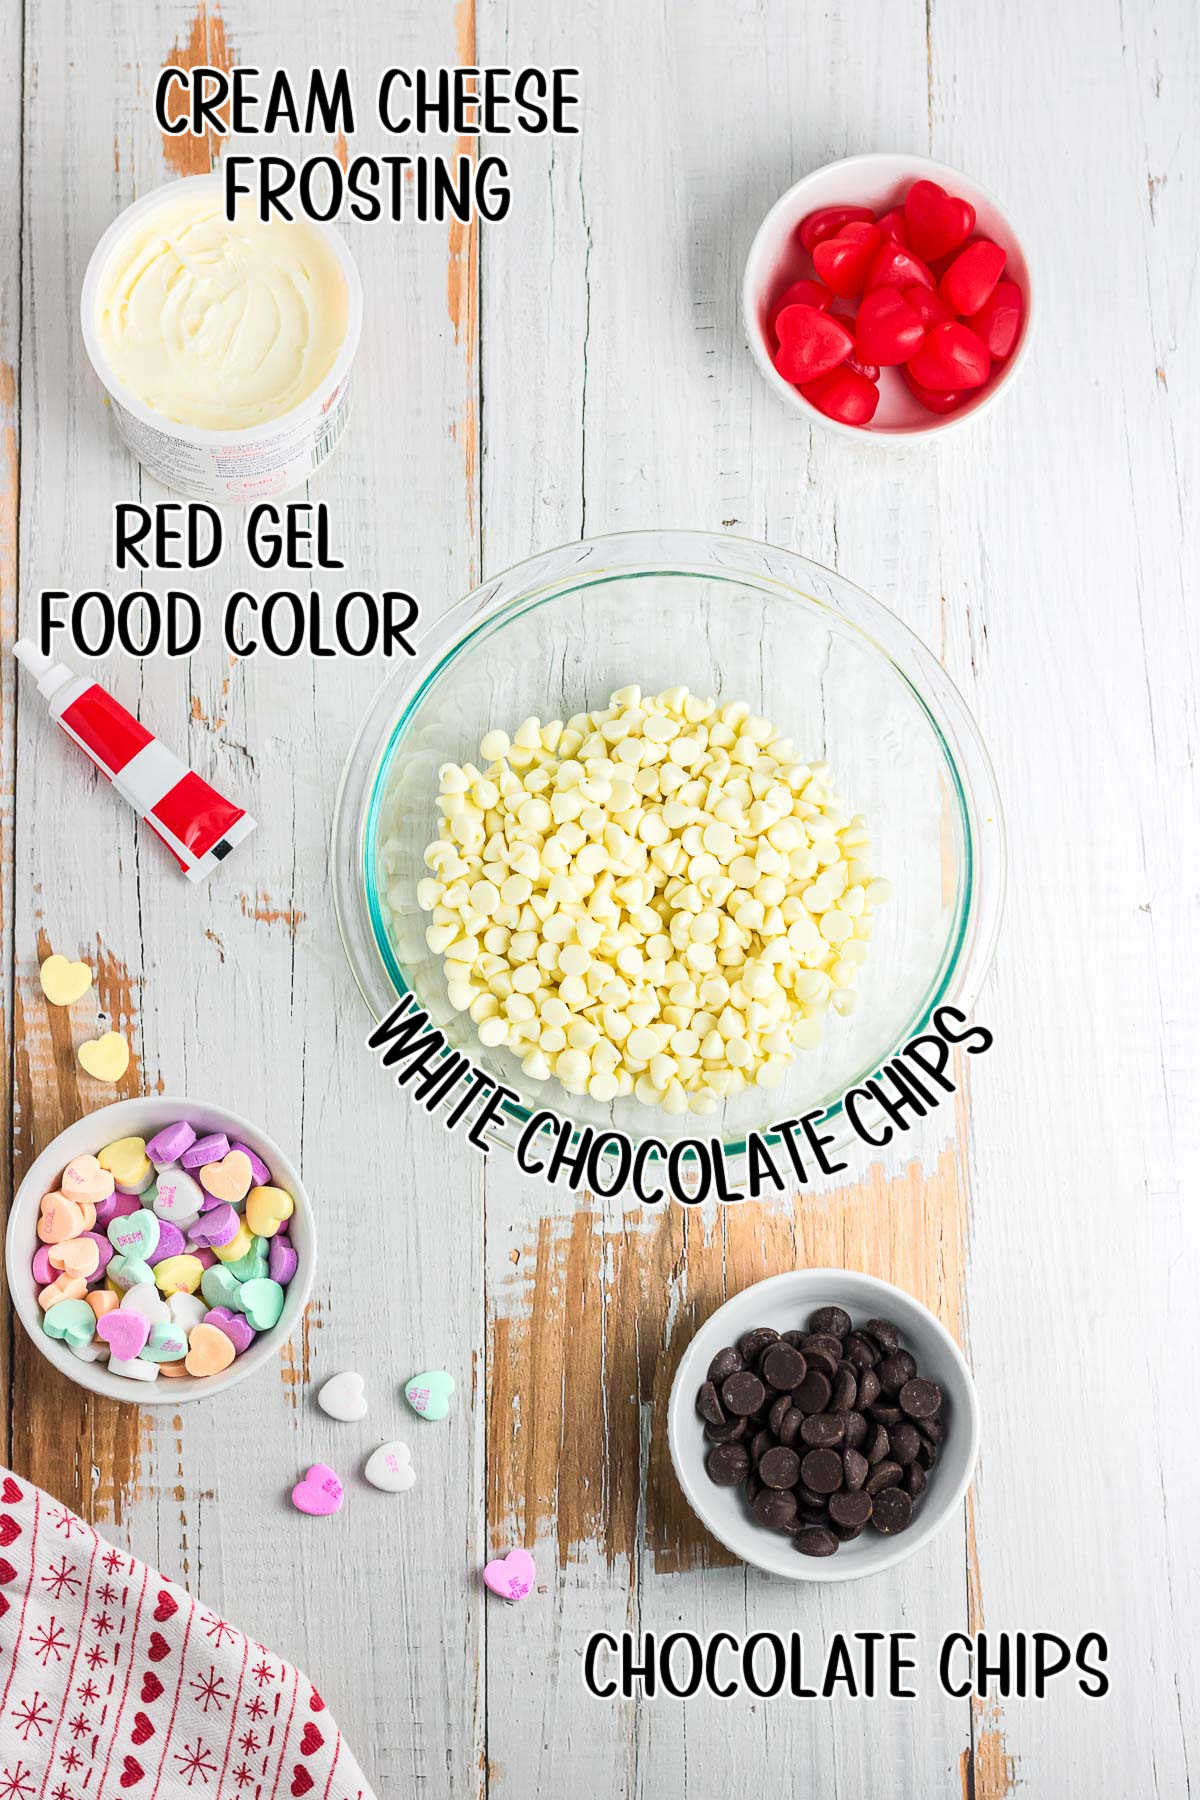
🧾 Ingredients
This is an overview of the ingredients. You'll find the full measurements and instructions in the green recipe card (printable) at the bottom of the page.
📖 Variations
- Feel free to swap out the bittersweet chocolate chips with milk or semi-sweet chocolate chips if you want a sweeter fudge.
- If you want a softer fudge, mix in a tablespoon or two of heavy cream.
- You can create marbled streaks of white fudge and red fudge using only white chocolate chips. Press the fudge mixture into the prepared pan, then randomly drop the red food coloring gel across the top of the fudge and use a toothpick to swirl the color.
- Adjust the amount of food coloring gel to reach your desired red color—use less for a lighter shade of red or pink!
- Dust your pieces of fudge with cocoa powder, or decorate them with festive sprinkles for a little extra flair.
- Use a cookie cutter to make red velvet fudge hearts instead of squares.
🔪 Instructions
This is an overview of the instructions. Full instructions are in the green recipe card at the bottom of the page. Click on the image to see it full size.
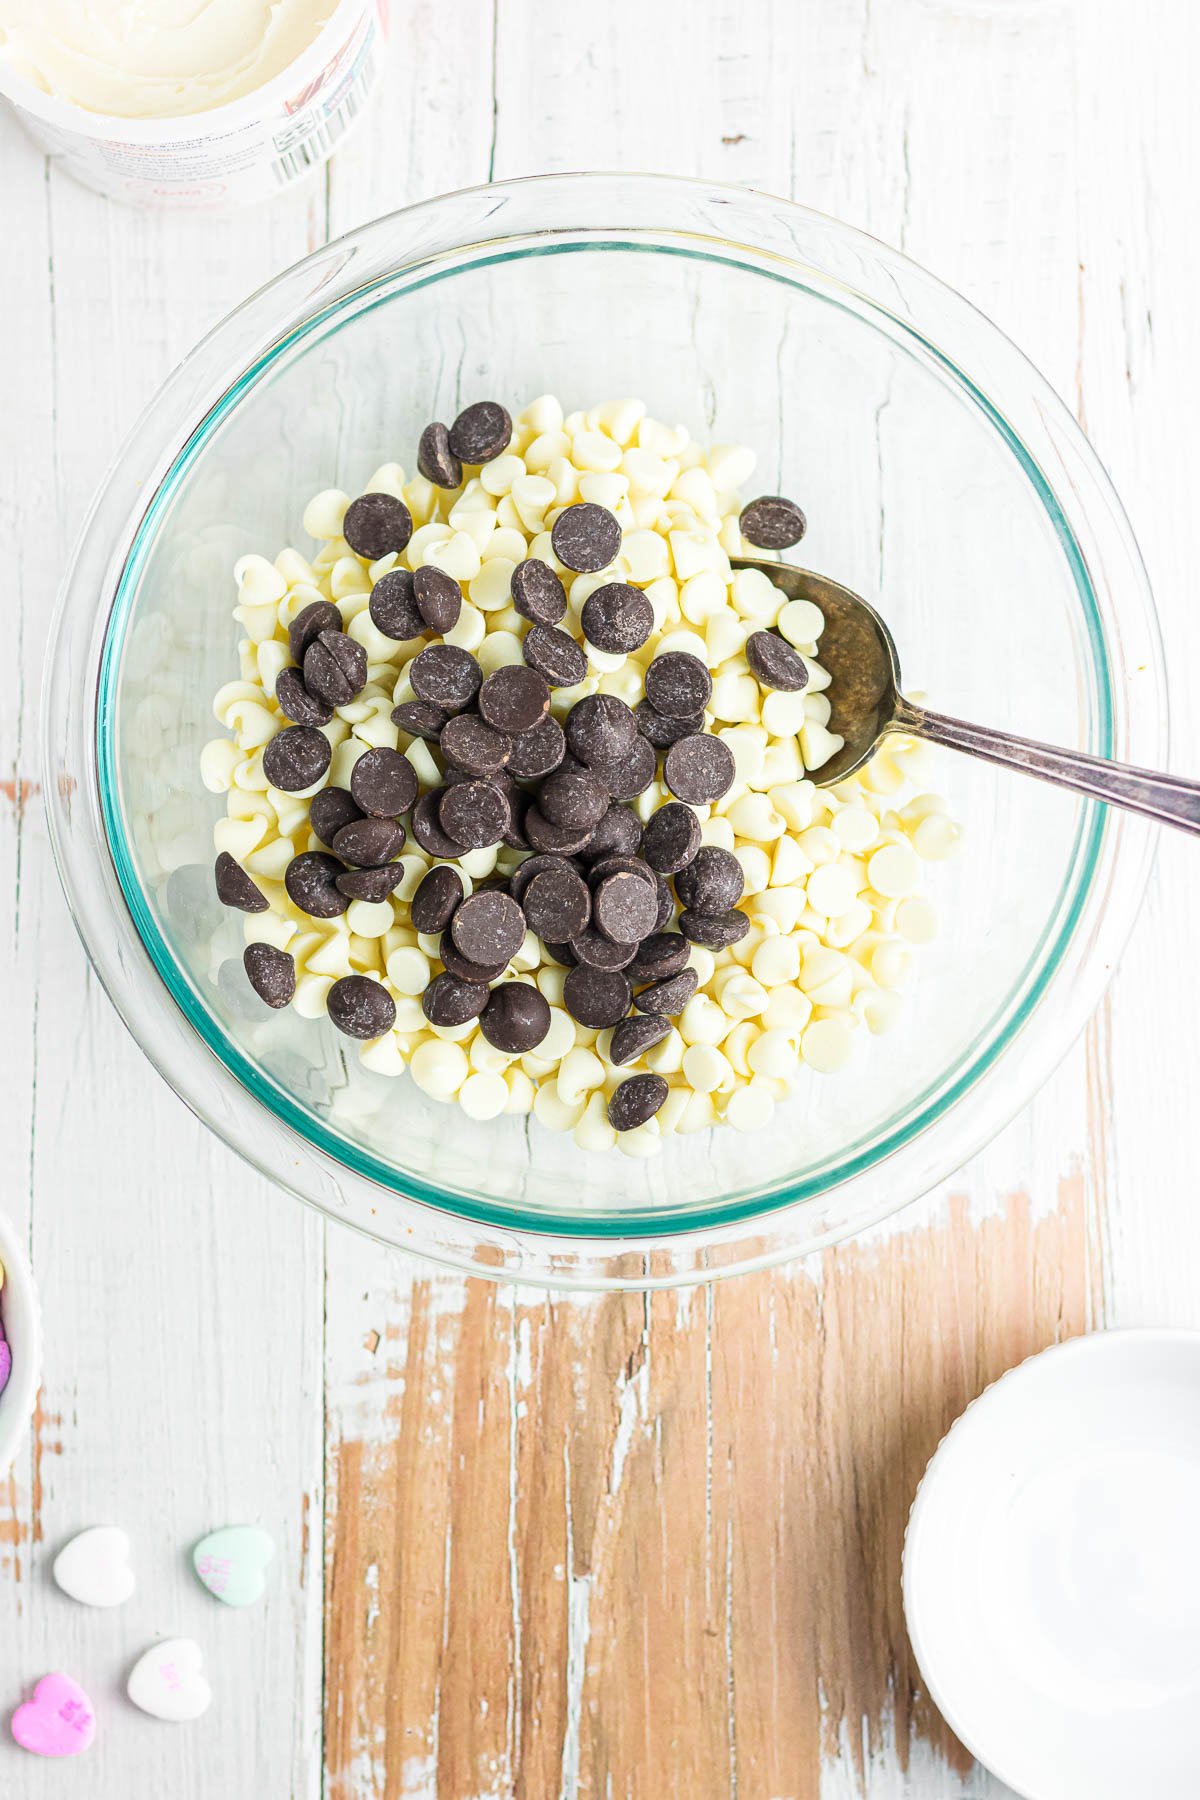
Mix the white chocolate chips and bittersweet chocolate chips in a microwave-safe
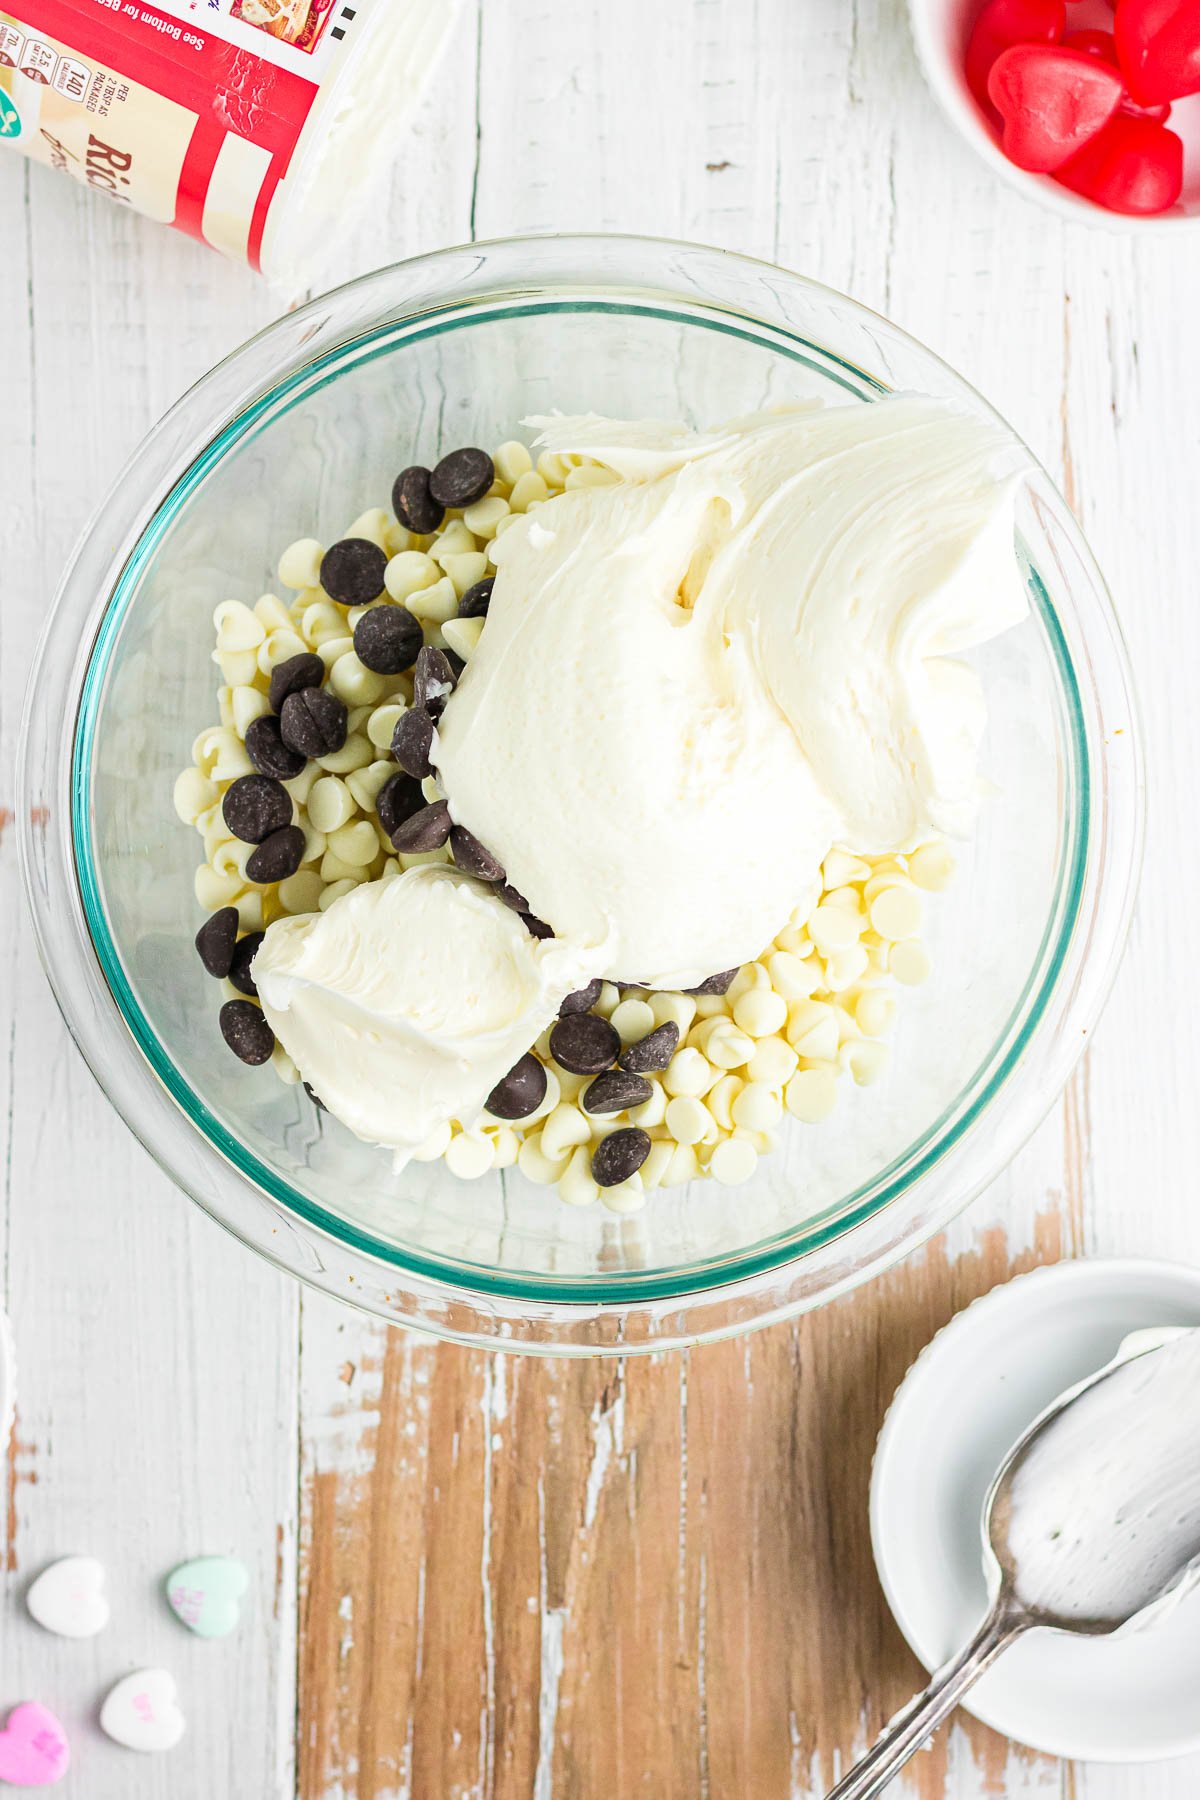
Add the cream cheese frosting.
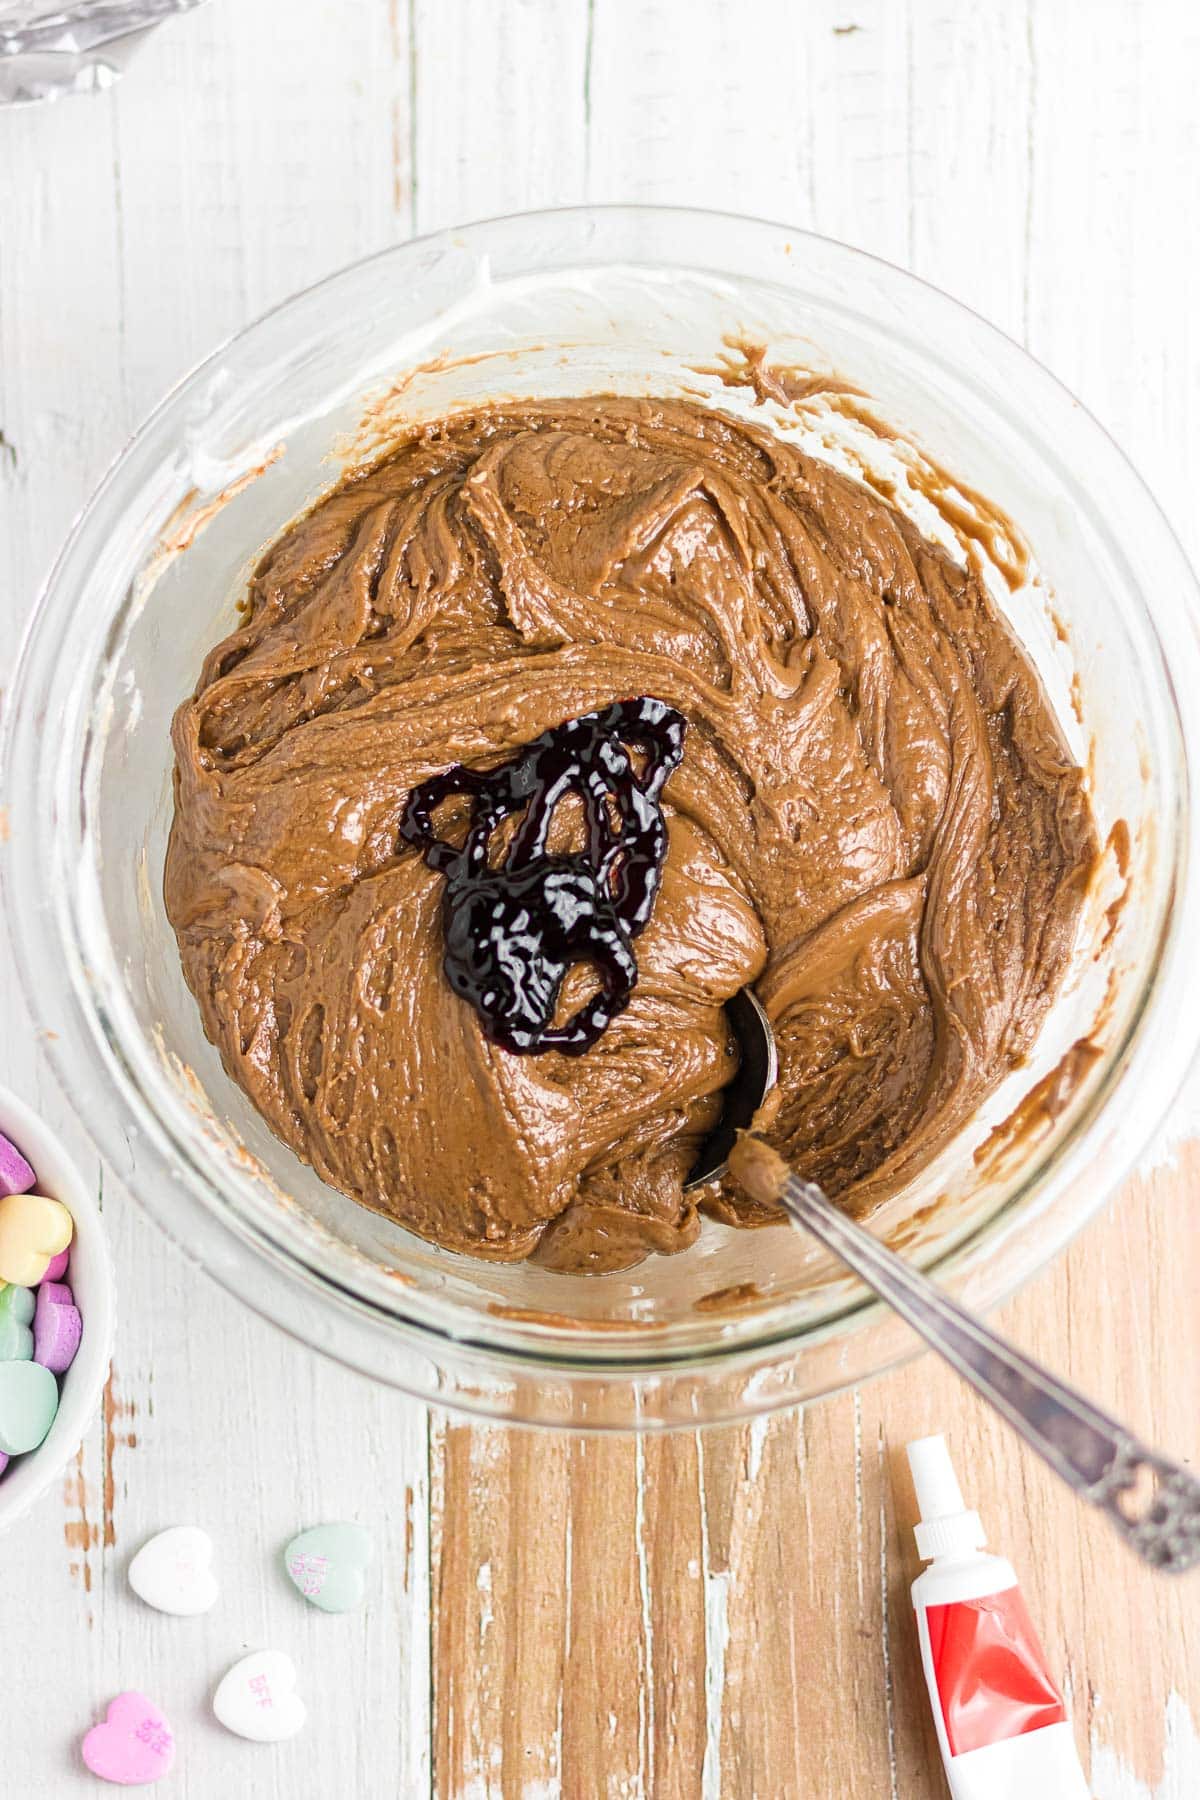
Microwave fudge mixture until the chocolate completely melts. Stir in the red food coloring gel.
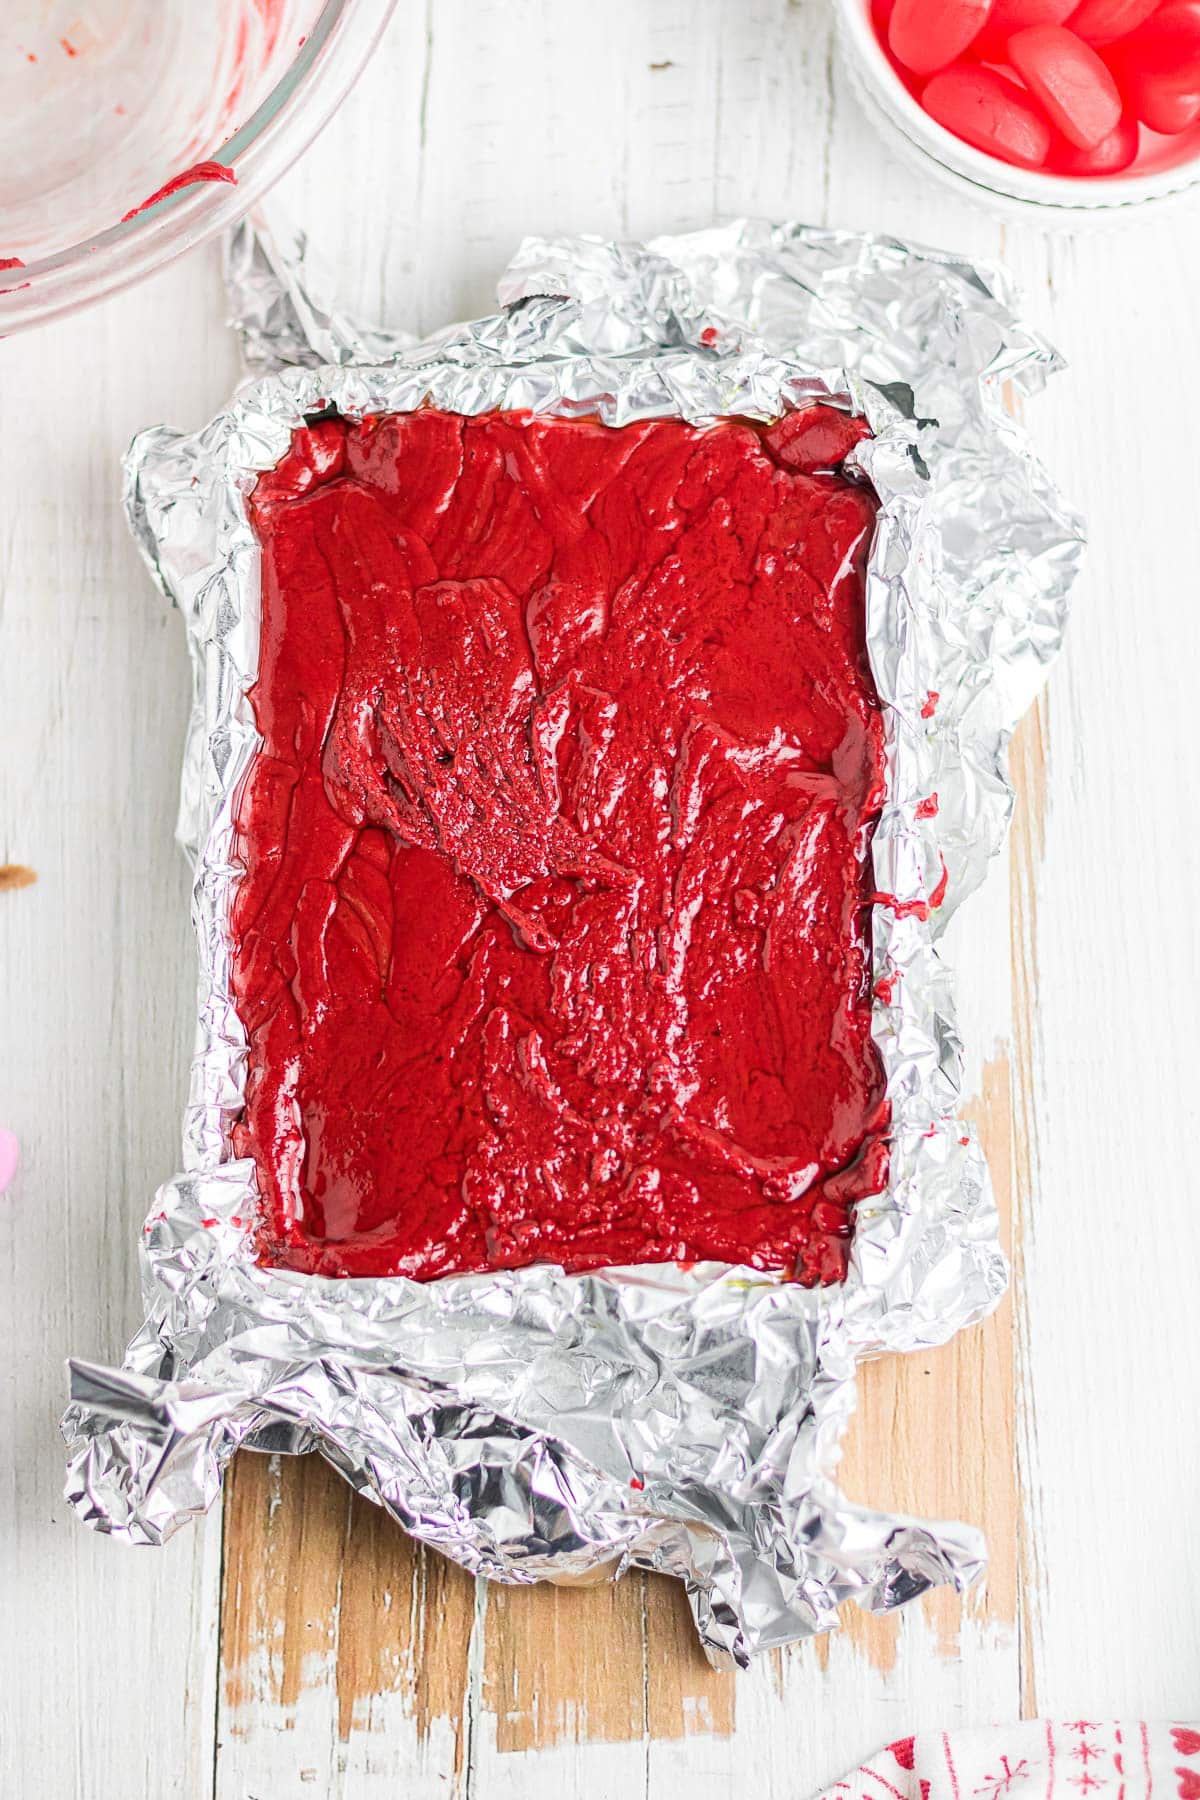
Spread the mixture into a square pan. Cover with plastic wrap and refrigerate.
🍴 Equipment
- Microwave-safe
mixing bowl - Square pan
🥫 How to store leftovers
Refrigerate leftover red velvet fudge in a dish covered in plastic wrap or an airtight container for up to two weeks. Be sure to separate layers of fudge pieces with parchment paper so they don’t stick together!
To freeze, tightly wrap individual pieces of fudge with plastic wrap or aluminum foil and put them in an airtight container or freezer bag. You can freeze the fudge for up to three months.
Thaw frozen fudge in the fridge before enjoying it.
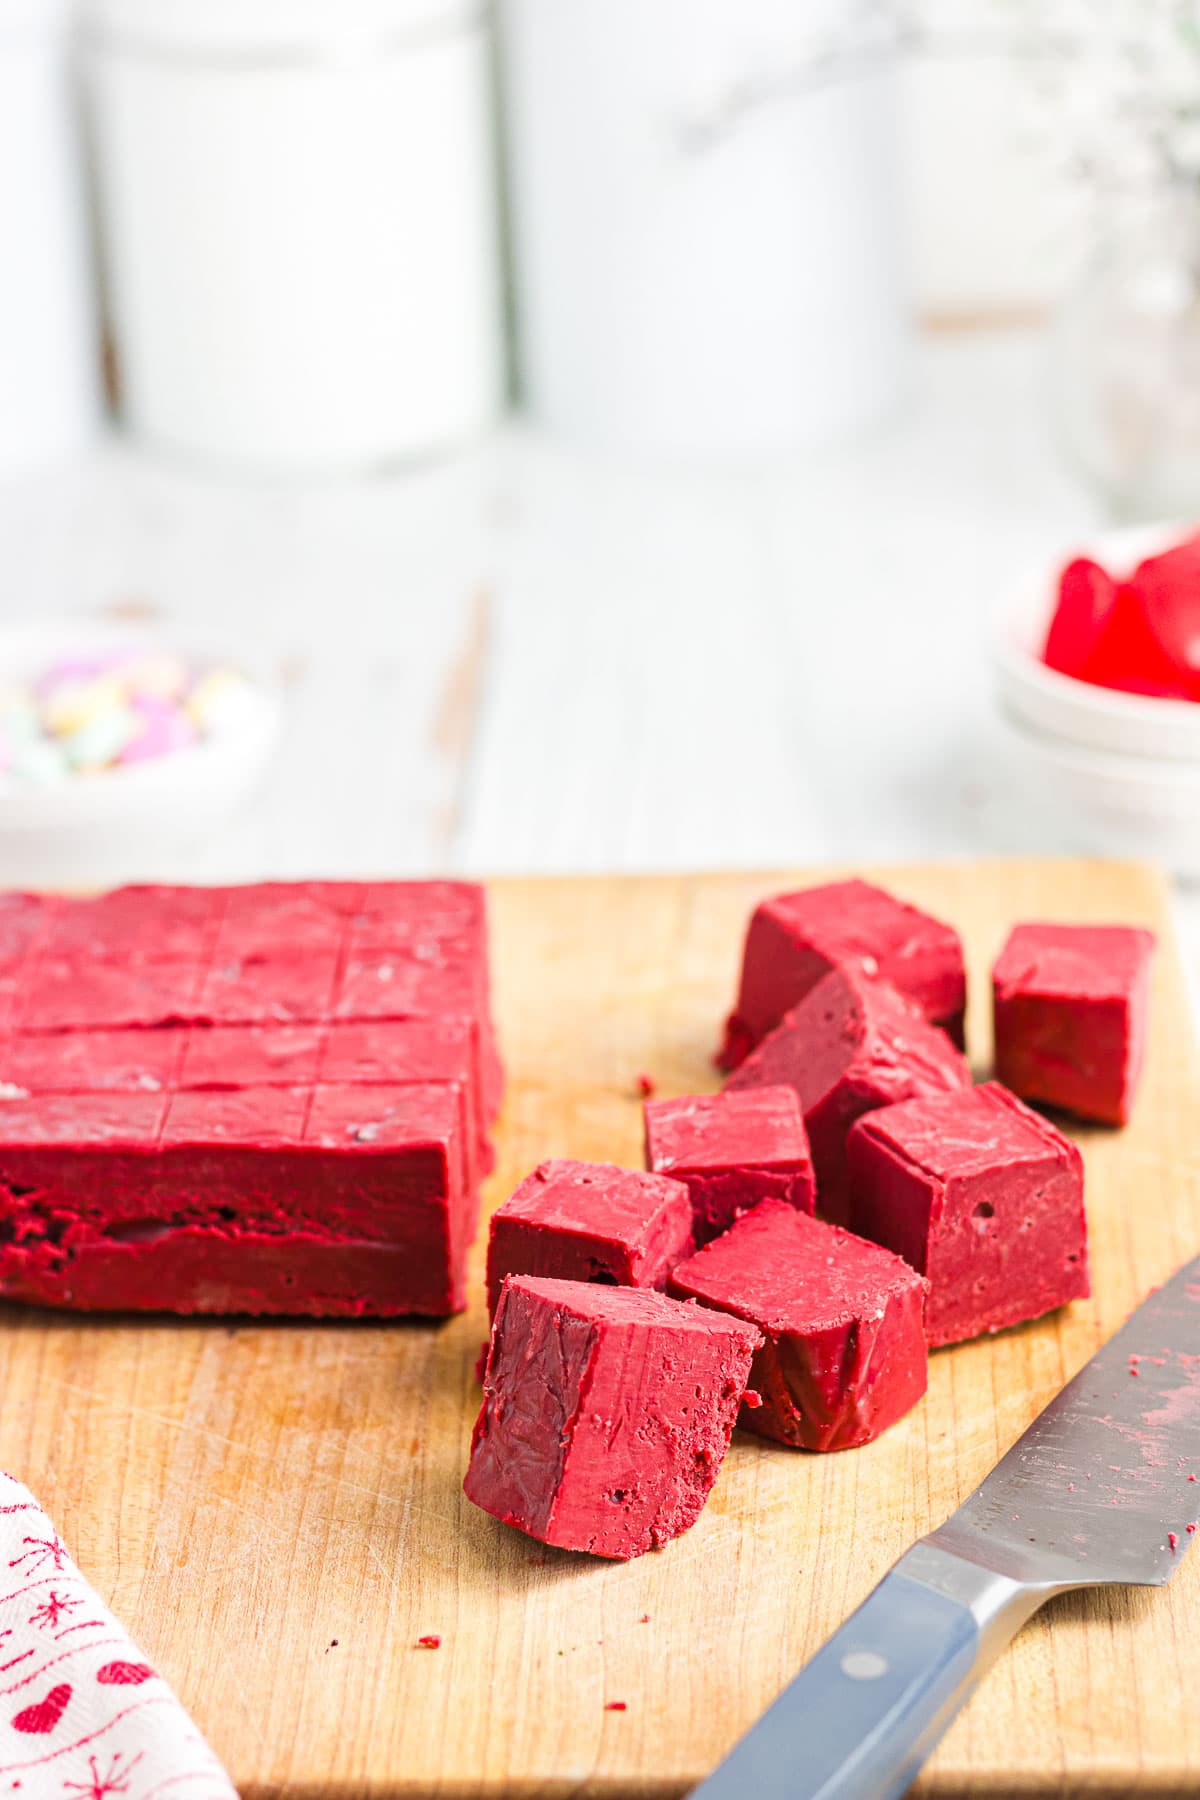
Expert tip:
Make sure you line your pan with parchment paper or aluminum foil that drapes over the sides and thoroughly grease it with cooking spray. That makes it a lot easier to remove and slice the fudge later.
💭 Things to know
- No need for messy sweetened condensed milk or marshmallow cream in this easy fudge recipe—just cream cheese frosting and chocolate!
- I recommend using an 8x8-inch square baking dish. Larger pans will create thinner fudge.
- Use gel food coloring rather than liquid food coloring. The gel creates a more vibrant color without adding excess moisture to the fudge.
- Firmly tap the pan on the counter a few times before chilling to help release any trapped air bubbles.
- Wait to slice the fudge until it has firmed up in the fridge, which takes at least 30 minutes.
👩🍳 FAQs
Nope. Candy melts don’t contain any chocolate, only chocolate flavoring, so they’ll make your fudge taste artificial and bland. You also won’t be able to achieve the same rich, dense texture. Always use chocolate chips in fudge for the best results!
No, you need much more liquid food coloring to achieve the same intensity of color as gel food coloring. That would also add a lot of extra water to your fudge and ruin the texture. Gel food coloring is the best way to add color to this fudge!
Sure! Since this fudge is very thick and firm, you’ll need to work quickly while it’s still warm to press it into candy molds. I recommend using hard plastic molds that provide some resistance instead of silicone molds.
Yep! You need to refrigerate this fudge because of the high dairy content. If you want your fudge to soften a little before you eat it, let it sit out at room temperature for an hour or so.
📚 Related recipes
- Homemade Hot Fudge Sauce is rich and creamy with a gorgeous crimson color and classic red velvet flavor—perfect for cookies, cake, or ice cream!
- A fan-favorite red velvet recipe that’s a perfect addition to any cookie tray, Red Velvet Blossom Cookies have the taste of red velvet cake in every bite.
- If you’re a fan of cake like me, you’ve got to try my Red Velvet Bundt Cake—an easy recipe using cake mix and homemade cream cheese frosting.
📞 The last word
I love a good, creamy fudge and I have to tell ya, I couldn't stop eating this. It has the unique flavor of red velvet as well as that gorgeous color. Plus it's soooo smooth and creamy!
If you click on the number of servings in the recipe card you can adjust the measurements up or down for the exact number of servings you need.
If you love this recipe please comment below and give it 5 stars! ⭐️⭐️⭐️⭐️⭐️
📖 Recipe
Red Velvet Fudge
Print Pin Recipe Rate RecipeIngredients
- 16 ounces cream cheese frosting, canned frosting
- 11 ounces white chocolate chips
- 2 ounces bittersweet chocolate chips
- 1 tube red GEL food coloring
Instructions
- Line a baking dish with parchment paper or aluminum foil sprayed with non-stick cooking spray.
- Set aside.
- Add the white chocolate chips, bittersweet chocolate chips, and frosting to a microwave safe mixing bowl.
- Microwave at 15 second intervals stopping and stirring between each interval, until white chocolate chips are completely melted and blended in.
- Stir in the red food coloring gel.
- Stir together until completely mixed.
- Quickly spread in an 8x8 baking dish.
- Chill for 30 minutes to an hour, or until firm.
- Remove from the pan and cut into squares.
Notes
This freezes well for up to 3 months. Tips:
- Watch carefully when microwaving. White chocolate burns easily so check and stir every 15-20 seconds.
- If you use a larger pan, the fudge will spread out more and the pieces will be thinner.
- This works best with commercial frosting from the store. Homemade doesn't usually set up as well.
Nutrition Facts
Nutrition information is estimated as a courtesy. If using for medical purposes, please verify information using your own nutritional calculator. Percent Daily Values are based on a 2000 calorie diet.
This recipe has been tested several times. If you choose to use other ingredients, or change the technique in some way, the results may not be the same.


Sonya says
What do you do with the red gel food coloring. You left that out.
Marye says
ooops. It's fixed now.