

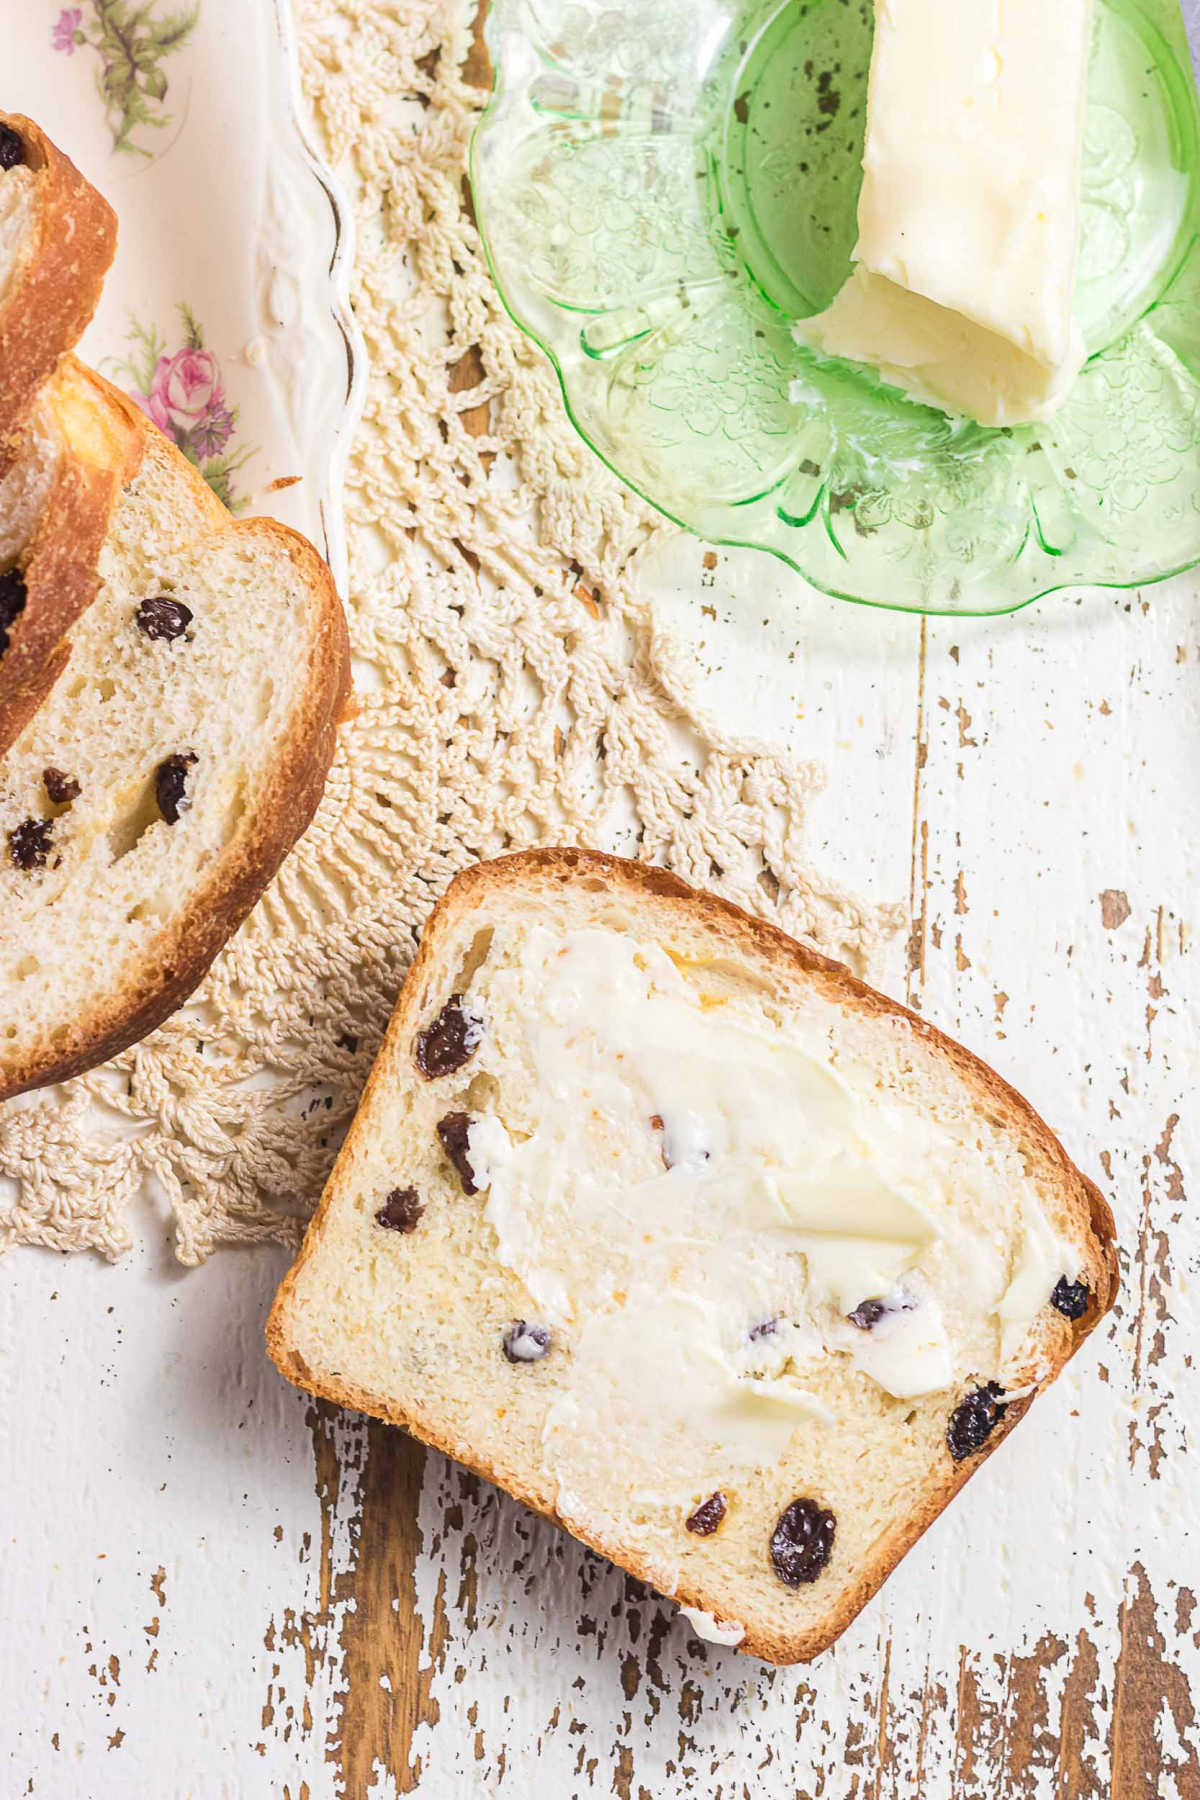
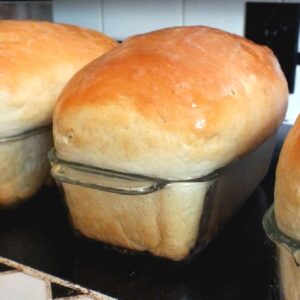
There are yeast breads you bake because you need toast, and there are breads you bake because the world feels sideways and you need something warm, sweet, and dependable to come out of your oven. This old fashioned raisin bread recipe is that second kind. Soft enough for sandwiches, rich enough for snacking, and forgiving enough to qualify as a beginner bread baking recipe, it's the loaf you make when you want your kitchen to smell like competence and your counters to look like you've got your life handled. We're using a stand mixer to keep things simple, I'll show you how to scald milk for bread and why it matters.
And yes, it freezes beautifully, which means future-you gets to feel smug without doing any extra work.
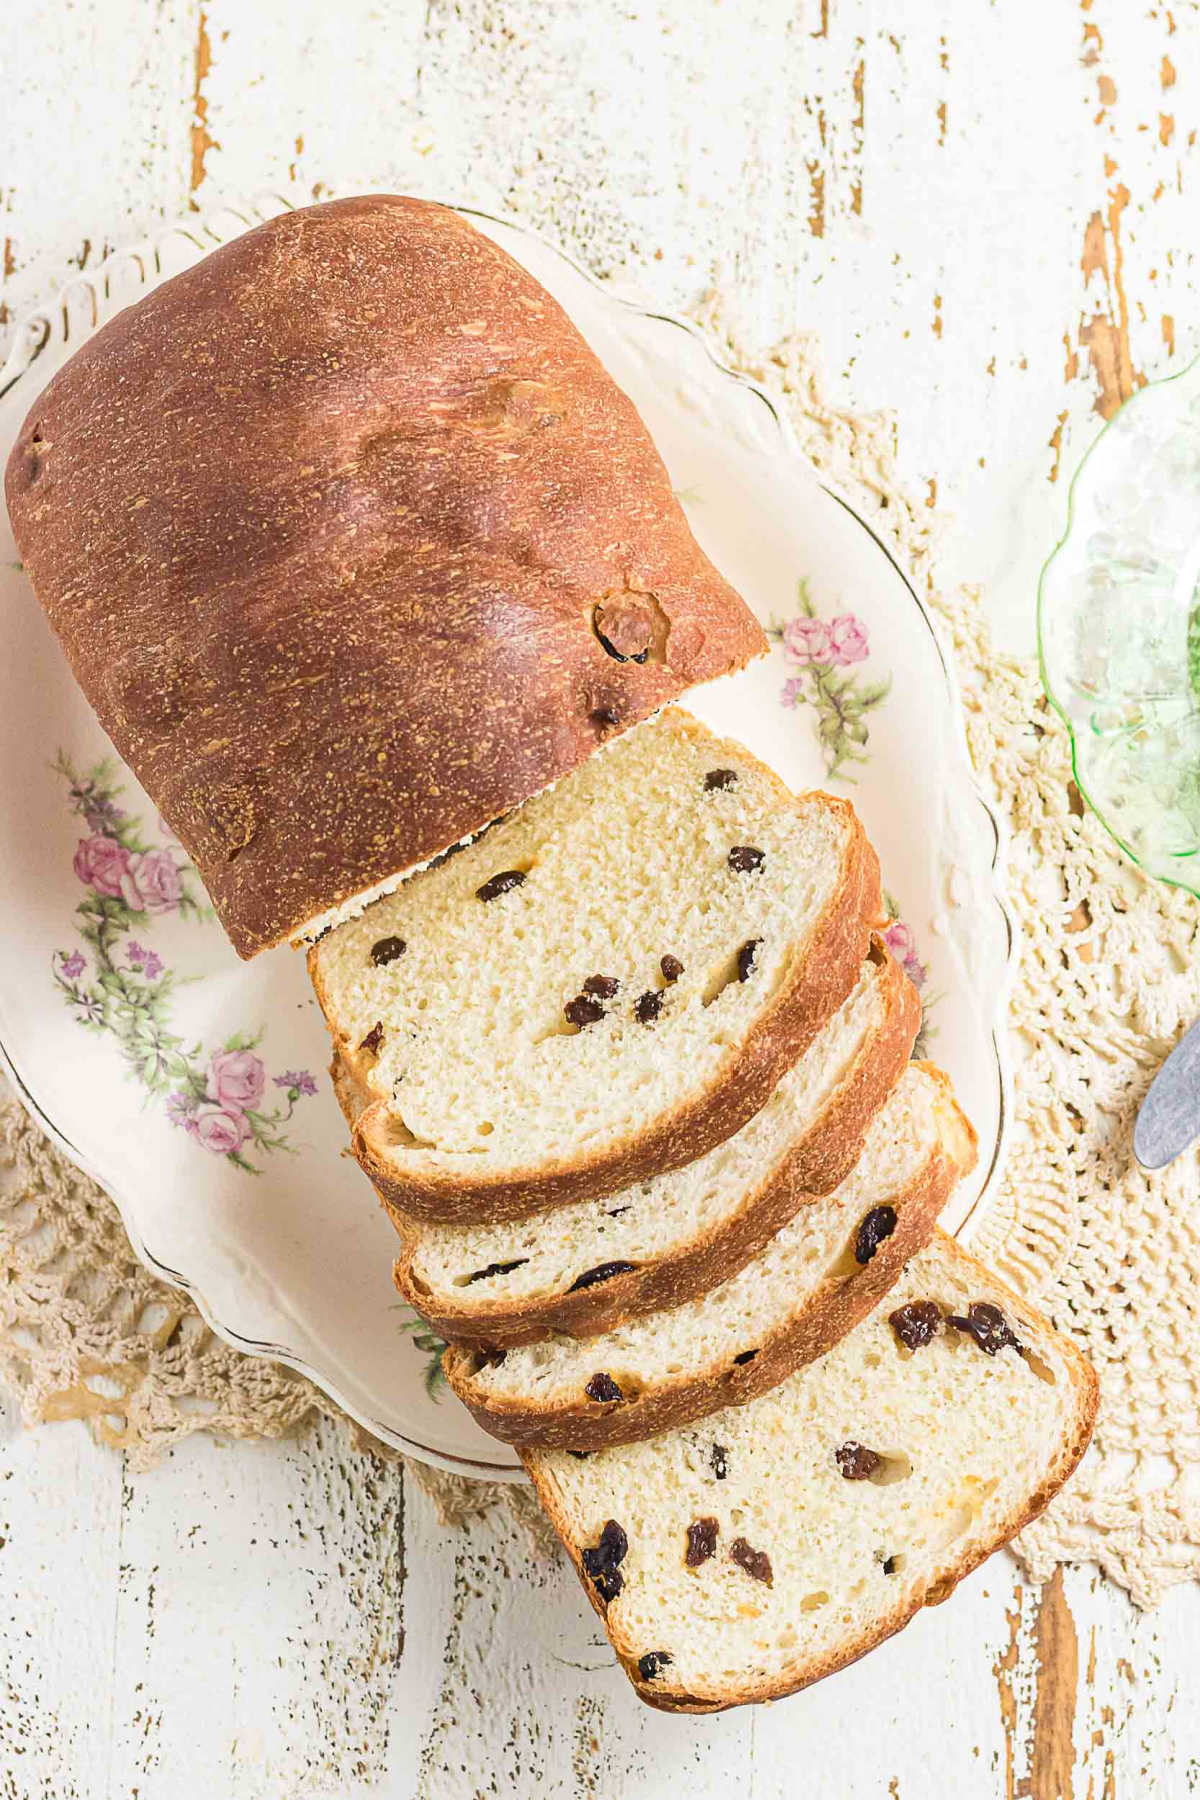
Table of Contents
🥰 Is this raisin bread recipe for you?
- You want a soft sandwich bread recipe that slices neatly, toasts beautifully, and doesn't crumble into sad little breadcrumbs.
- You love an old fashioned bread recipe with a tender crumb, light sweetness, and enough raisins to feel generous without tipping into fruitcake territory.
- You're new to yeast baking and need a beginner bread baking recipe that works without drama, guesswork, or emotional damage.
- You prefer using a stand mixer bread recipe so the dough hook does the work while you sip coffee and supervise like a benevolent kitchen monarch.
- You like practical baking wins, including a loaf that's freezer friendly so future-you gets homemade bread without doing a thing.
- You've wondered why scald milk for bread, and you'd like a clear explanation that actually connects to texture, rise, and softness.
It's not for you if you're looking for a quick bread, a cinnamon bread, or a bread-machine bread.
Prefer to watch the process? The video walks you through every step so you can see exactly what the dough should look like from start to finish.
Snag the free raisin bread kitchen cheat sheet for fast FAQs, smart storage tips, and the kind of baking shortcuts that keep you from standing in your kitchen whispering, "now what?"
📖 Recipe

Old-Fashioned Raisin Bread
Print Pin Recipe Rate RecipeIngredients
- 1 cup milk, *scalded and cooled to 110F
- 2 tablespoons sugar
- ¼ teaspoons ginger it is a yeast activator, you wont taste it.
- 2 teaspoons salt, I use kosher salt - if you use table salt use about ¼ teaspoon less
- 2 tablespoons butter, melted
- 1 package active dry yeast
- ½ cup warm water, about 110 degrees f
- 5 cups All-purpose flour you may need a bit more or less
- ¾ cup raisins
- Oil to grease pans
Instructions
- Sprinkle yeast, ginger and a pinch of sugar on the water.
- Stir to dissolve and let it stand until bubbly.
- Mix milk and sugar.
- Add to yeast mixture.
- Stir in 1 cup flour.
- Stir in butter and salt.
- Beat at medium speed about 2 minutes or stir by hand until batter is smooth.
- Add enough remaining flour to form a dough that leaves the sides of the bowl.
- Knead until smooth and elastic, kneading in the raisins as you go-about 10 minutes if kneading by hand.
- Round up into a ball and oil all sides.
- Place in a lightly greased bowl and cover with a tea towel.
- Let rise in a warm place until doubled about 1 ½ hours. (The inside of the oven with the light on is perfect). This is the first rise and will take the longest.
- Gently deflate the dough.
- Shape dough into a loaf and place in an oiled loaf pan. To do this roll or pat out into a rectangular shape and then roll up, pinching the seams tightly together.
- Lightly brush the tops with melted butter.
- Let the dough rise until almost doubled, and top of the dough is rounded above the pan, 30-45 minutes.
- Bake at 375 for 30 to 40 minutes, or until loaves sound hollow when tapped on the bottom and an instant read thermometer reads 196F when inserted in center from side.
- Cool in pan for 5 minutes, remove from pan, and finish cooling.
- If a soft crust is desired cover the loaf with a clean tea towel during the cooling process.
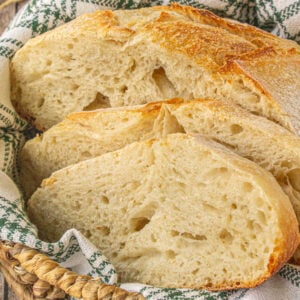
- Once cooled completely you can slice the bread with a sharp serrated knife.
Notes
- Be sure your ingredients are warm (90-110F) but not hot.
- Knead well. Well kneaded bread will feel like pinching your earlobe.
- Let rise completely. If your kitchen is cold it may take more time.
Nutrition Facts
Nutrition information is estimated as a courtesy. If using for medical purposes, please verify information using your own nutritional calculator. Percent Daily Values are based on a 2000 calorie diet.
This recipe has been tested several times. If you choose to use other ingredients, or change the technique in some way, the results may not be the same.
Love this recipe?
Subscribe to the free membership group and never miss another recipe!
😱 What can go wrong (and how to fix it)
🥖 The loaf is dense instead of soft.
Usually this means the dough didn't rise long enough, the yeast was tired, you added too much flour, or the milk was too hot when added. If you've ever wondered why scald milk for bread, this is part of the reason - it helps create a softer crumb and better rise.
🥖 Your raisins sink to the bottom like they're avoiding responsibility.
This happens if the dough is too loose or the raisins weren't kneaded in well. Tossing them in a little flour before mixing helps them stay politely distributed instead of staging a bottom-loaf rebellion.
🥖 The bread tastes bland.
Bread needs salt and a little butter to shine. Make sure you didn't accidentally reduce either. This old fashioned bread recipe depends on balance, not heroics.
🥖 The dough won't come together in the mixer.
If you're using a stand mixer bread recipe approach and the dough looks shaggy or sticky after several minutes, it probably just needs a touch more flour. Add it slowly, a spoonful at a time, until it pulls into a soft, elastic ball.
🥖 The crust browns too fast.
Tent it loosely with foil for the last part of baking. Bread likes attention but not interrogation.
🥖 It feels dry the next day.
That's normal for homemade bread without preservatives. Slice what you need and freeze the rest right away with parchment between the slices. This loaf is very freezer friendly, which means future-you gets toast without any effort.
👩🏻🍳 Homemade raisin bread FAQs
These are the questions readers ask most when they start baking yeast bread at home.
Scalding milk helps weaken enzymes in the milk that can interfere with gluten development. In plain English, it helps your loaf rise better and gives you that soft, tender crumb people expect from an old fashioned bread recipe. Let the milk cool to warm, not hot, before adding it to the dough so you don't accidentally harm the yeast.
Yes, and it's honestly the easiest way. This works beautifully as a stand mixer bread recipe because the dough hook kneads the dough consistently without overworking it. You're looking for a smooth, elastic dough that pulls away from the sides of the bowl.
Absolutely. This is designed as a beginner bread baking recipe with clear visual cues in the video so you can see what the dough should look like at each stage. If you can stir, wait, and let yeast do its thing, you can make this loaf.
🍽 Related recipes
If this raisin bread hits that nostalgic baking nerve for you, there are a few other loaves you'll want on your radar. My Amish white bread is the soft, slightly sweet homemade white bread that makes perfect sandwiches and toast, while muesli bread leans heartier, packed with nuts and dried fruit and just enough chew to feel wholesome without turning into a fitness project. And if you're craving something a little more bakery-window indulgent, cinnamon swirl bread gives you that ribbon of spice and sweetness that makes the whole kitchen smell like you meant to impress someone.
All three use the same approachable, beginner-friendly bread techniques you saw in this loaf, so once you've baked one, the others feel familiar instead of intimidating. Think of it as your personal little bread rotation - one for sandwiches, one for breakfast, one for when you want to feel like the kind of person who casually bakes cinnamon bread on a weekday.
🏡 Your oven's not going to preheat itself. Go make the house smell amazing.

Kathleen says
Thank you for sharing this recipe